December 30, 2011

Garlic Chicken on Bok Choy Rice Cakes

garlic chicken on bok choy rice cakes
I don’t normally post two days in a row but these were so good that I couldn’t wait to share them, especially because I want to make sure you have time to prepare them for your 
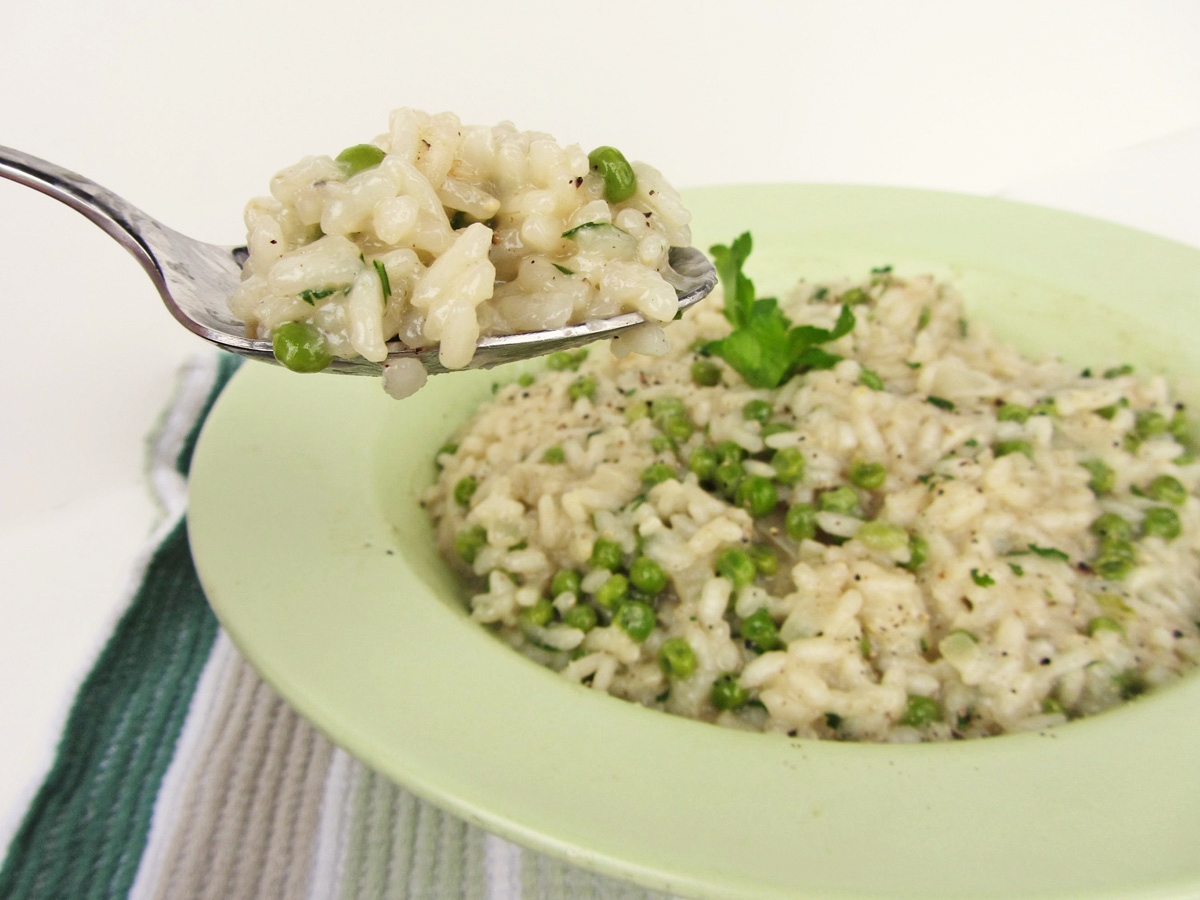
New Year’s Eve party – they’d be perfect! Little pieces of chicken are coated in a sweet, garlicky sauce and placed atop bites of cool sticky rice mixed with bok choy and green onions. It’s kind of like sushi, but easier!

These might look difficult to make, especially if you’ve already scrolled down to take a look at the recipe, but trust me that they’re not! I have absolutely no experience with sushi or even sticky rice, but I had no problem making these on my own. It also probably looks like there are a lot of ingredients to buy, but most of the ingredients were things I already had in my fridge or cupboard so I didn’t have to buy much. The one thing I had trouble finding was the black sesame seeds – my dad and I searched through Loblaws and Bulk Barn with no luck, then went to an Asian grocery store where after searching every aisle, we finally found them in the last place we checked. I don’t think they’re that essential for taste though, so if you can’t find them, just use regular sesame seeds or leave them out. Or you can try to see how kind a sushi bar employee is by asking them to lend you a couple tablespoons of black sesame seeds – I was too shy to ask :)

garlic chicken on bok choy rice cakes
I served these to my parents as a pre-dinner appetizer the last two nights in a row, and both times they couldn’t stop raving about them. They’re not only tasty but also look so pretty and elegant, which is why they’d be the perfect thing to impress your guests on New Year’s Eve or at any other party. The rice cakes can be made up to two days in advance, then you can cut up the chicken and make the sauce early in the day, so all you have to do when you’re ready to serve them is cook the chicken and place it on the rice cakes. Even if you don’t have a party to serve these at, I hope you’ll still try them for yourself!

I wish you all a safe and happy New Year’s Eve, and hope you come back early in the New Year for my round-up of my favourite dishes of 2011!

garlic chicken on bok choy rice cakes
Garlic Chicken on Bok Choy Rice Cakes

Adapted from LCBO’s Food & Drink magazine, Holiday 2011

Makes about 25 portions

Ingredients:

For the Rice Cakes:

2 cups (uncooked) short or medium-grain sticky rice (Japanese-style rice used for making sushi)
1 cup finely diced bok choy stalks and greens (from about 2 large stalks)
2 green onions, finely chopped
2 tablespoons rice vinegar
1 tablespoon sugar
1 ½ teaspoons salt
1 teaspoon sesame oil
2 tablespoons toasted black sesame seeds

For the Chicken:

2 boneless, skinless chicken breasts (about 250g or 8oz total)
2 tablespoons hoisin sauce
1 tablespoon brown sugar
2 teaspoons sherry
1 teaspoon light soy sauce
1/2 teaspoon Asian chili sauce
4 cloves garlic, minced
2 tablespoons vegetable oil
1 teaspoon sesame oil
2-3 green onions, finely shredded, for garnish

Directions:

For the Rice Cakes:

Cook sticky rice according to package directions. Once cooked and while still hot, stir bok choy, green onions, rice vinegar, sugar, salt, and sesame oil into the pot and stir to mix evenly with the rice. Scrape mixture into a greased 9x13 baking pan. Use the back of a large spoon to spread the rice in an even layer covering the pan. Sprinkle evenly with sesame seeds. Let cool to room temperature, then refrigerate 2 hours or until firm.

Use a 1.5-inch round cookie cutter to cut the rice into about 25 cakes (or as many as you can get). I didn’t have a round cutter so I simply cut out circles freehand using a knife. If you have troubles cutting round circles, use a small shotglass as a guide to cut around. Discard excess rice and return the cakes, covered, to the refrigerator until ready to use. Finished cakes can be made up to 2 days in advance.

For the Chicken:

Slice chicken breast across the width into thin (1/4” thick) slices, then cut each slice into 1 inch pieces.

In a small bowl, whisk together the hoisin sauce, brown sugar, sherry, soy sauce, chili sauce, and garlic.

Heat vegetable oil in a large non-stick skillet over medium-high heat. Add chicken and cook until lightly browned, about 3-5 minutes. Remove to a small plate. Pour sauce mixture into pan, bring to a boil and reduce by half, or until sauce is thick and glossy. Return chicken to the pan with the sauce and simmer for about 30 seconds until chicken is cooked through, stirring to coat with the sauce. Remove from heat and stir in sesame oil.

To Assemble:

Use tongs to place warm chicken on top of individual rice cakes. Top each with a small garnish of shredded green onion.

December 29, 2011

Risotto with Peas

risotto with peas
I absolutely love risotto, but for some reason, I’ve never made it myself. I guess it’s one of those things that I’ve always just assumed is way too hard for someone like me to make (probably because I watch too much Top Chef and risotto always seems to be the dish that the judges criticize the most).

Today, however, I discovered that risotto is actually quite easy to make at home, and I’m kicking myself for not trying it sooner! I feel like now I have to go back and find all those delicious risotto recipes I’ve seen on other blogs but haven’t bothered to bookmark because I thought I couldn’t make them (most recently, for example, this farro risotto with squash and kale from Love & Olive Oil).

Sure, it’s a bit labor intensive because you have to stir the risotto constantly for 20 minutes, but just think of it as your workout for the day. I’m sure you could simultaneously throw in some squats or lunges as you stir, but because I’m on holidays, stirring was enough exertion for me. The rest is easy peasy, as long as you get all your ingredients ready ahead of time (which doesn’t take long at all).

risotto with peas
I was nervous that because this was my first time making risotto, it would end up inedible, but it turned out to be amazing! The risotto was creamy, the rice was just the right al dente texture, and the peas added the perfect burst of sweetness to balance out the richness of the dish. Even my dad exclaimed that it was delicious, and he is much more experienced at making risotto than I am!

I’ve written out the recipe as I made it below, but the original version is actually from a video (or “recipideo”: a recipe demonstrated in a video in under 4 minutes), so you can watch this link to see exactly how the risotto is made (and how easy it is!) As you can see, I made a few changes to the original recipe, such as adding parsley, garlic, salt and pepper for added flavour, and leaving out the butter because I thought the risotto tasted rich enough without it.

Now here’s the fun part: Aurora, the company that makes all those delicious Italian products you see in the grocery stores, and who made the recipideo for this risotto, is offering you the chance to win a $50.00 gift certificate to My Italian Cantina, an online store where you can purchase a variety of Italian and European products. All you have to do is make this risotto with peas dish yourself at home (and feel free to make your own substitutions like I did), then snap a photo and visit this link to submit it and be entered to win the $50.00 gift certificate! You have until January 3rd to enter, and the winners will be announced January 6th. So hurry up and watch the recipideo, make this delicious risotto, take a quick picture, and enter the contest! Just be warned that the video is set to an extremely catchy song that may end up stuck in your head all day :) Good luck!

UPDATE: The above contest is now closed.

risotto with peas
Risotto with Peas

Adapted from Aurora Importing

Serves 4-6

Ingredients:

9 cups water
2 tablespoons olive oil
1 medium yellow onion, finely chopped
1 vegetable bouillon cube (chicken bouillon would also work)
1-1/2 cups superfine Arborio rice
3 cloves garlic, minced
1/2 cup dry white wine
1-1/2 cups frozen peas, thawed
1/4 cup grated parmesan cheese
3-4 tablespoons chopped parsley
Salt & pepper

Directions:

Add the water to a large pot and bring to a boil on the stove. Leave simmering as you make the risotto.

As you wait for the water to boil, prepare all your ingredients so everything is ready to go (chop onion, garlic, and parsley; rinse peas to thaw; grate parmesan; measure out the rice and wine).

Heat olive oil in a large deep skillet over medium-high heat. Add the chopped onion and sauté until soft, about 5 minutes. Add the bouillon cube, rice, and garlic, and stir for about 30 seconds. Add the white wine and stir until absorbed. Set a timer for 18 minutes.

For the duration of the timer, continuously add the simmering water to the rice a ladle at a time, stir until absorbed by the rice, then add another ladle, stir again, etc. Keep stirring constantly! When there are about 3 minutes left on the timer, add the peas.
By the time the 18 minutes is up, you should be almost out of water and the rice should be creamy and al dente.

When done, remove from heat and stir in the parmesan cheese and parsley. Season with salt and pepper to taste. Serve warm.

Ingredient Index

Related Posts Plugin for WordPress, Blogger...