Happy long weekend! I’m headed home today to spend time with my family and boyfriend over the next few days, and after a stressful week and a while since my last visit, I’m so looking forward to it! I also can’t wait for a delicious Easter dinner with all my family, especially since I won’t have to make any of the main dishes so I can enjoy everyone else’s amazing cooking!
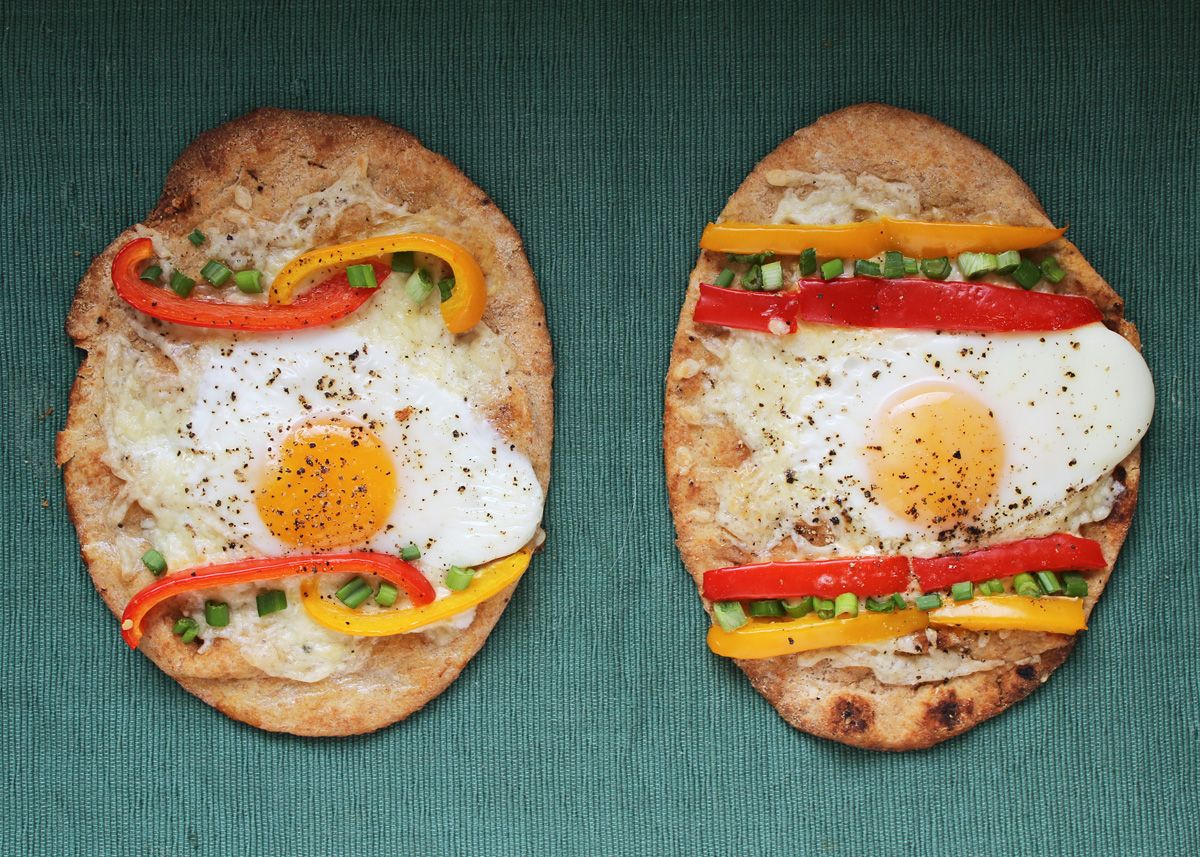
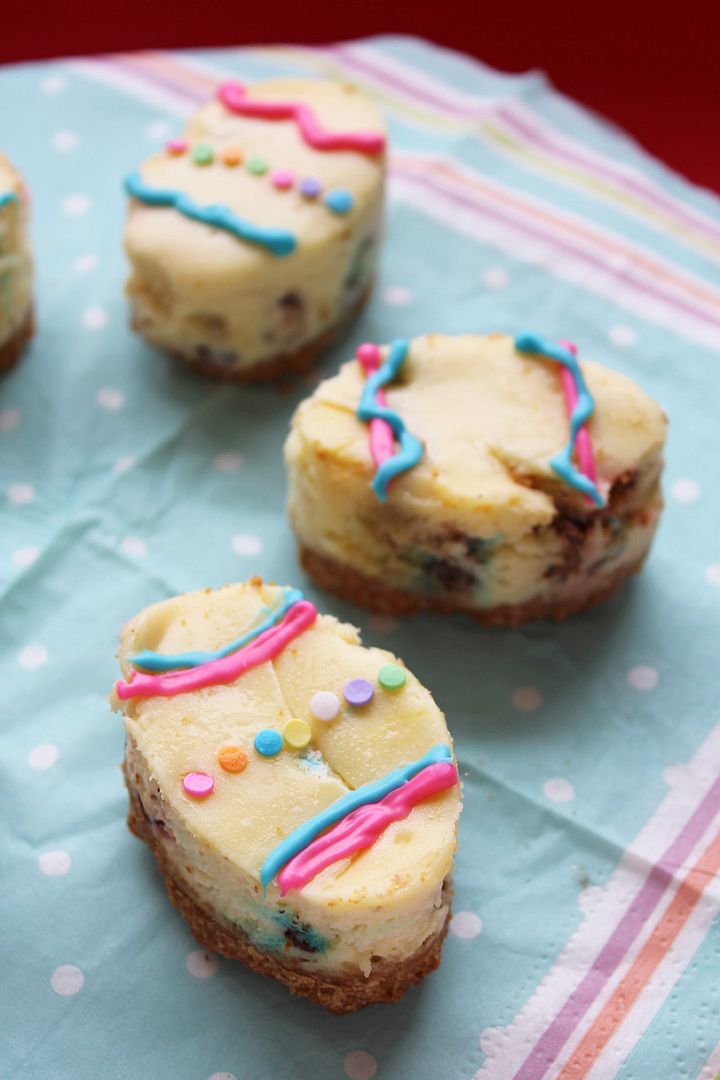
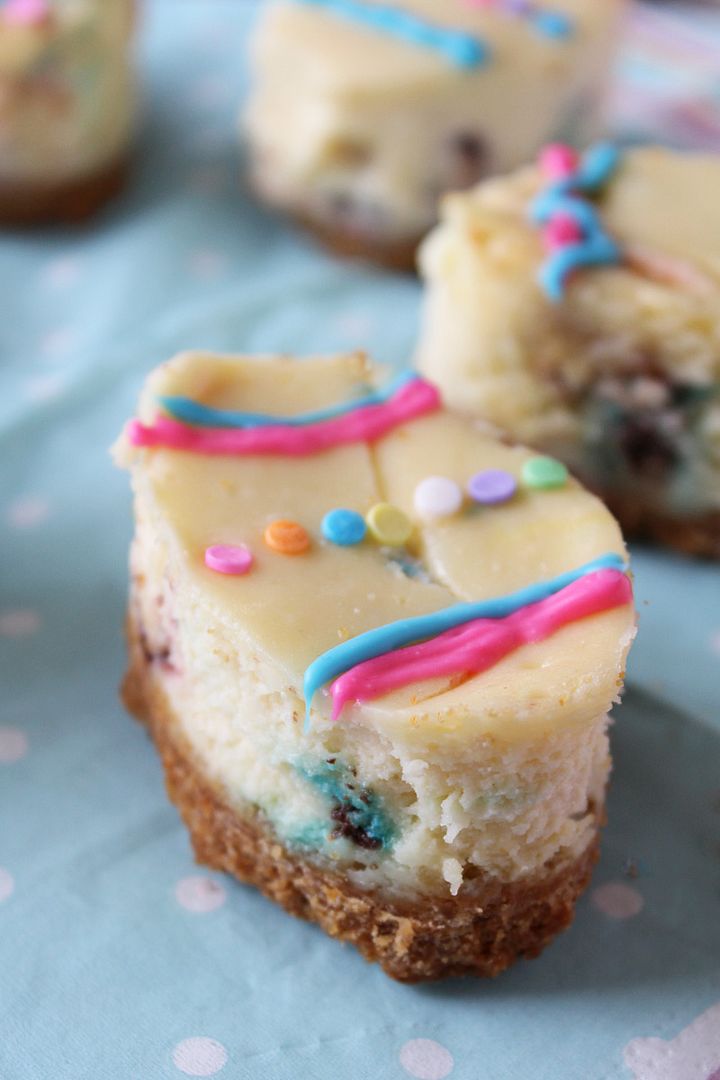
Since I don’t have to make anything on the actual holiday, I made these egg-shaped cheesecakes a little early. I came up with this idea last Easter but never got around to making them, so I was determined to try them this year before Easter quickly passed again!
Now the problem when you’ve been planning a recipe for over a year is that it becomes so perfect in your mind that it's going to be very hard to live up to the picture in your mind when you actually make it in real life. These were not as easy to make as I’d envisioned, but they still turned out great in the end, and I can give you some tips to make your experience go easier than mine!
- Make these in a 9x9 inch pan instead of an 8x8 like I did (I corrected this in the recipe below). An 8x8 pan was a little too deep and made the egg shapes hard to cut out with a cookie cutter. There's still plenty of crust and filling to fit a 9x9 pan and you’ll have an easier time cutting out the eggs than I did.
- If you still have a hard time cutting the eggs, try cutting out rectangles first and then using your cookie cutter, that way you don’t ruin all the surrounding cheesecake trying to push down on the cutter (like I did once).
- Wait until the cheesecake is completely cooled before you try cutting it – even after a few hours, it still wasn’t quite ready, but it was so much easier in the morning. I ruined a piece trying to cut too early!
- Don’t use those malted Easter eggs as the chocolate inside! I chopped mine up and added them to the batter, but when it was done, I noticed little pockets of wetness throughout the cheesecake. It turns out that the malted filling of the chocolate eggs just melted during baking. It still all tasted great, but next time I’d just use mini eggs or something more sturdy like that.
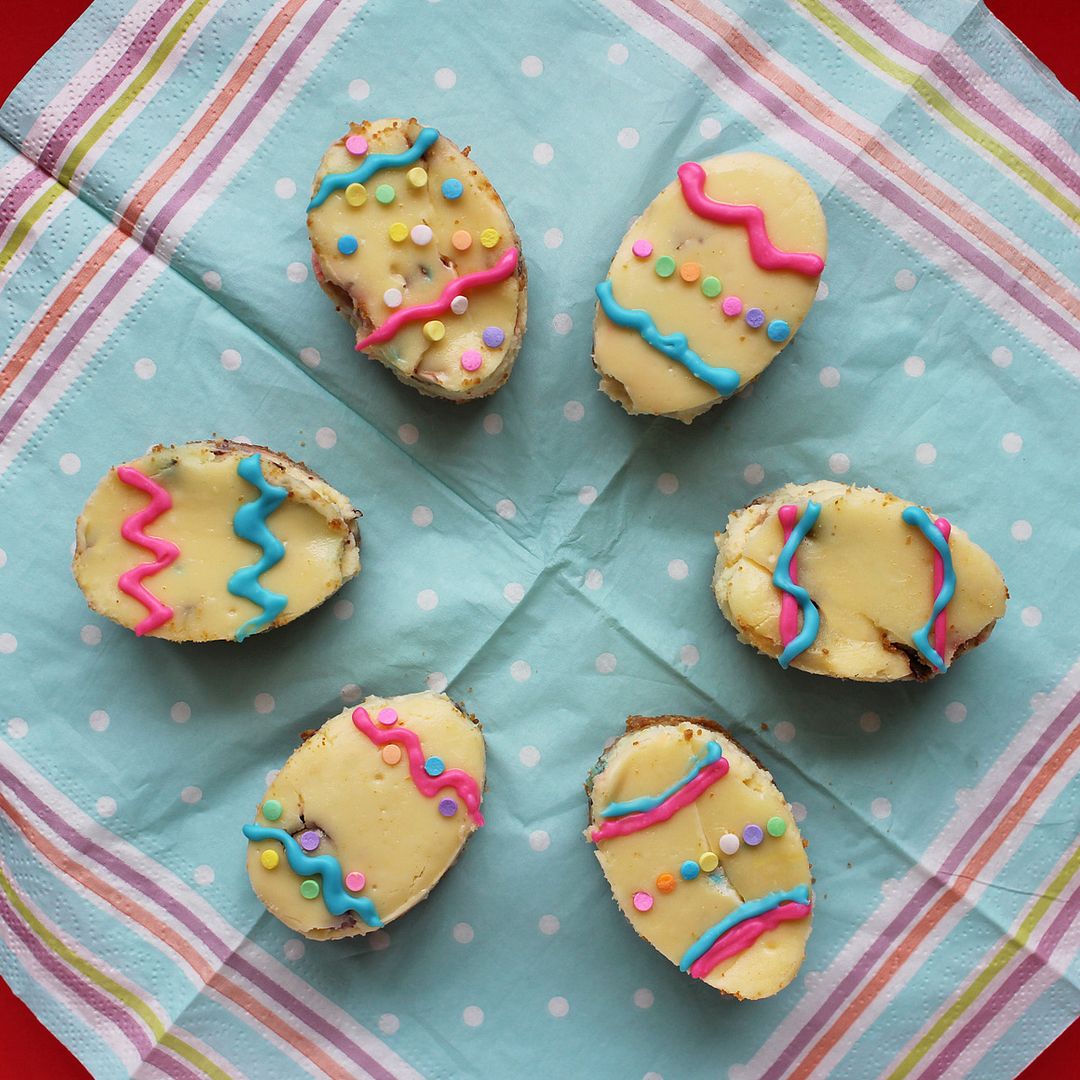
- If you don’t have time to make all the cheesecake into eggs, just use about half the cheesecake to make eggs and cut the other half into squares – your display will still look as pretty with alternating eggs and simple squares!
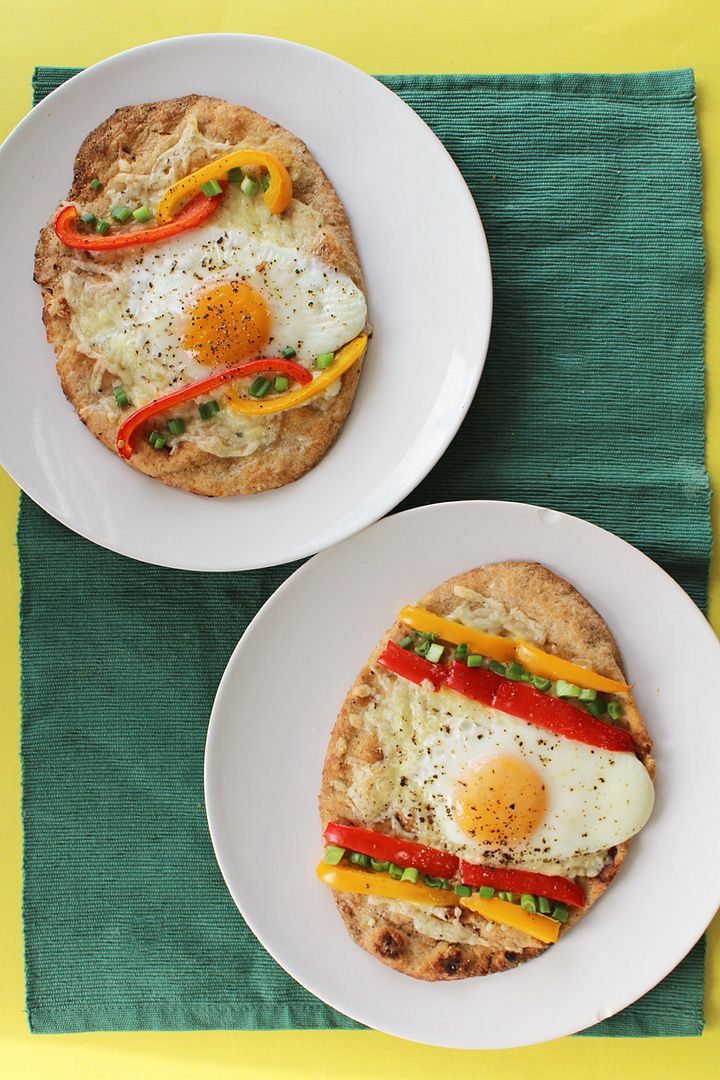
Despite some of the problems I had along the way, these still turned out just as pretty as I’d pictured them in my mind, and I probably don’t need to tell you that they tasted fantastic – it’s cheesecake, what’s not to love! I brought some to school to share with my coworkers yesterday and I got lots of feedback that people loved them, which made it all worth it!
Hope you all have a happy Easter, or just a great long weekend!
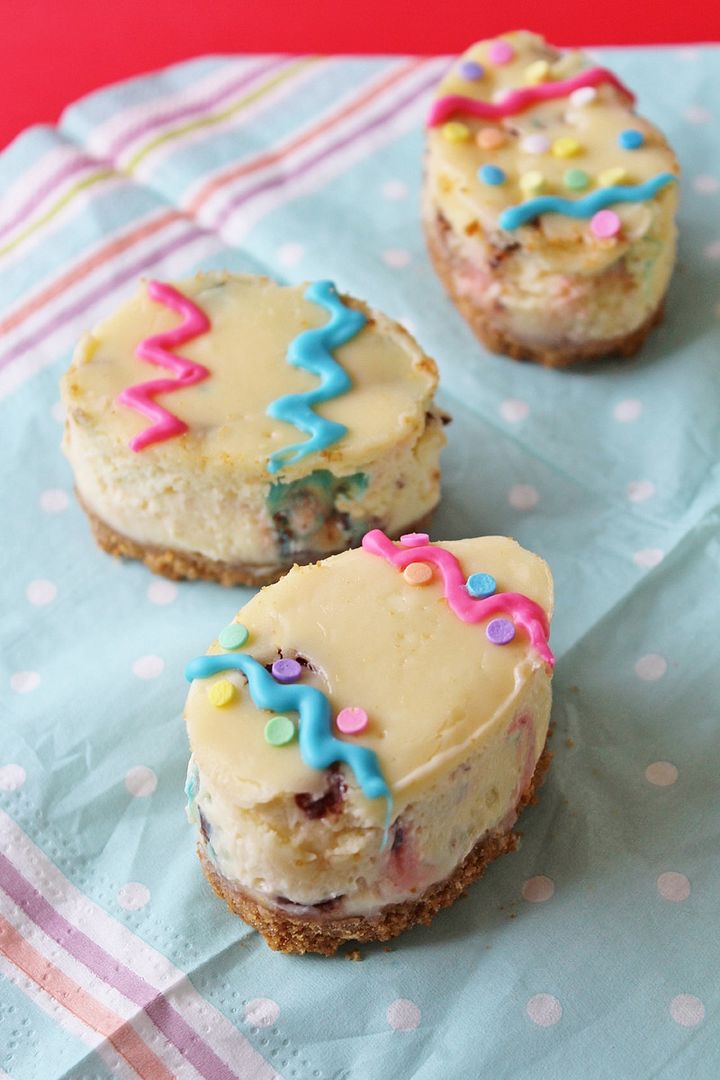
Easter Egg Cheesecake Bars
Makes one 9x9-inch pan, about 10-15 eggs depending on size of cutter
Ingredients:
For the Crust:
1-1/2 cups graham cracker crumbs
1/8 teaspoon salt
1/4 cup unsalted butter, melted
For the Cheesecake:
2 bricks of cream cheese (250g each), softened
2/3 cup sugar
2 large eggs
1/4 cup sour cream
1 teaspoon vanilla extract
1 cup chopped Easter chocolate such as mini eggs
Sprinkles and coloured melting wafers for decorating
Directions:
Preheat oven to 325°F. Line a 9x9-inch pan with aluminum foil and spray with non-stick cooking spray. Mix graham cracker crumbs, salt and butter until thoroughly combined. Pour into prepared pan and press firmly into an even layer. Bake in preheated oven for 10 minutes, then set on a wire rack to cool.
In a large bowl or bowl of an electric mixer, beat the cream cheese until smooth, about 3 minutes. Beat in the sugar and mix until well combined, about 1 minute. Beat in eggs one at a time, followed by the sour cream and vanilla, and mix just until combined. Stir in the chopped chocolate. Pour mixture over cooled crust and spread evenly. Bake in preheated oven for 35-40 minutes, until edges are set but middle jiggles slightly when you shake the pan.
Place pan on a cooling rack and let cool to room temperature for about 2 hours. Refrigerate for at least 3 hours, or preferably overnight. Use an egg shaped cookie cutter to cut shapes out of cooled cheesecake. Depending on how deep your cutter is, you may not be able to press it all the way through the crust cleanly. I found it easiest to cut rectangles (the size of my cutter) out first, then press the cutter through the piece of cheesecake and use a knife to cut through the crust using the cutter as a guide, then gently push the cheesecake out of the cutter. You will end up with scraps of cheesecake leftover, but I had no problem eating those! Decorate cheesecake like Easter eggs using melted chocolate wafers and sprinkles, if desired (you could just use melted chocolate chips too). Keep refrigerated.