I hope you all had a wonderful Christmas and happy holidays!
I've been having a very restful and quiet holiday break so far, except for the fact that I came down with the flu a couple of days before Christmas, and though the fever and aches are now gone, I've been left with a nagging cough that won't seem to go away. The good news is that it has forced me to take it easy so I've been doing a lot of relaxing! Being sick put a little bit of a damper on Christmas but I still had a fantastic day with my family, who spoiled me as usual, and I got out of any cooking duties so I just got to enjoy all the fabulous food made by everyone else!
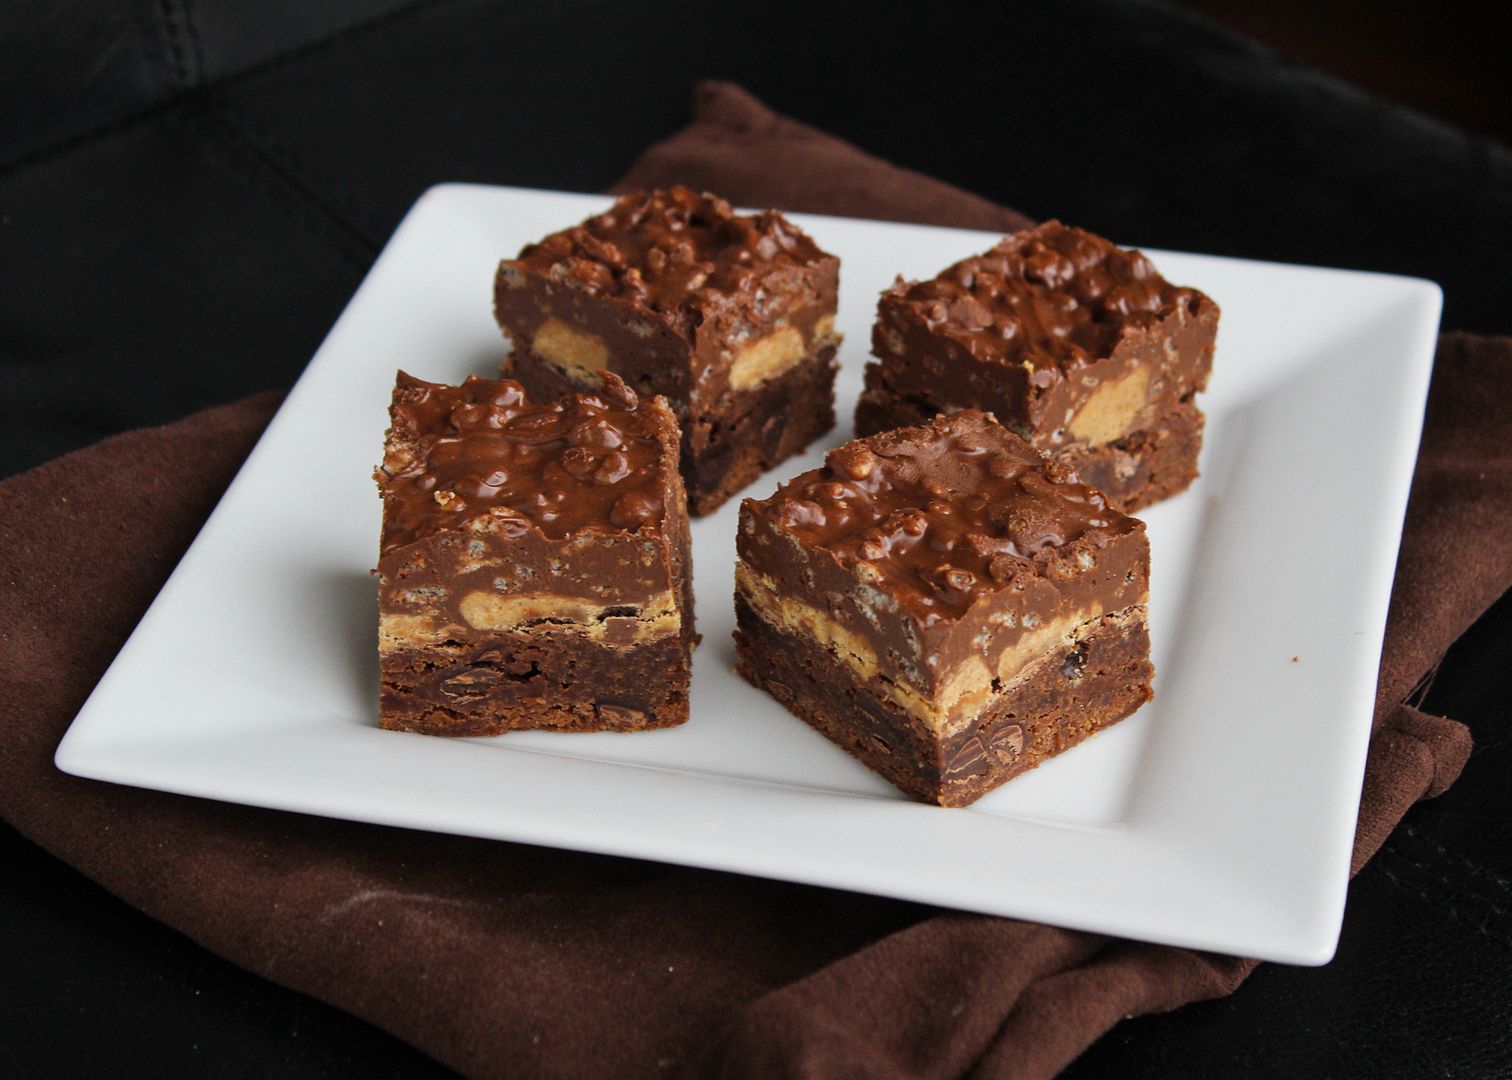
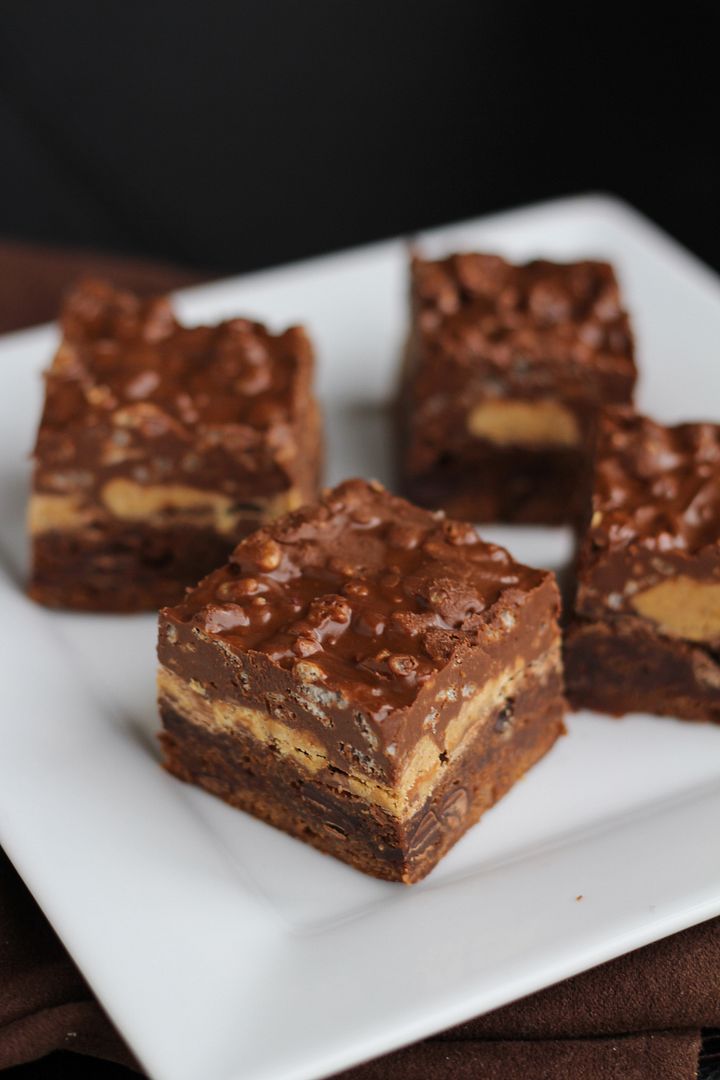
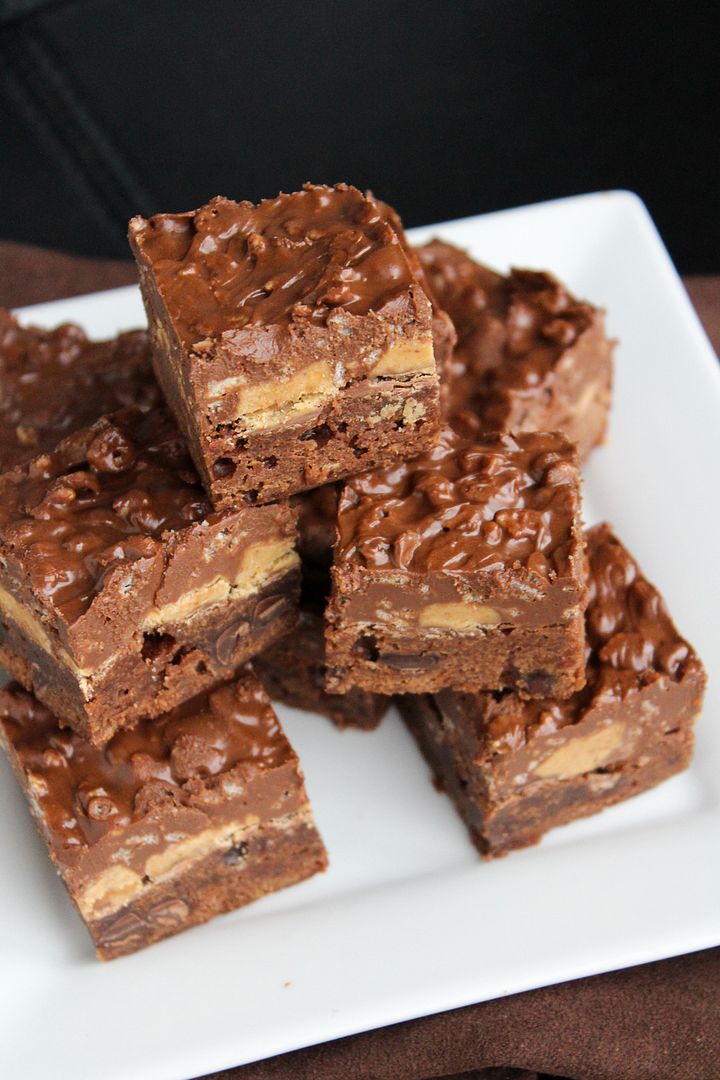
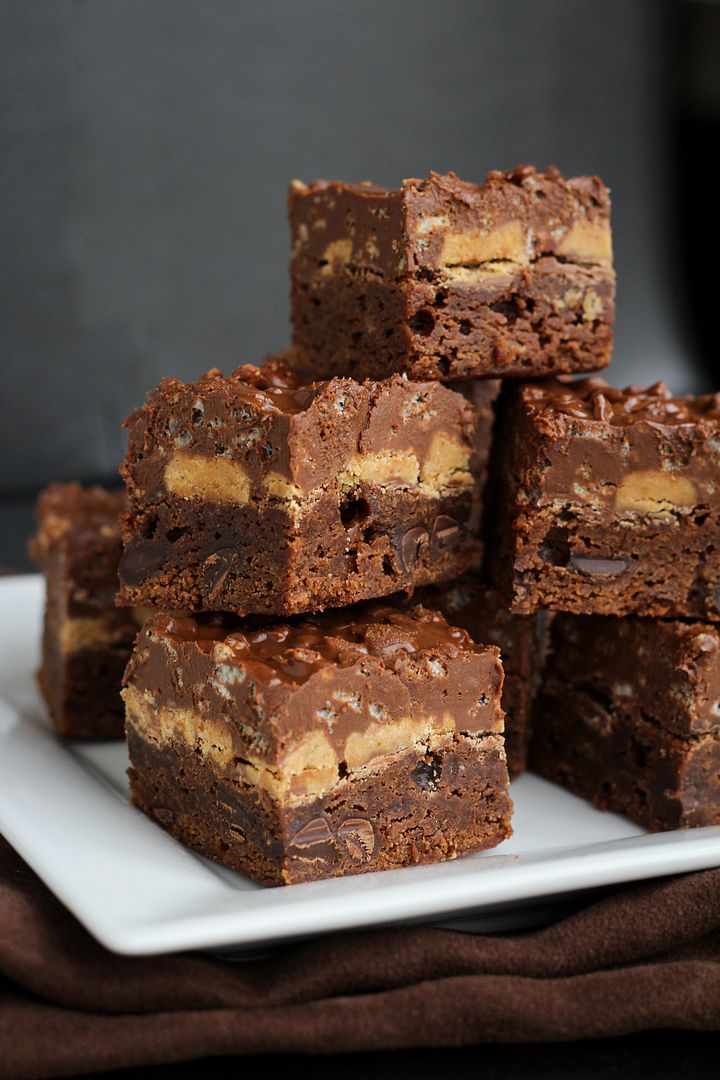
Another good thing about being sick is that I haven't overindulged on food and drink like I usually do this time of year, mostly sticking to a ton of water and tea in the evenings. The one thing I probably enjoyed more than my fair share of though was these delicious cheesecake bars that I luckily made a few days before I got sick.
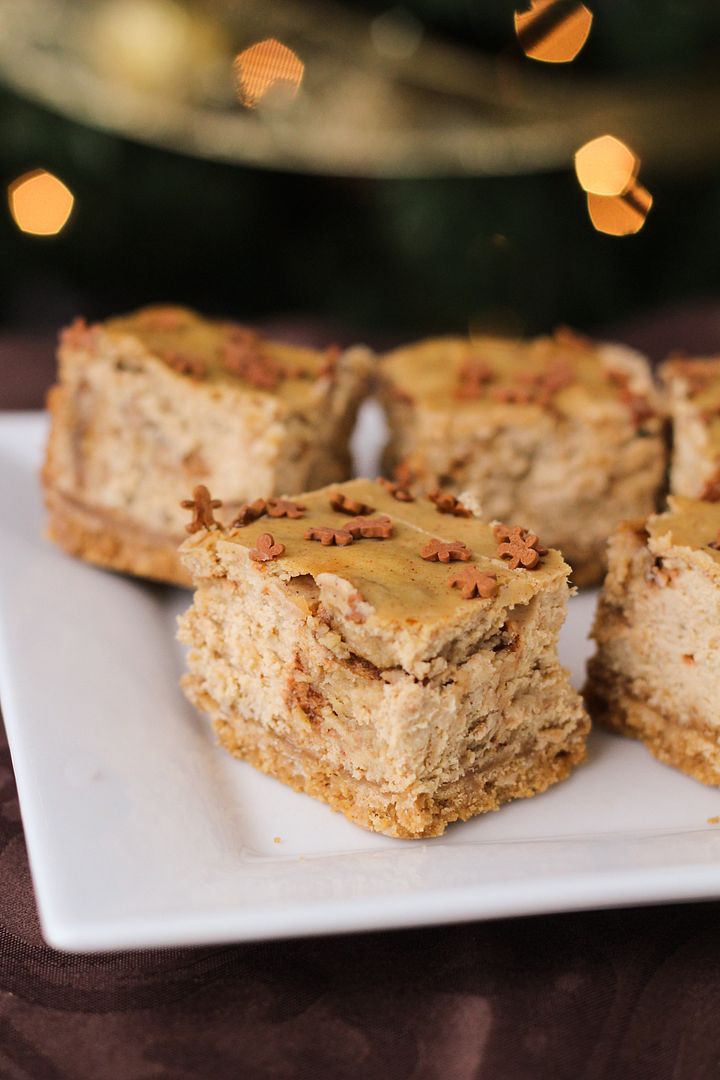
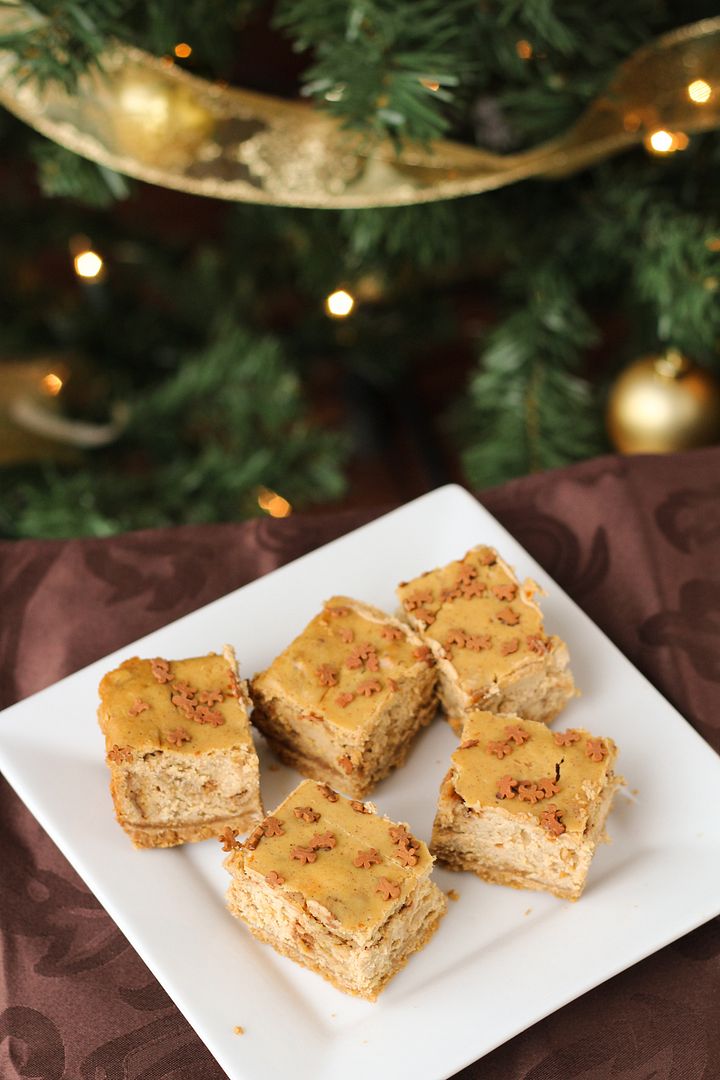
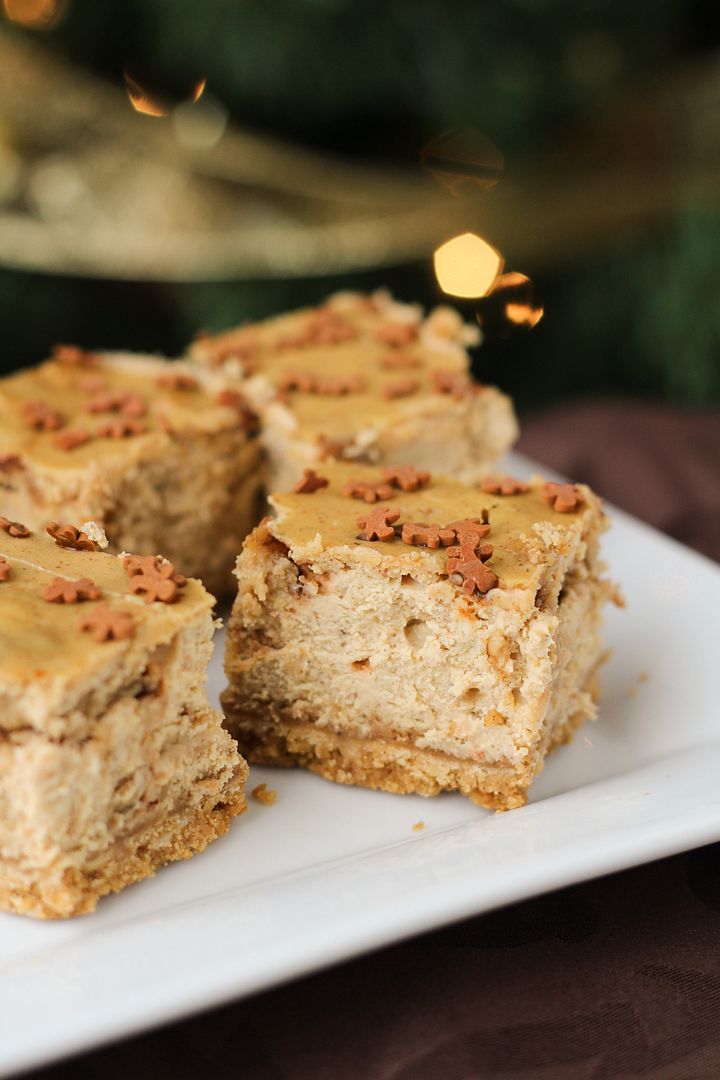
These were inspired by the limited edition gingerbread flavoured Oreos that I couldn't resist picking up this year. I immediately decided to use them in cheesecake bars similar to the candy cane ones I made last year, but with molasses and gingerbread spices instead of candy canes and peppermint extract for flavouring.
I wasn't originally going to share these because I ran out of time before Christmas to post them, but I got so many compliments and enjoyed them so much that I thought I should share them now anyways. I'm sure most of you are already past the gingerbread stage and perhaps not wanting to go anywhere near dessert right now, so if that's the case just be sure to save this recipe for next year! Or maybe you can find some gingerbread Oreos on clearance right now, in which case you should make a double batch of these!
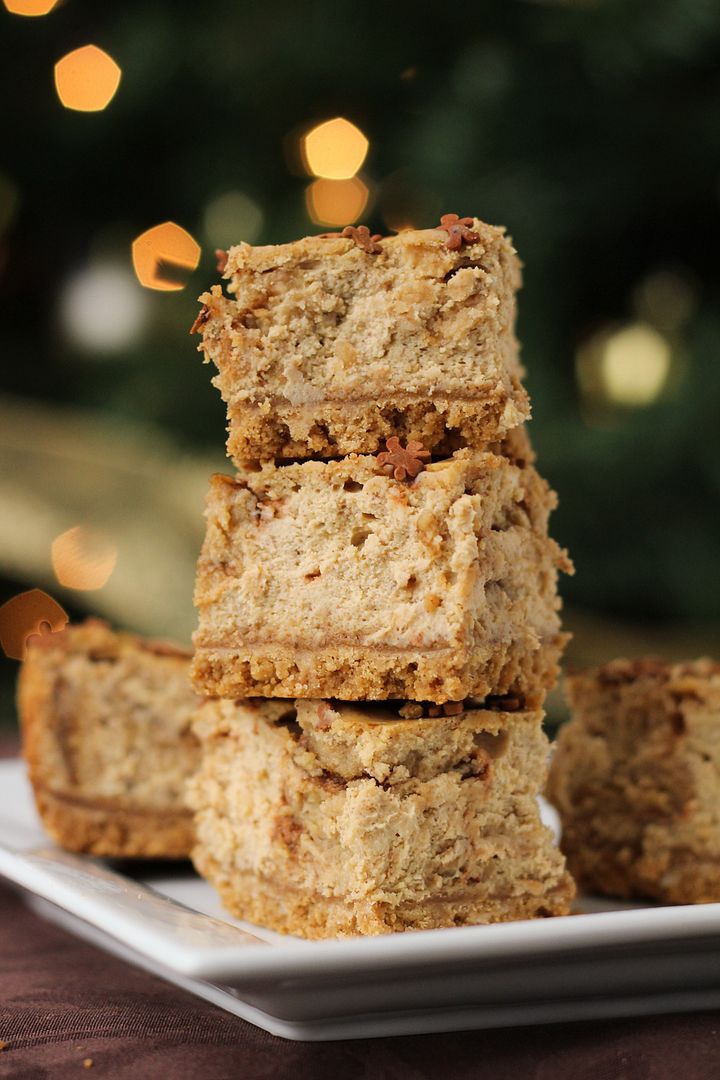
Gingerbread Oreo Cheesecake Bars
Adapted from my Candy Cane Oreo Cheesecake Bars
Makes one 8x8 pan, about 16-20 bars
Ingredients:
For the Crust:
23 Gingerbread Oreos
1/2 teaspoon cinnamon
2 tablespoons unsalted butter, melted
For the Filling:
16 oz (2 bricks) cream cheese, softened
1/3 cup sugar
1 large egg + 1 egg yolk, lightly beaten
1/4 cup + 2 tablespoons sour cream, at room temperature
1 teaspoon vanilla extract
2 tablespoons molasses
1 teaspoon cinnamon
1/2 teaspoon ground ginger
1/4 teaspoon nutmeg
1/4 teaspoon cloves
12 Gingerbread Oreos, roughly chopped
*Note: You will need to buy two boxes of gingerbread Oreos to make this recipe, though you won't use the entire two boxes
Directions
Preheat oven to 325°F. Line an 8x8-inch baking dish with aluminum foil, leaving an overhang around the edges to easily lift the bars out of the pan later. Lightly spray the foil with non-stick cooking spray.
To make the crust, finely crush the Oreos in a food processor. Add the cinnamon and melted butter and pulse until cookie crumbs are moistened. Pour mixture into the prepared pan and press crumbs into an even layer over the bottom of the pan. Bake in preheated oven for 10 minutes, then set aside. Leave the oven on.
To make the filling, beat the cream cheese in the bowl of an electric mixer on medium-high until smooth, about 2 minutes. Mix in the sugar until well combined. Add egg and egg yolk one at a time, mixing just until each is combined. Mix in the sour cream, vanilla extract, and molasses until just combined. Mix in the spices until just combined. Stir in the chopped Oreos.
Pour the cheesecake batter over the baked crust, smoothing the top with a spatula. Bake for 40-45 minutes, until the cheesecake is set around the edges but slightly jiggles in the middle. Sprinkle gingerbread quins on top for decoration, if desired. Transfer to a wire rack to cool at room temperature for about one to two hours, then refrigerate until well chilled, at least 3 hours (I chilled mine overnight).
To cut the bars, pull the entire cheesecake out of the pan by lifting the foil edges, then peel away foil and slice into bars. Keep refrigerated until ready to serve.