I don’t know if it’s the call of summertime (and bikinis) or just the longer hours of daylight available in a day, but over the past month I’ve started fitting a lot more exercise into my schedule. I’d only just started getting into fitness in January but started off pretty slowly so I didn’t overdo anything (I have a bad knee that likes to act up a lot), but when new fitness classes became available in May, my sister and I started trying out a bunch and so far we've kept it up!
I’ve discovered a love for Zumba (my favourite of all classes; I am hopeless when it comes to the more salsa-esque moves but it is still so fun!) and yoga, along with a love/hate relationship with bootcamp style classes, which are so hard but also so effective! And tonight I’m going to try my first AquaZumba class (basically Zumba in the water), which should be interesting!
All this exercise not only has me craving healthy food more, but also needing quick dinners that can be waiting for me in the fridge when I get home later than normal and am starving! I especially love quinoa salads for this purpose because they keep well in the fridge, are full of protein, and can be customized to endless flavour combinations!
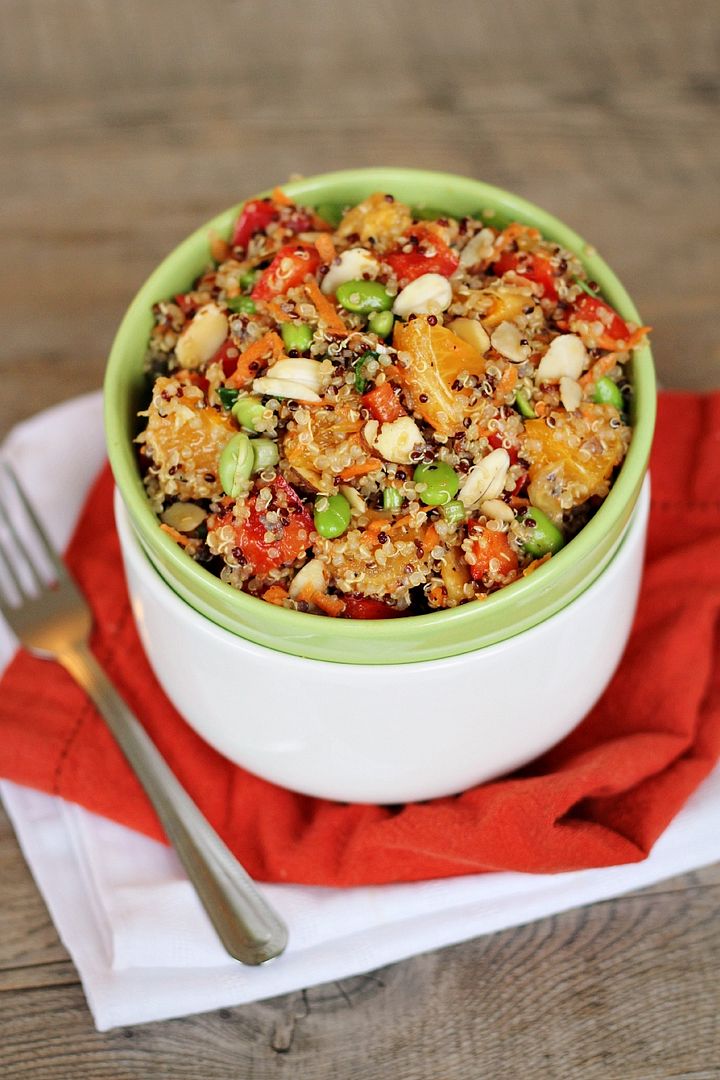
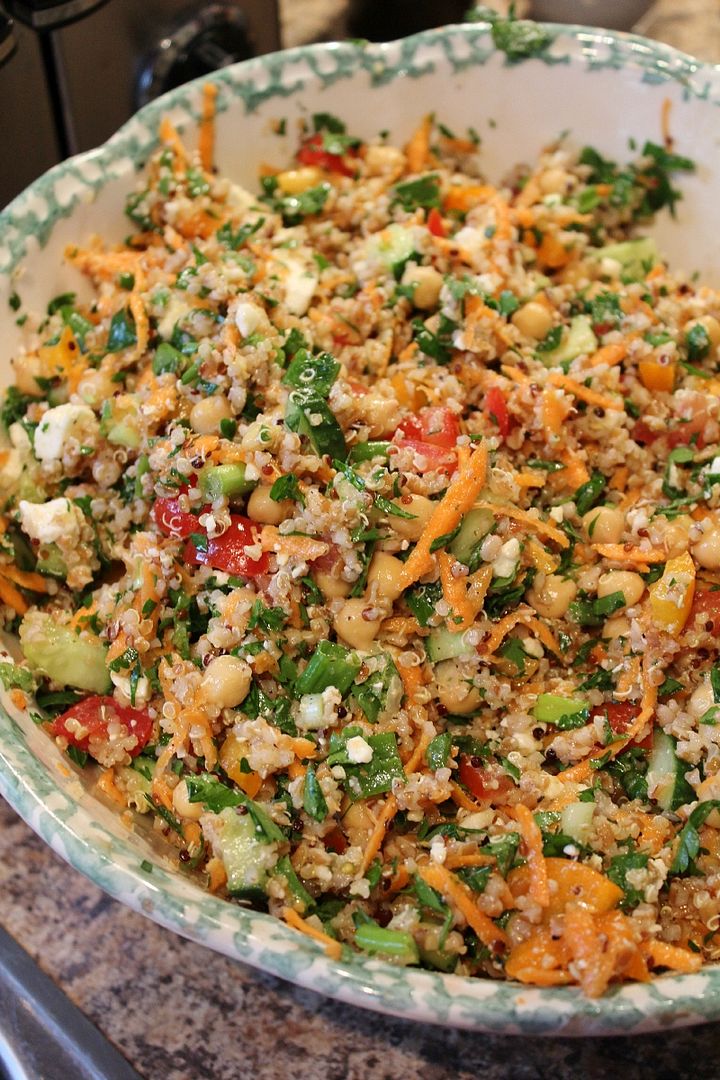
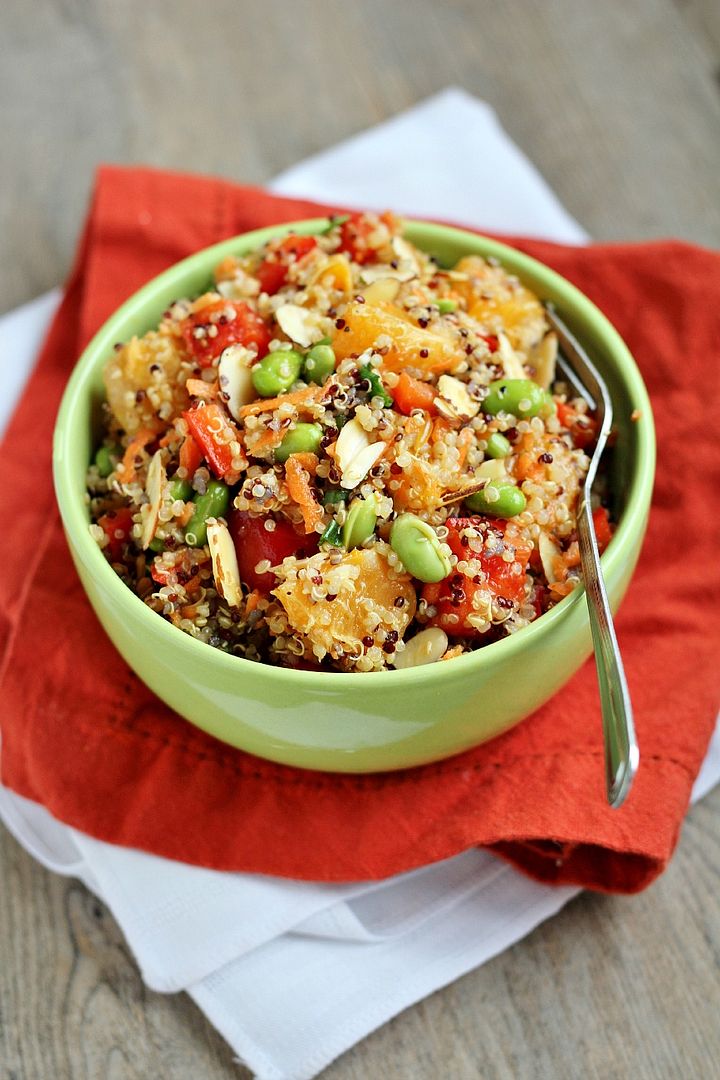
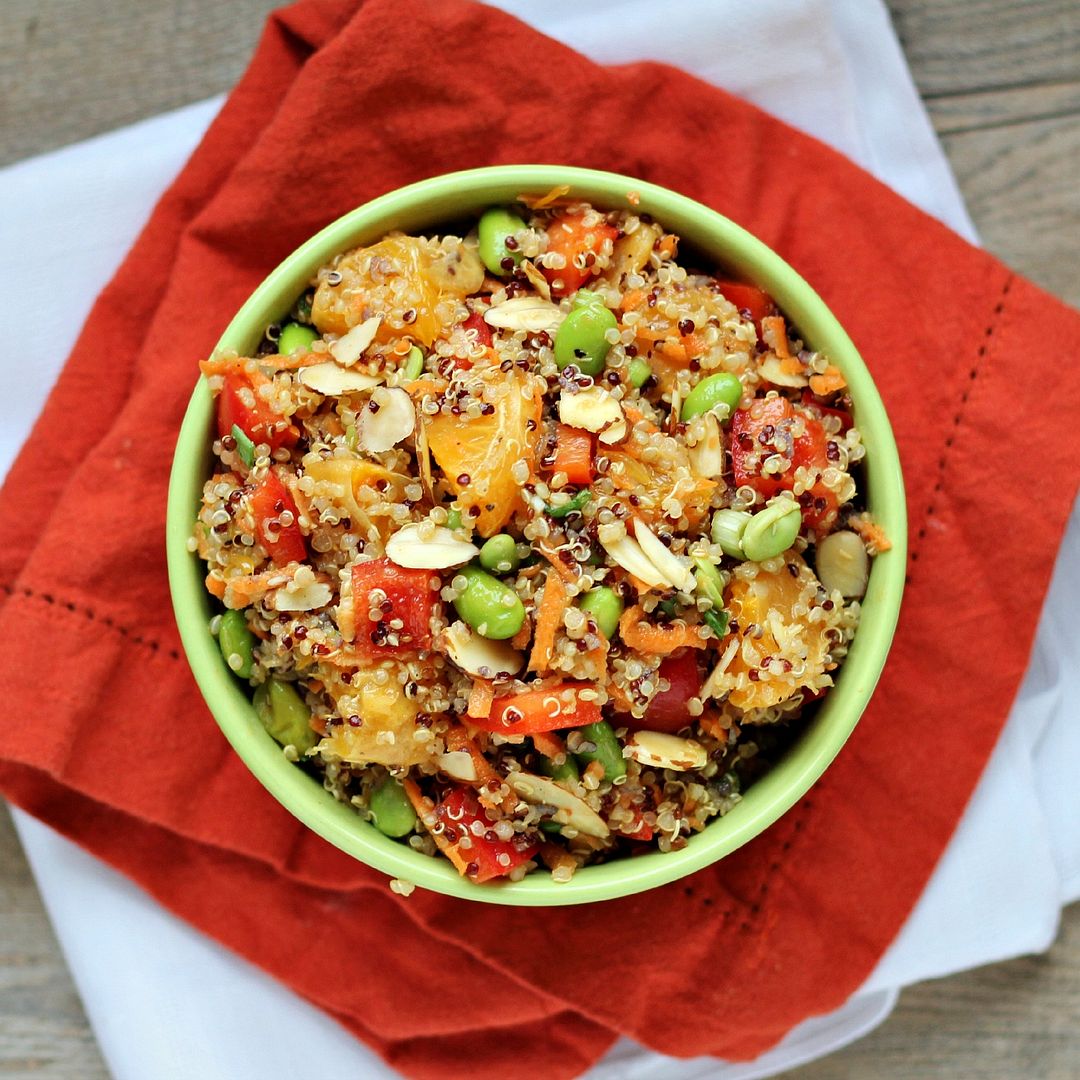
I’ve been wanting to try an Asian flavoured quinoa for a while, and when I started thinking of ingredients to include in one, I remembered this mandarin chicken salad I made a while ago and loved. So I decided to incorporate many of those same ingredients into a quinoa salad – I kept the red pepper, carrot, edamame, and mandarin oranges, added green onion, almonds, and orange juice in the dressing, and left out the chicken because there was already plenty of protein in this salad from the quinoa, edamame, and almonds (though you could certainly add chicken if you like!).
This was so fresh and every bite was full of flavour, with a wide range of textures from the crunchy red peppers to juicy oranges and buttery soft edamame. Regardless of whether I can keep up my fitness motivation or not, I know I’ll still be making this quinoa many more times this summer!
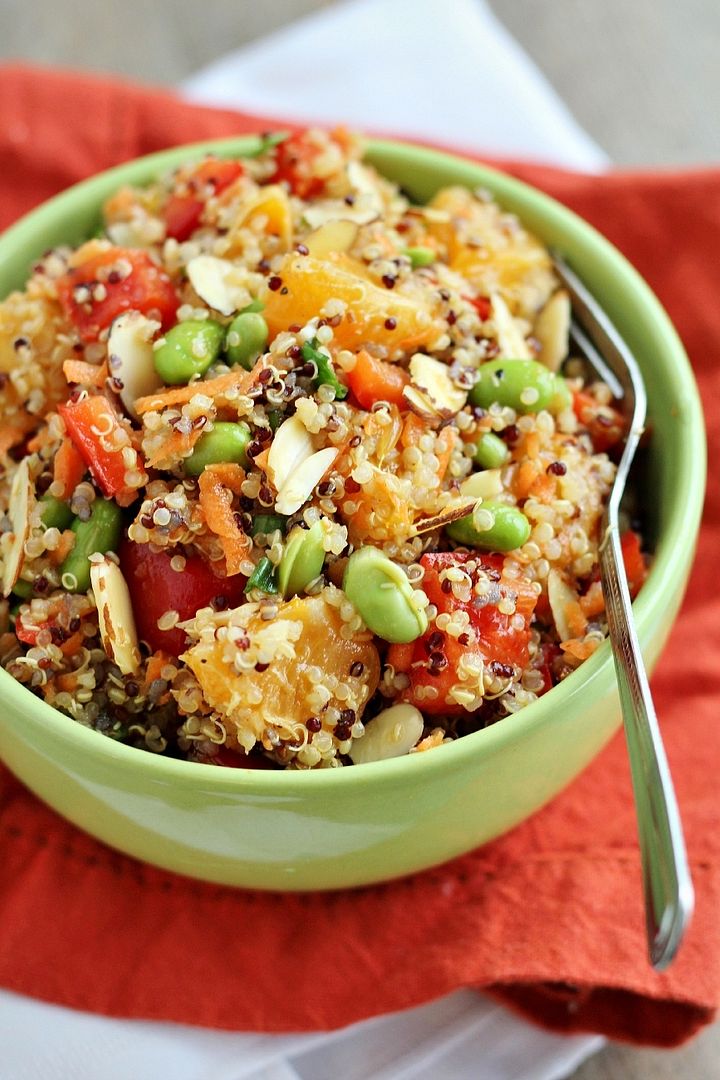
Asian-Inspired Mandarin Quinoa Salad
Makes 2-3 main dish servings or around 6 side dish servings
Ingredients:
For the Quinoa:
1 cup uncooked quinoa (I used golden & black mix)
1 cup vegetable broth, optional
1 cup shelled frozen edamame
1 red bell pepper, chopped
1 to 1.5 mandarin oranges, peeled and chopped
2 large carrots, grated
2 green onions, chopped
1/4 cup sliced almonds, toasted if desired (I was too lazy but almonds are usually better toasted!)
For the Dressing:
2 tablespoons fresh mandarin orange juice (squeezed from about half a mandarin)
2 tablespoons rice vinegar
2 tablespoons sesame oil
1/2 teaspoon chili garlic sauce (optional for a bit of spice)
1-1/2 teaspoons honey (use agave or brown sugar to make this dish vegan)
2 teaspoons soy sauce
1 garlic clove, minced
Dash each of salt and pepper
Directions:
Bring 1 cup water and 1 cup vegetable broth to a boil in a medium saucepan. Add quinoa, cover, and reduce heat to simmer for 15 minutes. Remove from heat and let sit, covered, for 5 minutes, then remove lid and fluff with a fork. Let quinoa cool. (Note that the vegetable broth is optional to add a little extra flavour; if you choose not to use it then use 2 cups water total instead)
Meanwhile, cook edamame according to package directions - I added my edamame beans to 1 cup of boiling water, let them simmer for 3-4 minutes, then drained and rinsed them. Also whisk together all ingredients for the dressing in a small bowl and set aside.
Once quinoa has cooled to room temperature, combine quinoa, edamame, red pepper, oranges, carrots, green onions, and almonds in a large bowl. Pour dressing overtop and mix to combine. Serve at room temperature or chilled.