My twin sister Genevieve (from Vanilla & Spice) is in Kenya right now and I'm super jealous, so I thought I'd make myself an African-style meal to pretend that I'm also over there. It didn't quite work (the pretending I'm in Africa part), but the meal did turn out to be delicious!
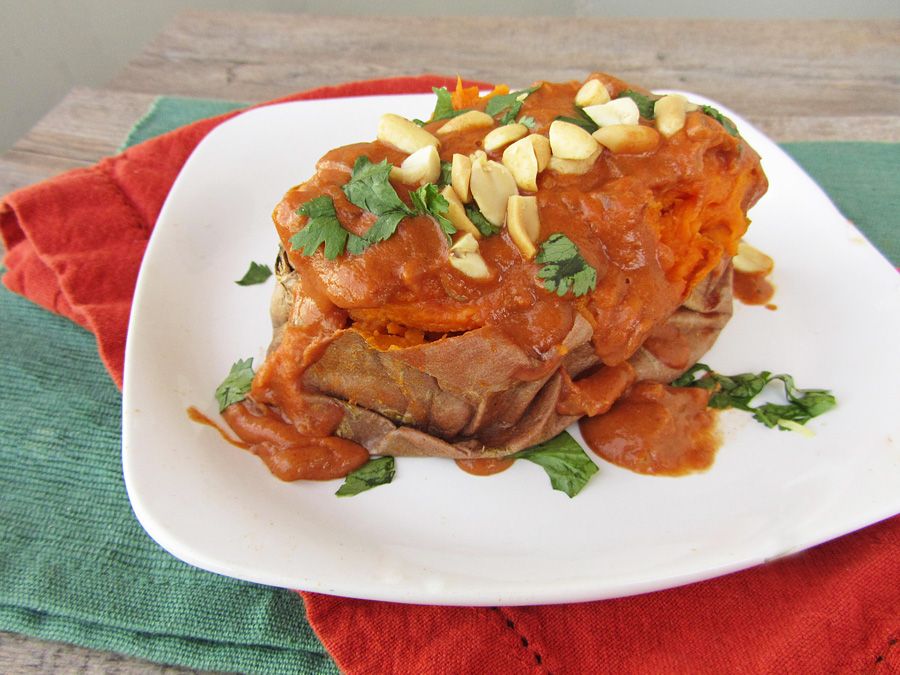
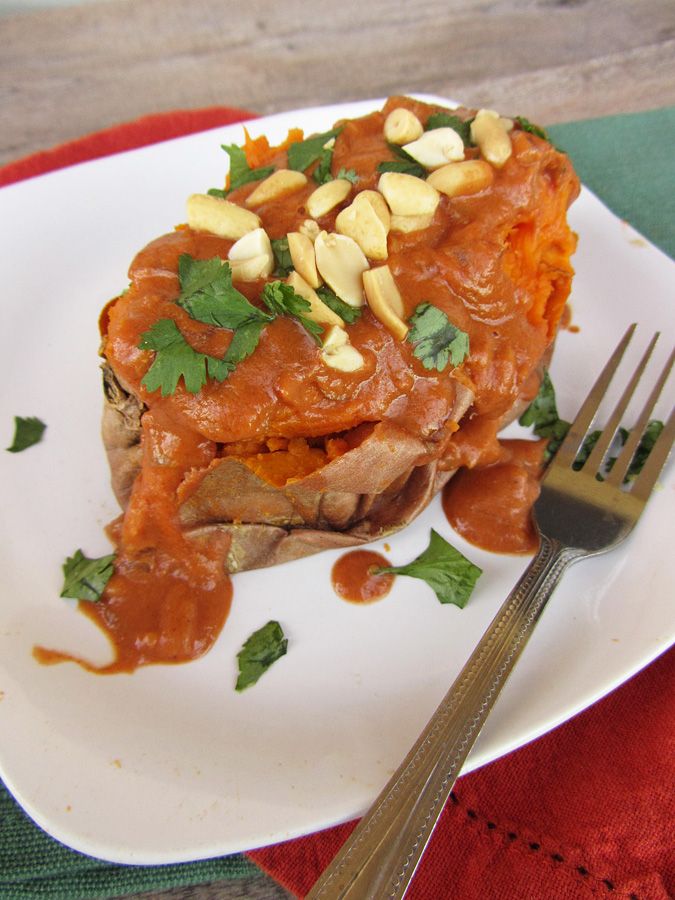
This is a simple, filling, and comforting dish made by baking a sweet potato and smothering it in a thick, creamy tomato-peanut sauce. I know Kenya isn't in West Africa, and honestly I don't even know if this is a true West-African dish anyway, but Cooking Light says it is, so I'm going with it!
You might think it's weird to pair sweet potatoes and peanut butter together, but trust me, it works! This actually reminded me of a lot of the African sweet potato and peanut stew that I love so much, except that the sweet potato is more the star of this dish.
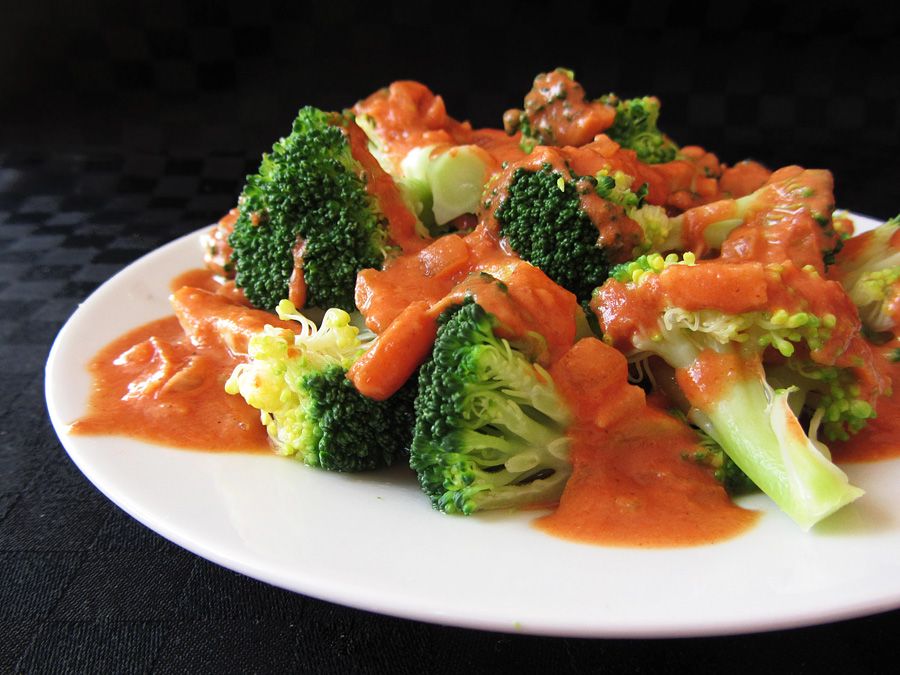
If you're not convinced, the sauce pairs well with veggies too. I served some of my extra sauce with steamed broccoli for a light lunch, and really enjoyed it!
Cooking Light suggests pairing a sweet potato with chicken, but I was really full from the sweet potato alone. This may be because I doubled the amount of sauce called for, and the sauce is pretty filling, but I thought it was necessary to double it to make sure there was enough for every bite of sweet potato. I think pairing one of these smothered potatoes with a side of salad makes for a satisfying vegetarian meal, but go ahead and add a protein if you like too, I do think the sauce would work well with chicken!
This may or may not be a completely authentic African meal, but it's still something a little different than what I'm used to, and is a great autumn dish!
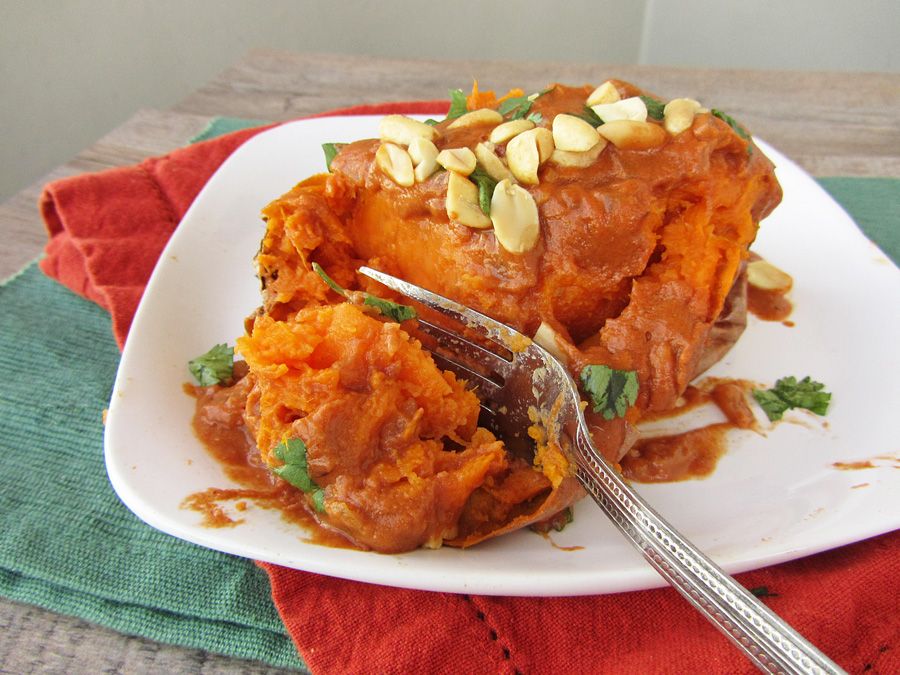
Baked Sweet Potatoes with West African-Style Peanut Sauce
Adapted from Cooking Light
Serves 2
Ingredients:
2 medium sweet potatoes
1 teaspoon olive oil
1/2 a small onion, finely diced
1 garlic clove, minced
2 teaspoons grated or minced fresh ginger
1 teaspoon cumin
1 teaspoon ground coriander
Dash of cayenne
1/2 cup water
1/2 cup crushed tomatoes (tomato sauce)
3 tablespoons smooth peanut butter
1/2 teaspoon lemon juice
1 teaspoon sugar
1/4 teaspoon salt
2 tablespoons chopped cilantro
2 tablespoons chopped peanuts (optional)
Directions:
Preheat oven to 400°F. Pierce sweet potatoes with a fork all over, and bake directly on the middle oven rack for 45 minutes or until tender.
Heat oil in a medium saucepan over medium heat. Add onion, ginger, and garlic, and cook for about 3 minutes, stirring often. Add cumin, coriander, and cayenne, and cook for another minute. Add water, tomato sauce, peanut butter, lemon juice, sugar, and salt. Stir or whisk until smooth, bring to a simmer, and cook for 2-3 minutes, until slightly thickened. Remove from heat.
Split potatoes lengthwise (not cutting all the way through), and squeeze the sides of the potato (with oven mitts on) so the filling fluffs out, if desired. Spoon sauce over potatoes and sprinkle with peanuts and cilantro. If you want to make sure sauce covers more of the sweet potato, cut the sweet potato up before adding the sauce.