December 30, 2013

Gingerbread Oreo Cheesecake Bars

Gingerbread Oreo Cheesecake Bars

I hope you all had a wonderful Christmas and happy holidays!

I've been having a very restful and quiet holiday break so far, except for the fact that I came down with the flu a couple of days before Christmas, and though the fever and aches are now gone, I've been left with a nagging cough that won't seem to go away.  The good news is that it has forced me to take it easy so I've been doing a lot of relaxing!  Being sick put a little bit of a damper on Christmas but I still had a fantastic day with my family, who spoiled me as usual, and I got out of any cooking duties so I just got to enjoy all the fabulous food made by everyone else!
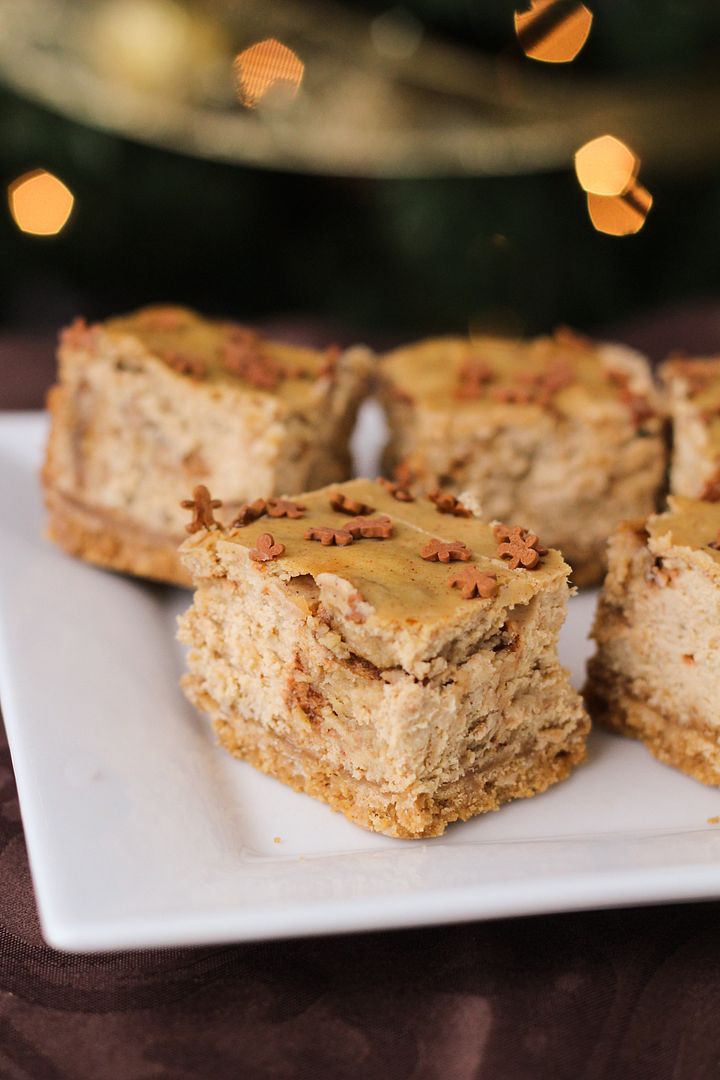
Gingerbread Oreo Cheesecake Bars

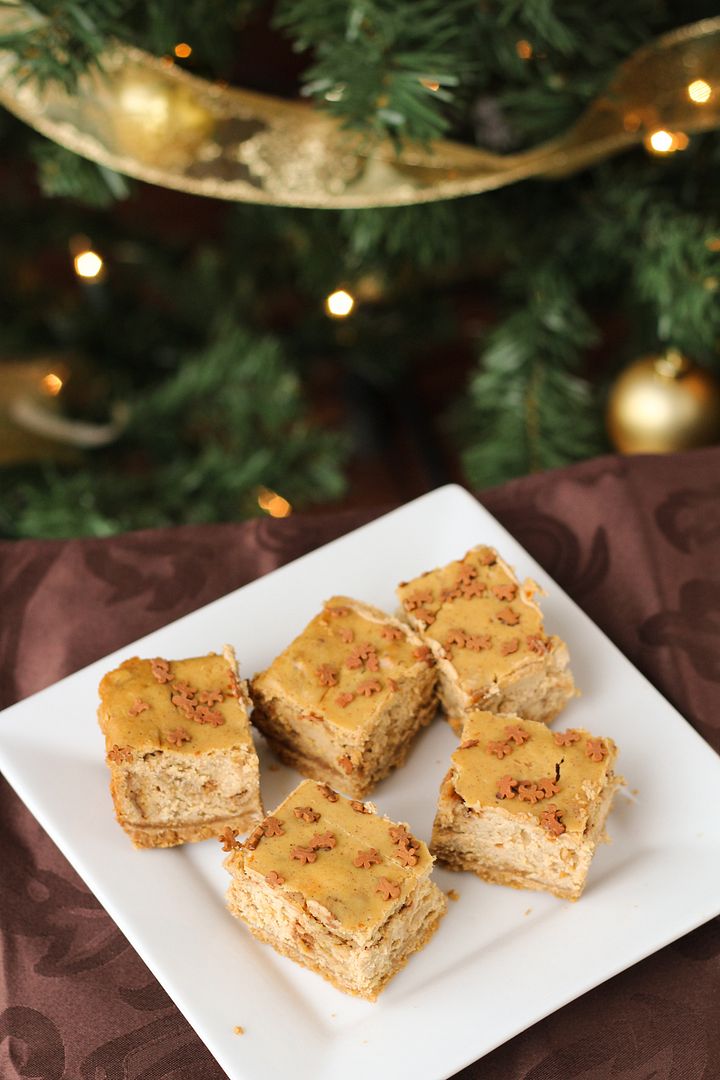
Another good thing about being sick is that I haven't overindulged on food and drink like I usually do this time of year, mostly sticking to a ton of water and tea in the evenings.  The one thing I probably enjoyed more than my fair share of though was these delicious cheesecake bars that I luckily made a few days before I got sick.

These were inspired by the limited edition gingerbread flavoured Oreos that I couldn't resist picking up this year.  I immediately decided to use them in cheesecake bars similar to the candy cane ones I made last year, but with molasses and gingerbread spices instead of candy canes and peppermint extract for flavouring.
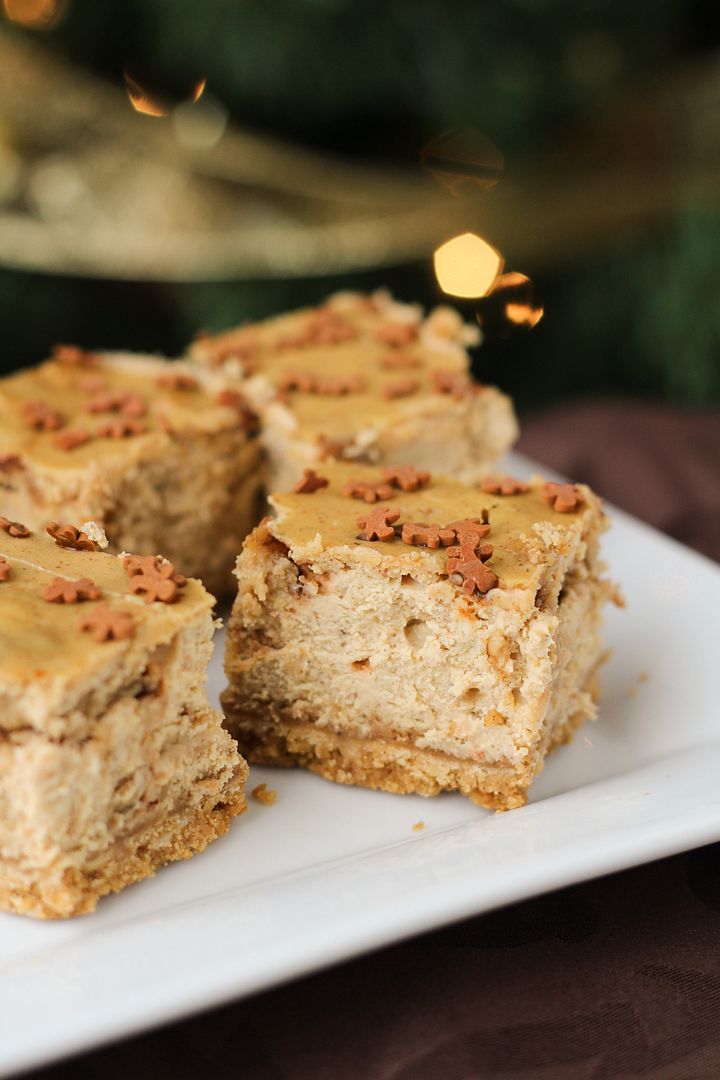
Gingerbread Oreo Cheesecake Bars

I wasn't originally going to share these because I ran out of time before Christmas to post them, but I got so many compliments and enjoyed them so much that I thought I should share them now anyways.  I'm sure most of you are already past the gingerbread stage and perhaps not wanting to go anywhere near dessert right now, so if that's the case just be sure to save this recipe for next year!  Or maybe you can find some gingerbread Oreos on clearance right now, in which case you should make a double batch of these!
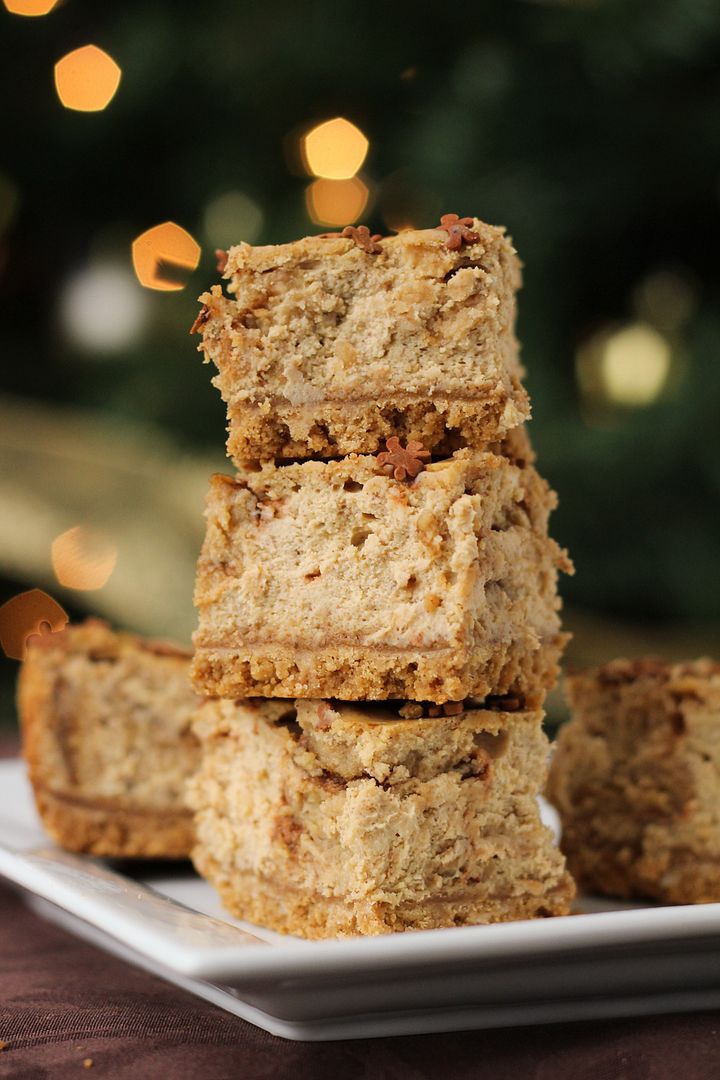
Gingerbread Oreo Cheesecake Bars

Gingerbread Oreo Cheesecake Bars


Makes one 8x8 pan, about 16-20 bars

Ingredients:

For the Crust:
23 Gingerbread Oreos
1/2 teaspoon cinnamon
2 tablespoons unsalted butter, melted

For the Filling:
16 oz (2 bricks) cream cheese, softened
1/3 cup sugar
1 large egg + 1 egg yolk, lightly beaten
1/4 cup + 2 tablespoons sour cream, at room temperature
1 teaspoon vanilla extract
2 tablespoons molasses
1 teaspoon cinnamon
1/2 teaspoon ground ginger
1/4 teaspoon nutmeg
1/4 teaspoon cloves
12 Gingerbread Oreos, roughly chopped

*Note: You will need to buy two boxes of gingerbread Oreos to make this recipe, though you won't use the entire two boxes

Directions

Preheat oven to 325°F.  Line an 8x8-inch baking dish with aluminum foil, leaving an overhang around the edges to easily lift the bars out of the pan later.   Lightly spray the foil with non-stick cooking spray.

To make the crust, finely crush the Oreos in a food processor.  Add the cinnamon and melted butter and pulse until cookie crumbs are moistened.  Pour mixture into the prepared pan and press crumbs into an even layer over the bottom of the pan.  Bake in preheated oven for 10 minutes, then set aside.  Leave the oven on.

To make the filling, beat the cream cheese in the bowl of an electric mixer on medium-high until smooth, about 2 minutes.  Mix in the sugar until well combined. Add egg and egg yolk one at a time, mixing just until each is combined. Mix in the sour cream, vanilla extract, and molasses until just combined.  Mix in the spices until just combined.  Stir in the chopped Oreos.

Pour the cheesecake batter over the baked crust, smoothing the top with a spatula.  Bake for 40-45 minutes, until the cheesecake is set around the edges but slightly jiggles in the middle.  Sprinkle gingerbread quins on top for decoration, if desired.  Transfer to a wire rack to cool at room temperature for about one to two hours, then refrigerate until well chilled, at least 3 hours (I chilled mine overnight).

To cut the bars, pull the entire cheesecake out of the pan by lifting the foil edges, then peel away foil and slice into bars.  Keep refrigerated until ready to serve.

December 24, 2013

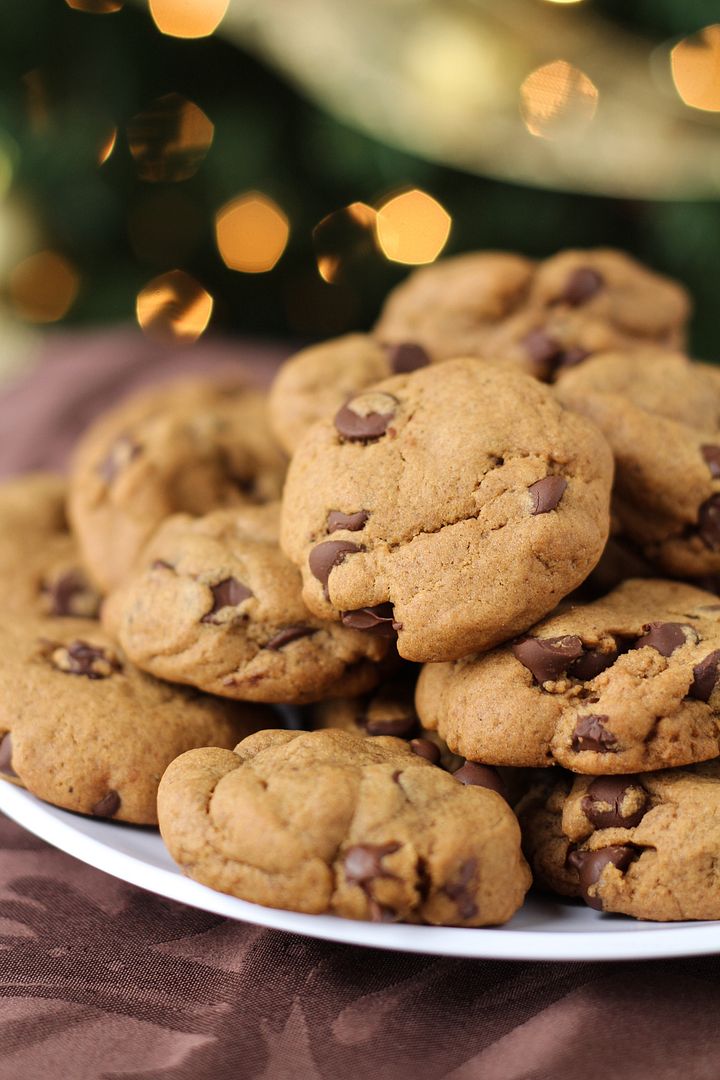
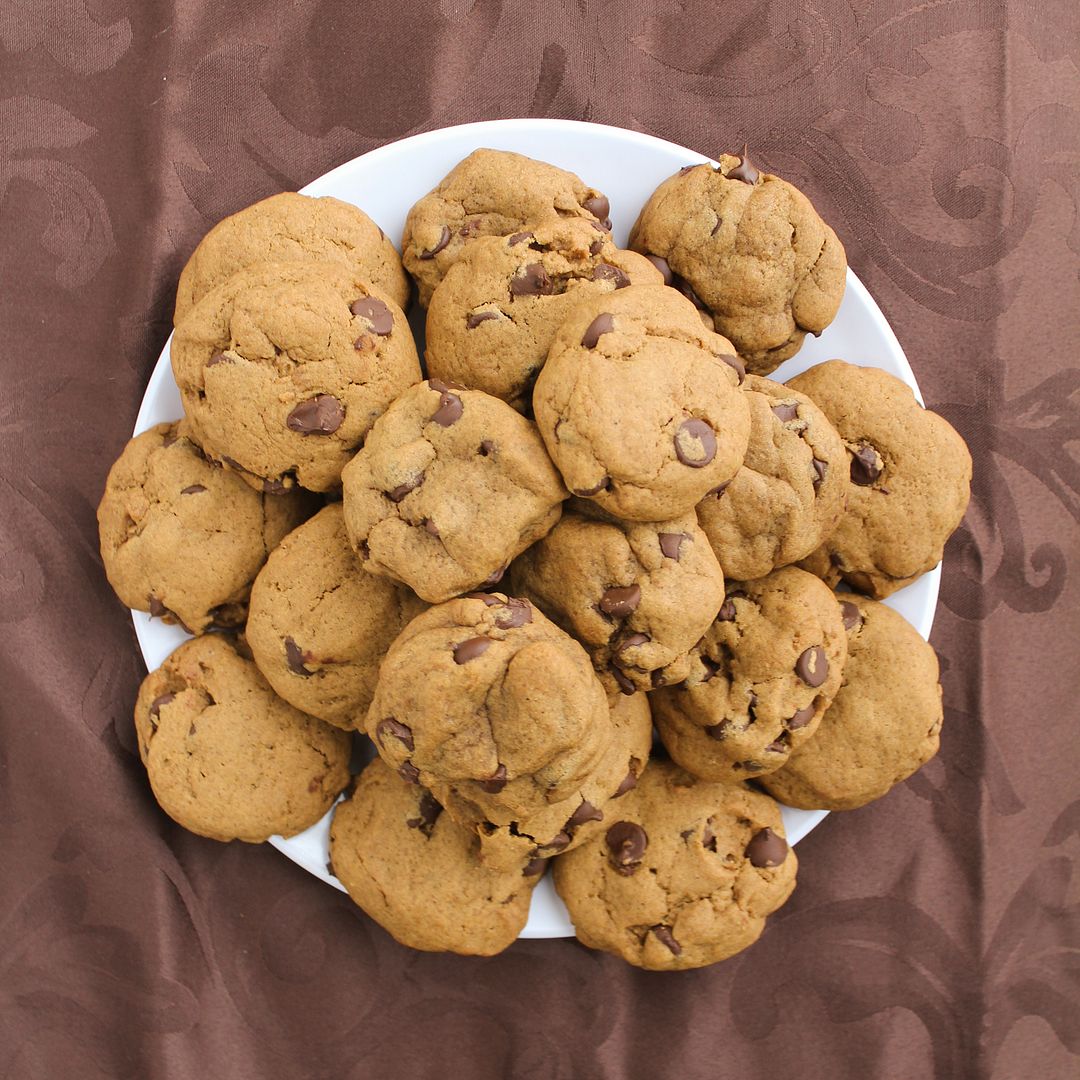
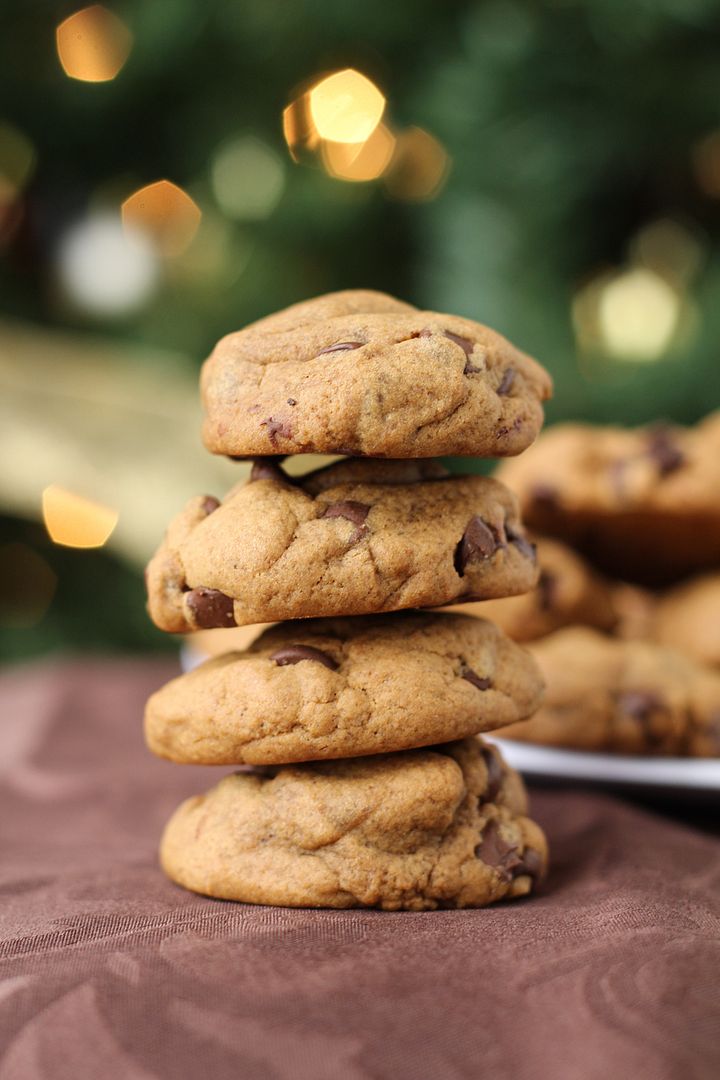
Gingerbread Chocolate Chip Cookies

Gingerbread Chocolate Chip Cookies

I'll have to make this post short as I'm not feeling well but still have to do all my Christmas wrapping and last minute preparations before the big day tomorrow (which hopefully I'll be feeling better for)!  I just wanted to squeeze in one last Christmas recipe though as these cookies were probably my favourite thing I've made this season!

Gingerbread Chocolate Chip Cookies

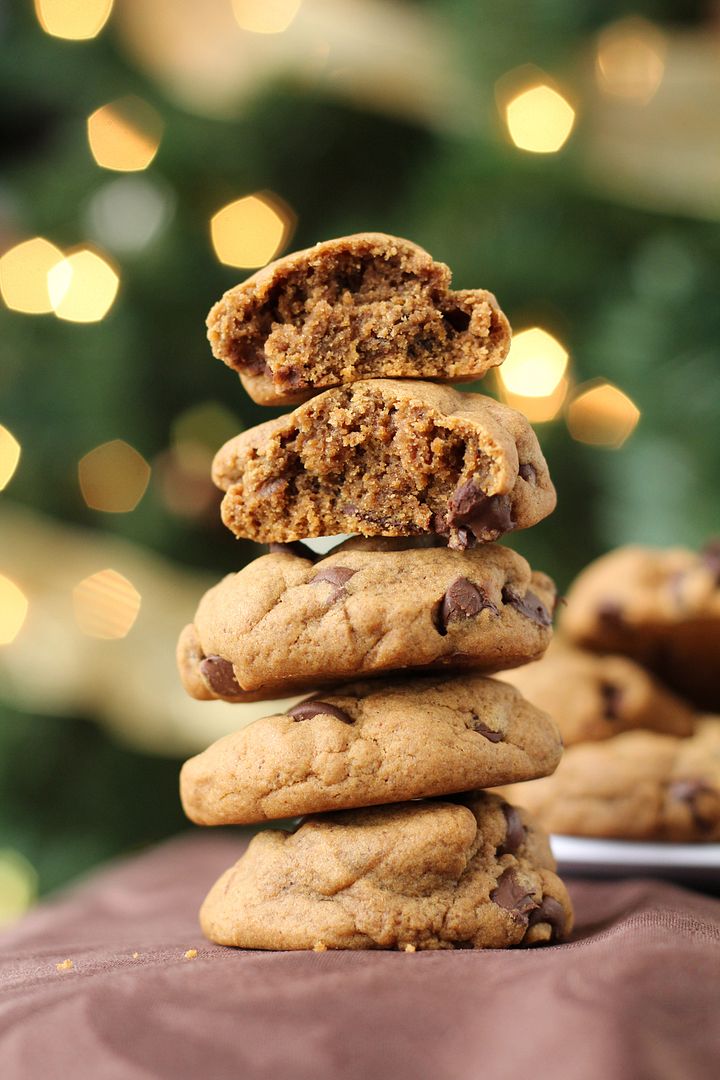
These cookies are inspired by a recipe I saw on Baked By Rachel, which I then went and changed almost everything about so I'm sure they're nothing like the original, but I absolutely loved my own version!  They're puffy but chewy, with a nice strong gingerbread flavour and just the right amount of sweetness from the chocolate chips.  I think these will be a new holiday favourite of mine!

Gingerbread Chocolate Chip Cookies

I'd also like to take this time to wish everyone the very best of the holiday season, with lots of rest and relaxation, cheer and good times spent with family and friends, and of course, delicious food!

Gingerbread Chocolate Chip Cookies

Gingerbread Chocolate Chip Cookies

Inspired by Baked By Rachel

Makes about 2 dozen cookies

Ingredients:

1/2 cup + 2 tablespoons unsalted butter, softened
1/4 cup sugar
1/4 cup dark brown sugar
1 large egg
1/4 cup molasses
1 teaspoon vanilla extract
2 cups all-purpose flour
1/2 teaspoon salt
1 teaspoon cinnamon
1/2 teaspoon nutmeg
1-1/2 teaspoons ground ginger
1/2 teaspoon cloves
1 tablespoon cocoa powder
3/4 teaspoon baking powder
1/2 teaspoon baking soda
3/4 cup semi-sweet chocolate chips

Directions:

In a large bowl, use a hand mixer or electric mixer to cream the butter and sugars until light and fluffy, about 2-3 minutes.  Add the egg and mix until combined.  Add molasses and vanilla and mix until combined.

In a separate bowl, whisk together the flour, salt, cinnamon, nutmeg, ginger, cloves, cocoa powder, baking powder, and baking soda.  Add the dry ingredients to the wet ingredients in 3-4 additions, mixing on low speed until each addition is just combined.  Stir in chocolate chips.  Cover dough and refrigerate for several hours until chilled through – this is important if you want the cookies to stay thick and puffy.  I chilled mine for about 3 hours.

Preheat oven to 350°F.  Scoop dough by about 1.5 tablespoons full and drop onto a parchment-lined baking sheet about 1 inch apart.  Because the dough will still be quite firm, I pressed the cookies slightly at the top to flatten them slightly.  Bake for 11-12 minutes.  Allow to rest on cookie sheet for 1-3 minutes, then transfer to a wire cooling rack to cool completely.  Store covered in a container.

December 17, 2013

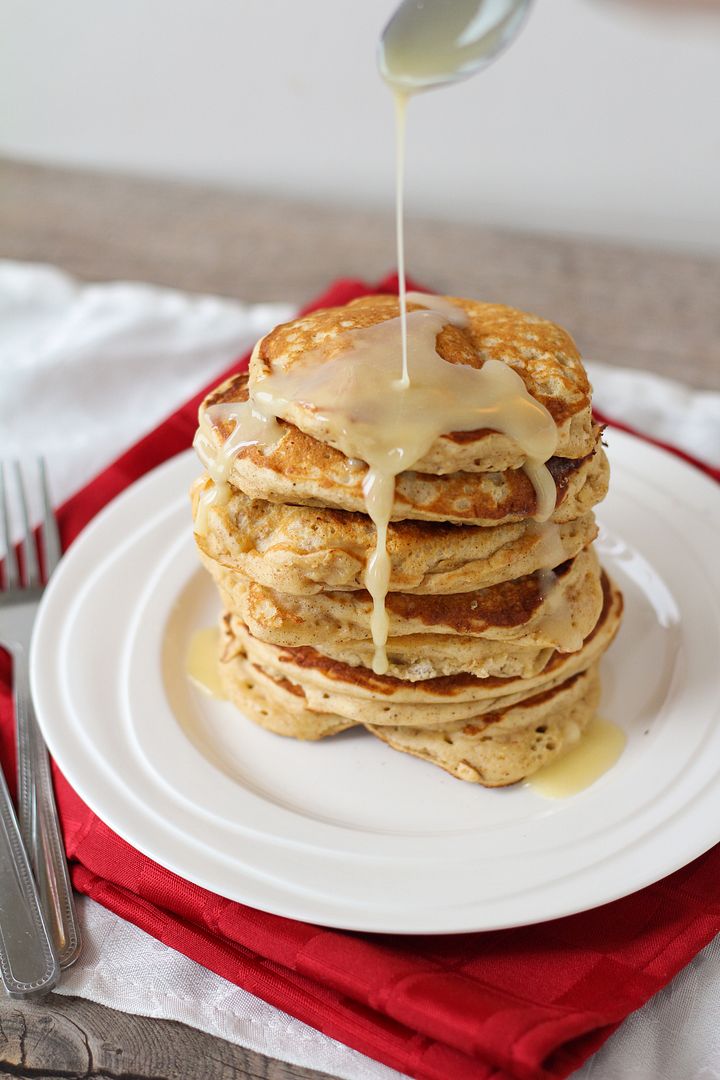
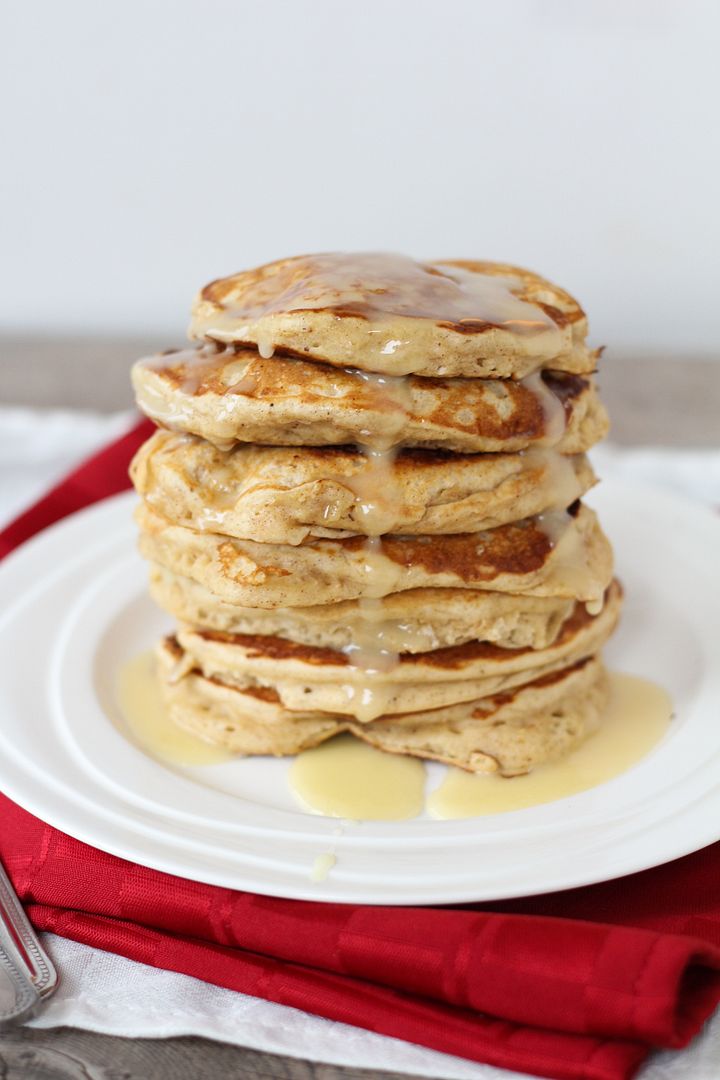
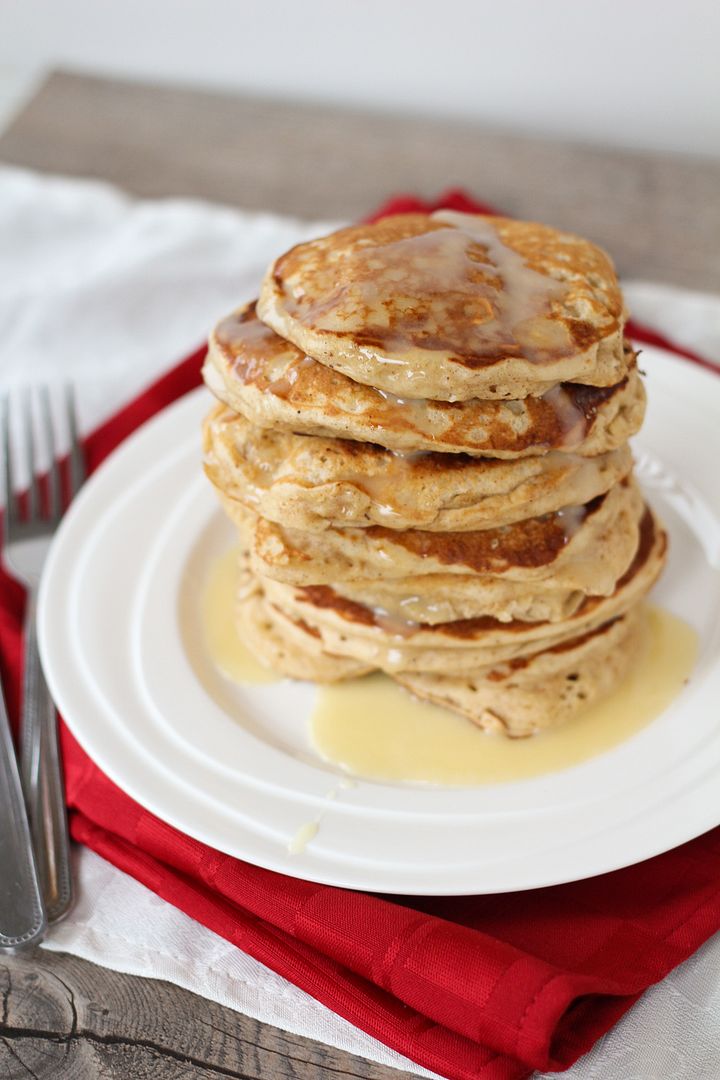
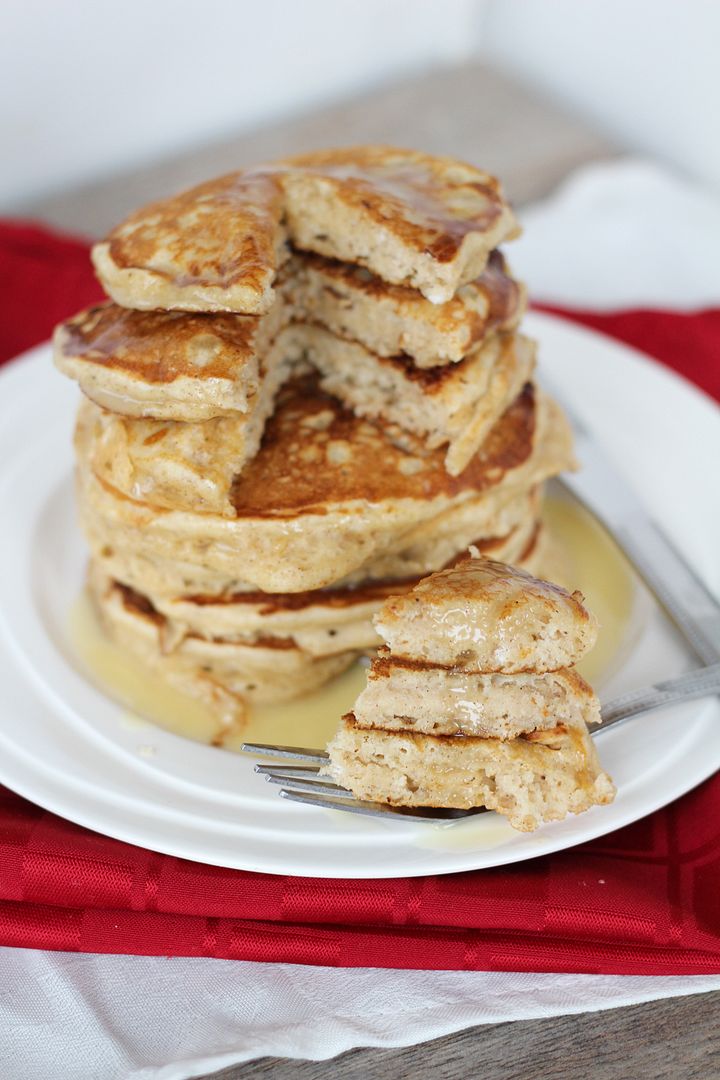
Eggnog Pancakes with Eggnog Glaze

Eggnog Pancakes with Eggnog Glaze

I can't believe Christmas is basically a week away and I haven't posted a single festive recipe on here yet.  I've been more focused on trying to get all my Christmas shopping done lately as I've had an extra hard time coming up with gift ideas this year and as it's looking now, I likely won't finish shopping until Christmas Eve.  Every year I tell myself I'm going to be more organized with everything Christmas-related but every year I end up with a TON of stuff to do last minute.  It's kind of part of the holiday rush and excitement though, and at least I usually get good deals by leaving my shopping so late!

Eggnog Pancakes with Eggnog Glaze

I do regret not being more organized with holiday recipes though.  I had a lot of ideas floating around my head in November but so far I've mainly just been consuming treats that involve eggnog and Kahlua or Baileys, which you don't really need a recipe for!  Other than those soft molasses cookies I told you about earlier, these pancakes are the only other festive thing I've made this year.  And while I'm disappointed I haven't been doing more cooking/baking, I'm pretty happy that the one thing I made turned out so well!

Eggnog Pancakes with Eggnog Glaze

These pancakes are light and fluffy with eggnog in the batter and a pinch of spices to give them a subtle eggnog flavour, but the glaze is what really kicks up the eggnog flavour so you're certain you're eating a festive (and slightly decadent, but not over-the-top) breakfast and not just regular pancakes.  So don't skip it!  

I already can't wait to make these again for breakfast this weekend, and to hopefully squeeze in some holiday baking before then!

Eggnog Pancakes with Eggnog Glaze

Eggnog Pancakes with Eggnog Glaze

Recipe drew inspiration from several similar recipes, including Forkful of Comfort, Savory Simple, and SkinnyTaste

Serves about 4-6 (makes 16-18 pancakes)

Ingredients:

For the Pancakes:
2 cups all-purpose flour
4 teaspoons baking powder
1/2 teaspoon salt
1/2 teaspoon nutmeg
1 teaspoon cinnamon
2 large eggs, lightly beaten
2 cups eggnog (I used low-fat eggnog)
2 tablespoons vegetable or canola oil
2 teaspoons vanilla extract (or substitute half rum extract if desired)

For the Glaze:*
1/2 cup icing sugar
2 tablespoons eggnog
1 tablespoon maple syrup
1/2 teaspoon rum extract

Directions:

First, prepare the pancake batter.  Whisk all the dry ingredients (flour, baking powder, salt, nutmeg, and cinnamon) in a large bowl.  In a separate medium bowl, whisk together the wet ingredients (eggs, eggnog, oil, and vanilla extract).  Add the wet ingredients to the dry ingredients and fold together with a spatula until just combined (batter will be lumpy).

Heat a large non-stick skillet or griddle to medium heat and spray with non-stick cooking spray if necessary.  Pour pancake batter by 1/4 cup-fulls onto the pan.  Let cook until bubbles begin to form and pancake is browned on one side, a couple of minutes, then flip and cook until both sides are evenly browned.

While cooking pancakes, prepare the glaze by whisking all ingredients together in a small bowl.

Serve pancakes warm with a small amount of eggnog glaze on top.
*Note: The amount of glaze should be just enough for a small amount for each serving.  The glaze is quite sweet so you shouldn’t want too much, but feel free to double the amounts for the glaze if you like.

December 10, 2013

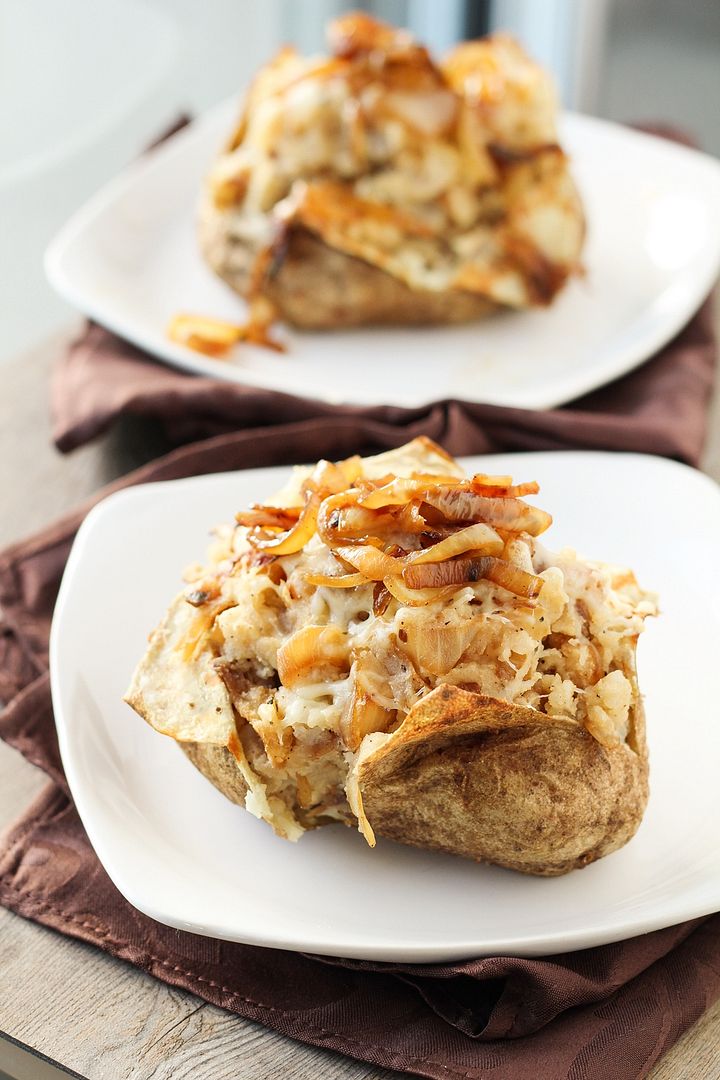
French Onion Stuffed Baked Potatoes

French Onion Stuffed Baked Potatoes | www.onceuponacuttingboard.com

It seems to have become significantly colder around here over the last week as I’m finding myself needing to wear double layers of pants (tights under pants makes such a difference!), double mittens, and double scarves, along with my big winter boots. Sometimes I feel like a walking snowman, but it’s worth it! I’m sure people up farther north in Canada would laugh at me; today’s afternoon temperature here in southern Ontario is -10°C but -19°C (-2°F) with the windchill, but out in places like Thompson, Manitoba, the afternoon temperature with windchill is a freezing -39°C (-47°F)! I’m pretty sure I would never leave my house if I lived there!

Needless to say, I’m sure we’re all craving warm comfort food as the evenings get chillier, and these potatoes fit the bill!

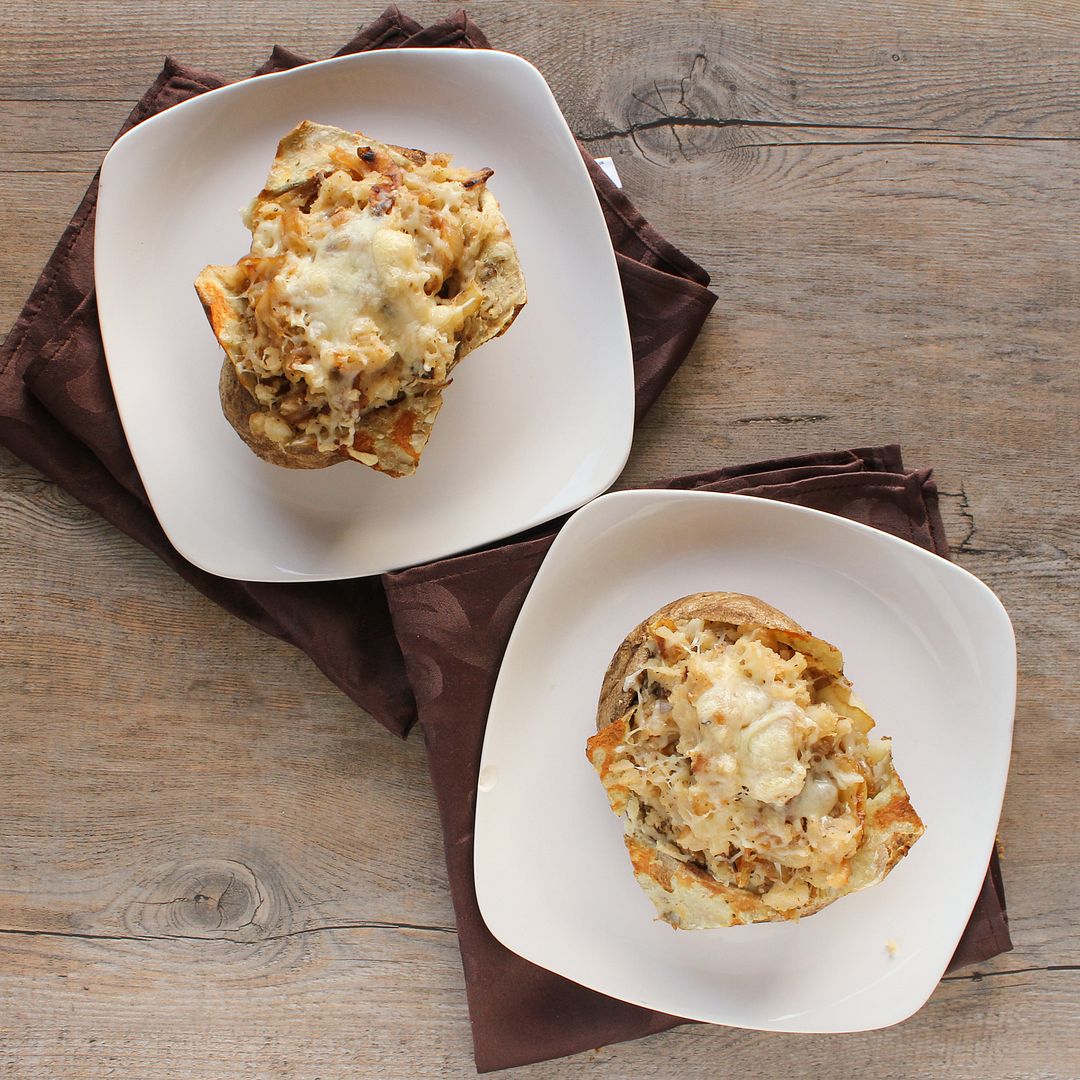
French Onion Stuffed Baked Potatoes | www.onceuponacuttingboard.com

I love potatoes in all forms – French fries, mashed potatoes, roasted baby potatoes, skillet hashbrowns, and baked potatoes are all favourites of mine.  I usually don’t experiment with stuffing potatoes often as I love potatoes on their own so much, but a while back Food Network Magazine included a little booklet with 50 Stuffed Potatoes that I’ve been meaning to take a second look through for a while now.  I finally got around to it the other week and the first version I tried was these French onion soup inspired ones, and I’ve since made them twice already!

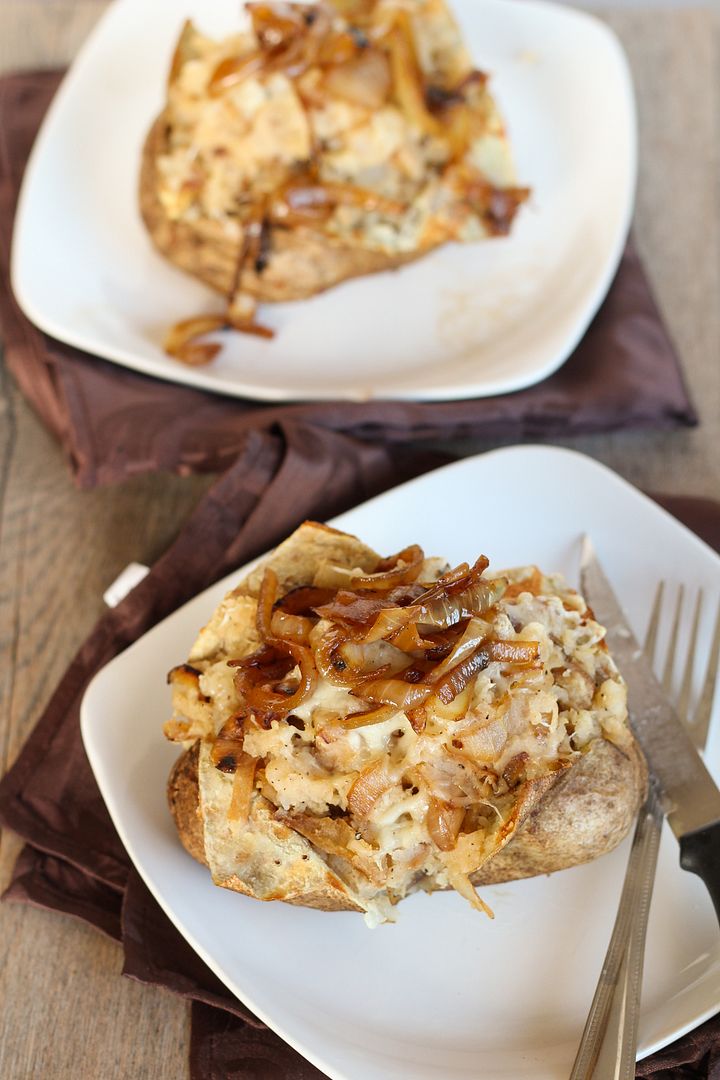
French Onion Stuffed Baked Potatoes | www.onceuponacuttingboard.com

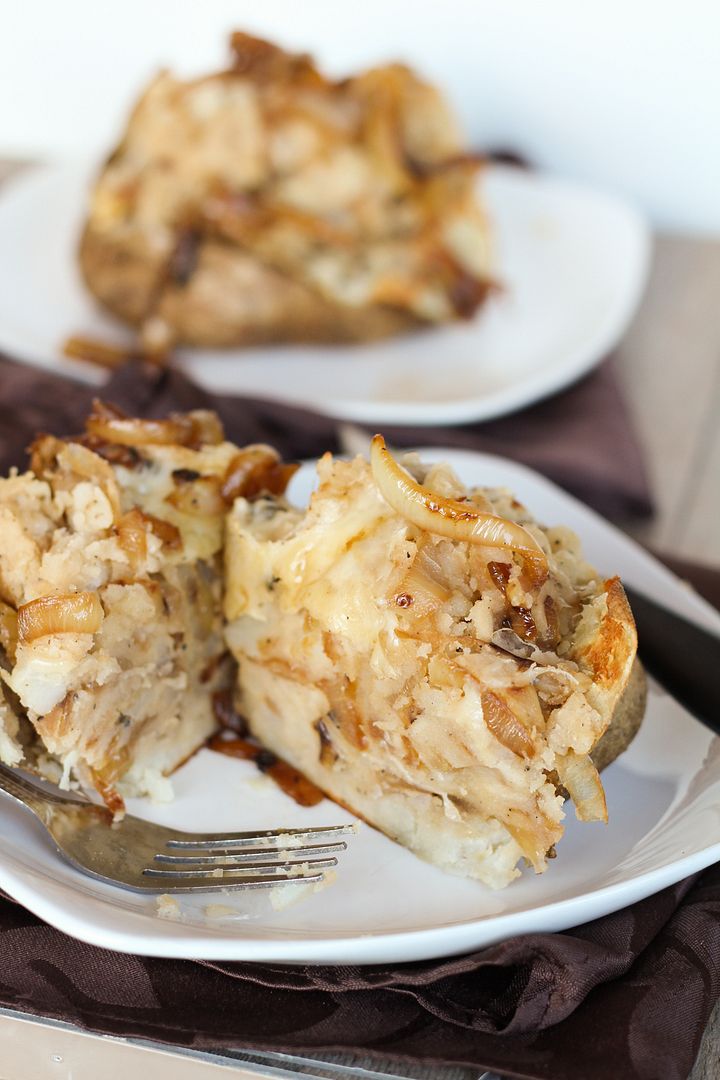
These take a little while to be ready, as all baked potatoes do, but they’re really easy to make. You just bake a potato, and meanwhile caramelize an onion or two on the stovetop. When the potatoes are cooked through, scoop out the flesh and mash it with the onions, some beef broth (though I’m sure you could use vegetable broth for a vegetarian version), cheese, and a little seasoning, then spoon it back in and broil the potatoes until the cheese melts. All the flavours of French onion soup, but in potato form! These end up being huge, so half a potato was fine for us a side dish with some chicken, or you can enjoy a whole one for a light lunch like I also did.

Hope you’re all staying warm and cozy out there!

French Onion Stuffed Baked Potatoes | www.onceuponacuttingboard.com

French Onion Stuffed Baked Potatoes


Makes 2 stuffed potatoes; serves 4 as a side dish (half a potato each)

Ingredients:

2 russet potatoes
1 tablespoon + 1 teaspoon olive oil, divided
1 large sweet onion or two medium yellow onions, thinly sliced
Salt and pepper
1/2 teaspoon dried thyme
1/4 cup beef broth
1/4 cup + 2 tablespoons shredded gruyere or swiss cheese (I used swiss because it was cheaper but either should work)

Directions:

Preheat oven to 400°F.  Scrub potatoes and prick all over with the tines of a fork.  Rub lightly with a teaspoon of olive oil.  Place on a baking sheet and bake in preheated oven for about 1 hour, or until tender.

Meanwhile, heat remaining tablespoon of oil in a large non-stick skillet over medium heat.  Add onions and stir to coat with oil.  After about 5 minutes, season with a bit of salt.  Spread onions out evenly across the pan and let cook, stirring about every 3-4 minutes, until caramelized, about 20-30 minutes total.  Save a small amount of onions to top the potatoes later, if desired.  Transfer the rest to a large bowl.

Once potatoes are ready, remove from oven and let cool slightly. Move oven rack to top third of oven and preheat oven to broil. Slice potatoes crosswise, peel back skin on top of the potato, and scoop out the insides, leaving a thin layer of potato attached to the skin so it remains intact.  Add the scooped out potato to the bowl with the onions, season generously with salt and pepper, and add the thyme, beef broth, and 1/4 cup of shredded cheese.  Mash together, then spoon back into the potatoes to stuff them.  Top each potato with about a tablespoon of remaining cheese.  Return to oven to broil until cheese is melted and potato is heated through, about 3-5 minutes.  Serve hot, seasoned with additional salt and pepper if desired.

December 04, 2013

Monthly Recap - November 2013

November has been the start of snowfalls, cozy meals, warm drinks, and the festive season! Here's what I did and ate this month:

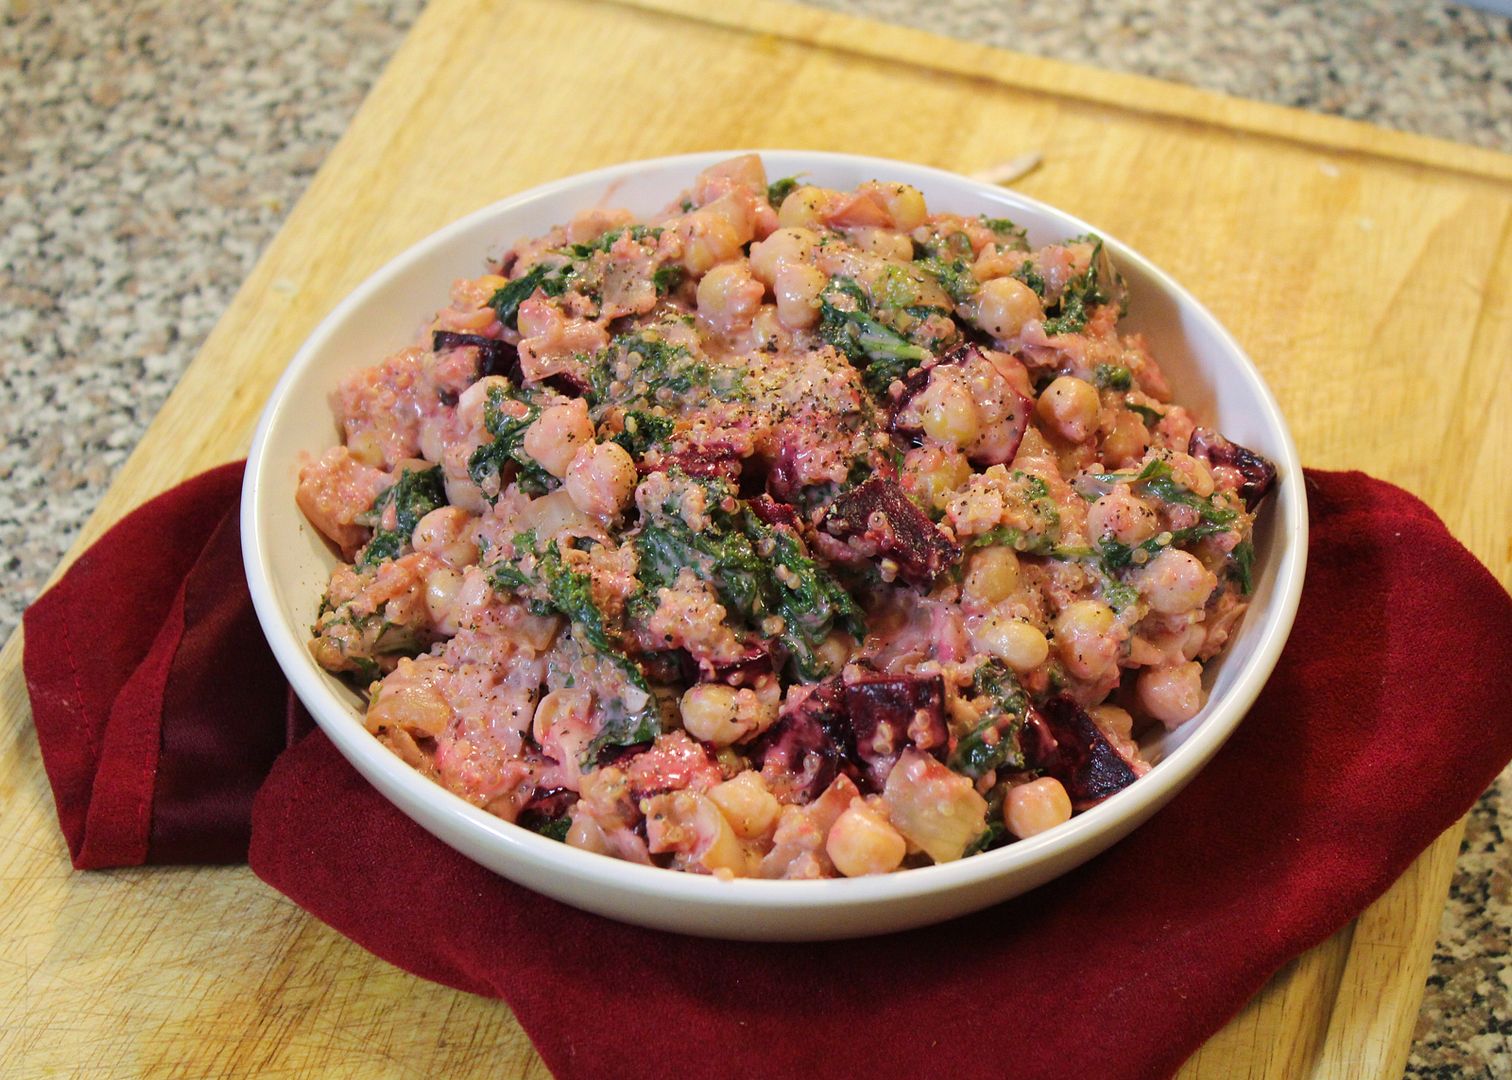
tahini quinoa & chickpeas with beets

One of my favourite meals I tried this month was a quinoa and chickpea bowl with roasted beets, kale, and a tahini dressing. It was pretty filling because of the tahini sauce but also healthy and tasty, even though it certainly wasn't the prettiest dish I've ever made! The recipe is from Dishing up the Dirt if you want to give it a try (which I recommend)!

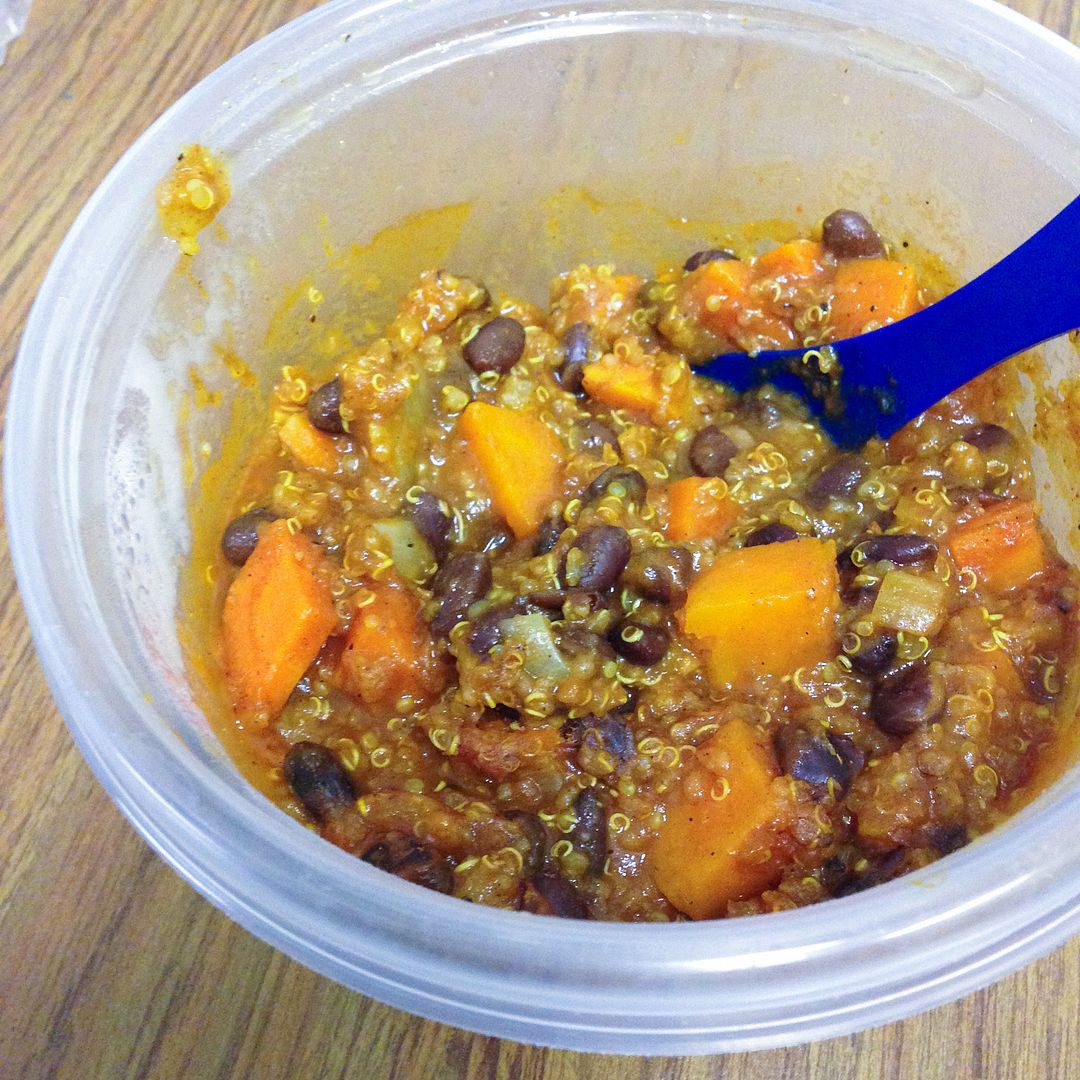
quinoa, sweet potato, black bean chili

I also loved this comforting and healthful sweet potato, black bean, and quinoa chili with smoked chipotle from Ambitious Kitchen. This is just a horrible phone picture of my leftovers, so please visit this page to see beautiful photos of the dish and get the recipe! And if you love chili, Monique has another great looking recipe on her site for a lentil & quinoa chili that I might try next!

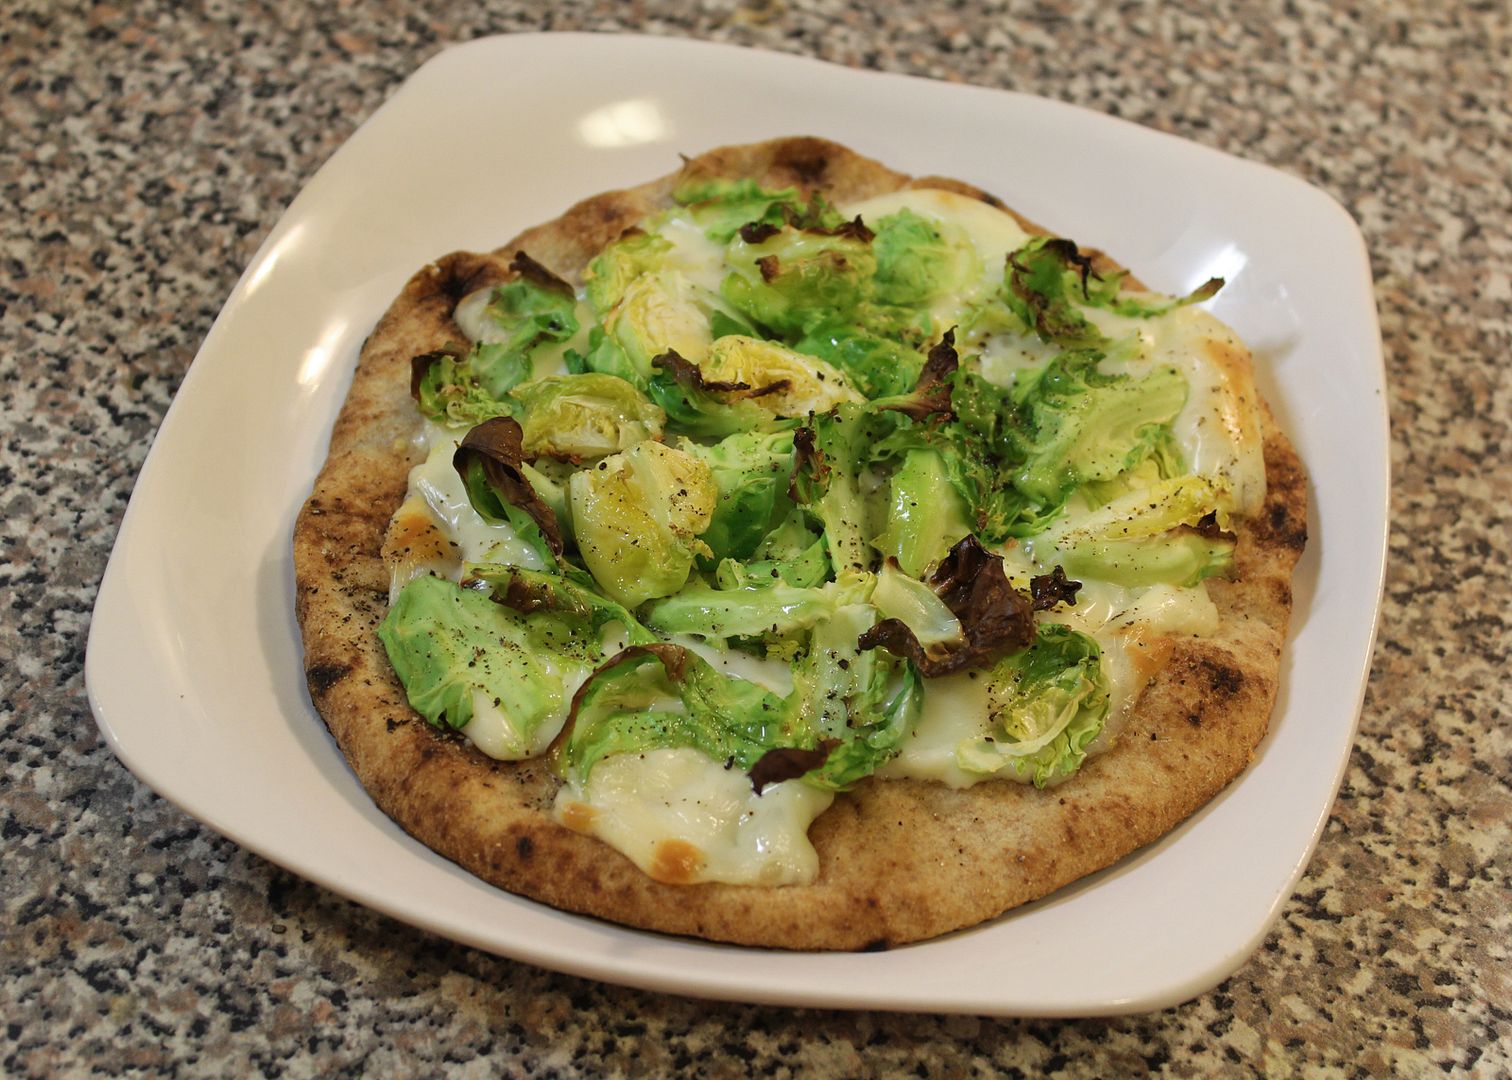
brusels sprout naan pizza

I've been eating a lot of quick and easy meals this month, which as usual includes a lot of naan pizza! This one was made up of whole wheat naan topped with mozzarella and some brussels sprouts that had been chopped and tossed with a little olive oil, salt, and pepper. So good!

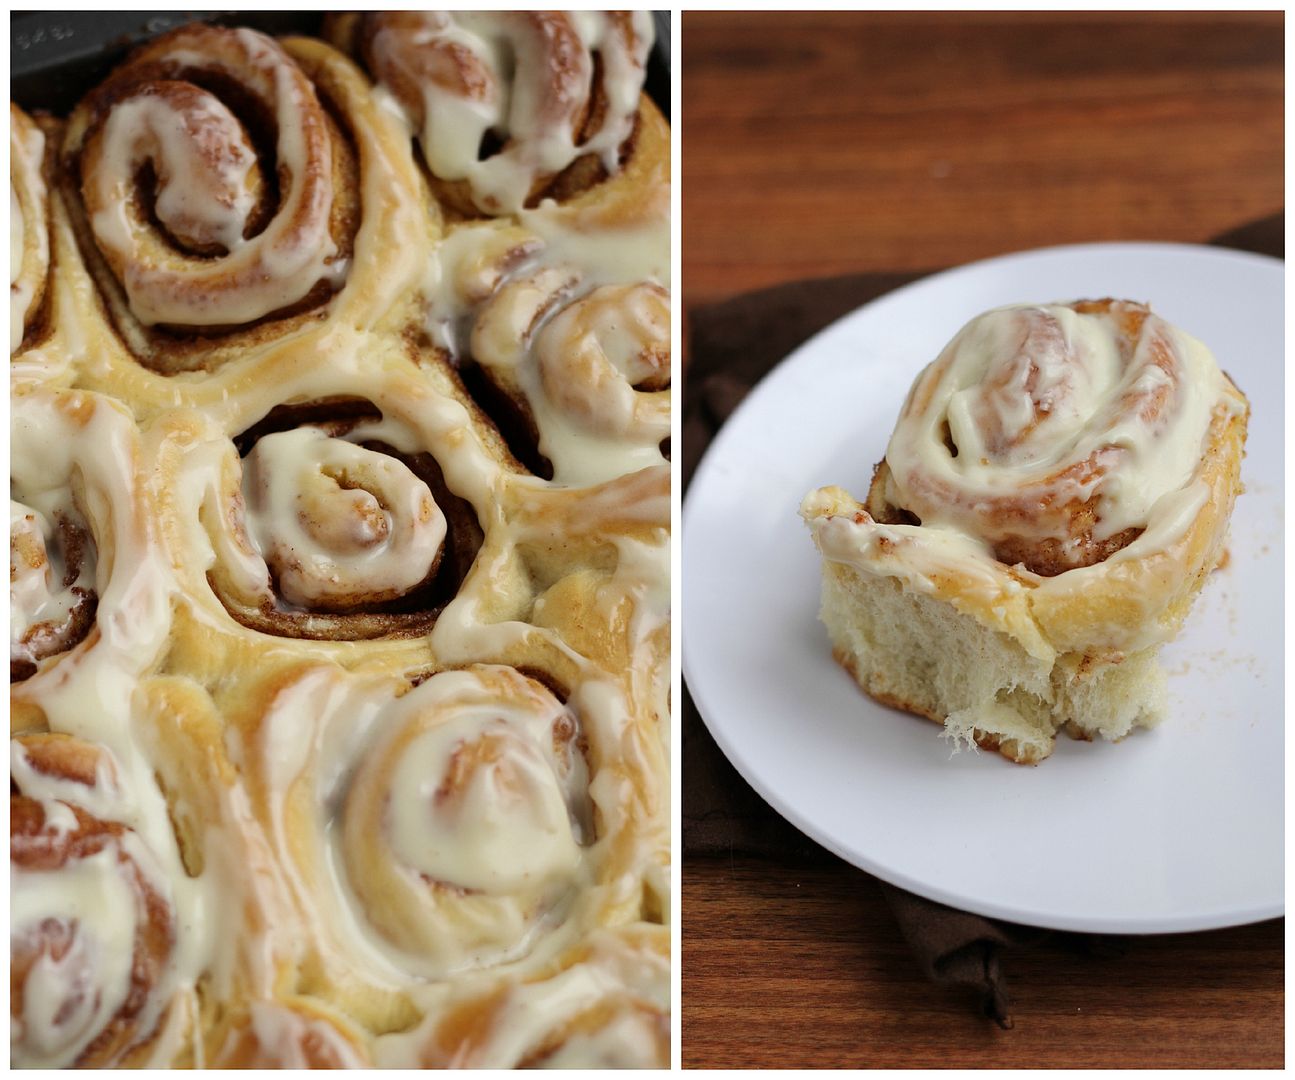
cinnamon buns

One of my favourite special treats to make, even though it's a ton of work, is cinnamon buns. I've made my version of cinnabon-style buns quite a few times and always love them, and I had planned on blogging them this month when I made them for a special occasion. Unfortunately, something went differently this time (perhaps it was my attempt to use less butter and sugar) and they turned out too bready for my liking. Hopefully I'll get it right next time and will share the recipe I use, but it might be a while as these are definitely a rare treat!

red velvet cupcakes

I also made cupcakes this month for a going away celebration. I used Annie's Eats recipe for red velvet cupcakes with cream cheese frosting, which I've made before and quite liked. I've also discovered that it's so easy to add letters to cupcakes to spell out a message (in this case, "best wishes"). Just melt your desired colour of chocolate melting wafers (I buy mine at a bulk store but they sell them in bags at Michaels and other places), transfer the melted chocolate to a Ziplock bag and snip a tiny amount off the corner, then line a baking sheet with wax paper and pipe your desired letters or shapes onto the paper. You then transfer the baking sheet to the fridge (or freezer if you're in a hurry like me) until the chocolate hardens, and they're then ready to top cupcakes!

soft molasses cookies

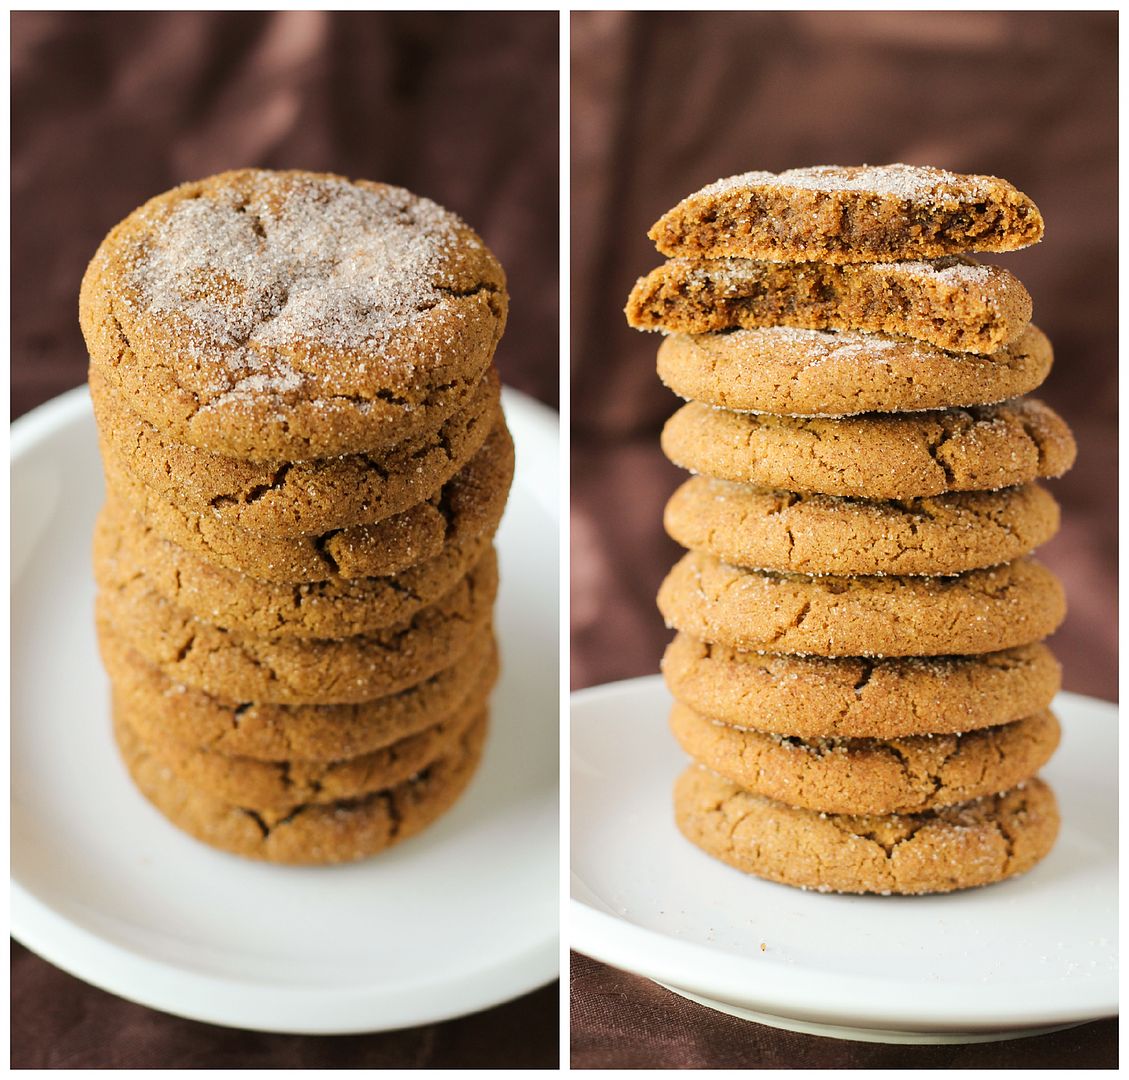
For a departmental cookie swap at school this month, I made these soft molasses coconut oil crinkle cookies from Averie Cooks. They were definitely soft and very heavy on the molasses (almost a touch too sweet for my taste, though I have a sensitive sweet tooth), but I still loved them!

cookie swap

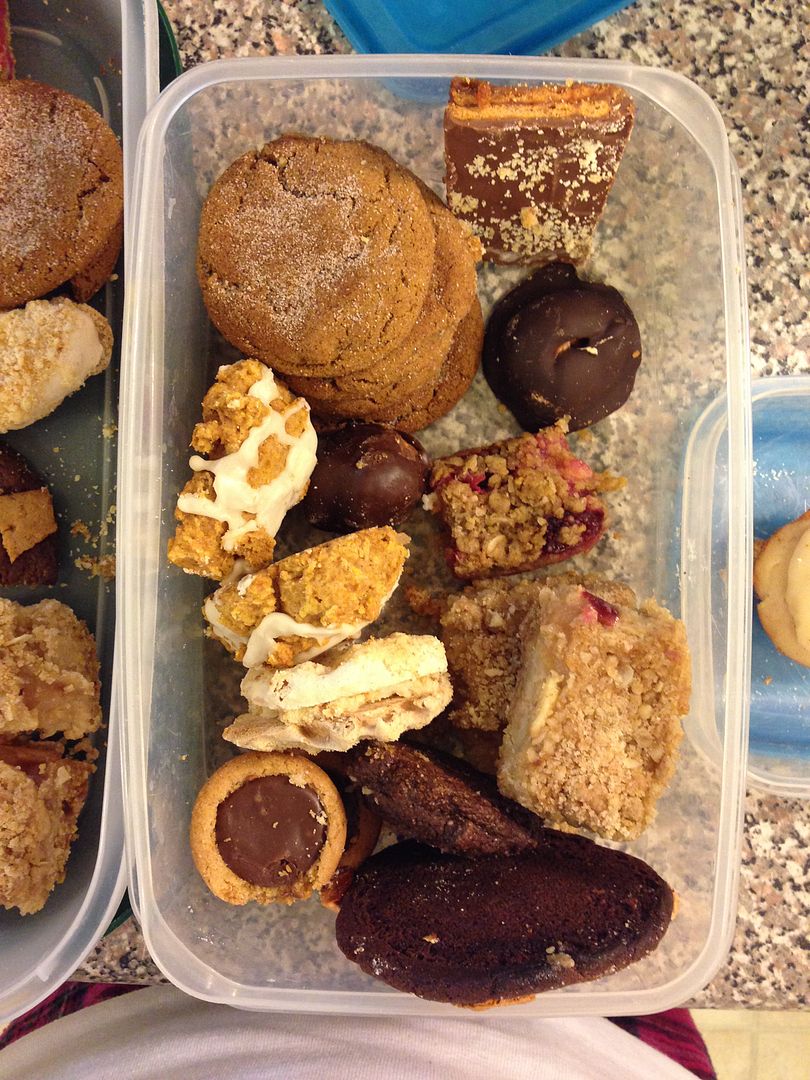
This was part of the haul I brought home from the cookie swap. Everyone in my department is so talented and I loved everything they made, though my favourite was probably the homemade version of a skor bar with chocolate and toffee (top of the container), which I'll have to get the recipe for!

Other things I've enjoyed this month include:

waffle day

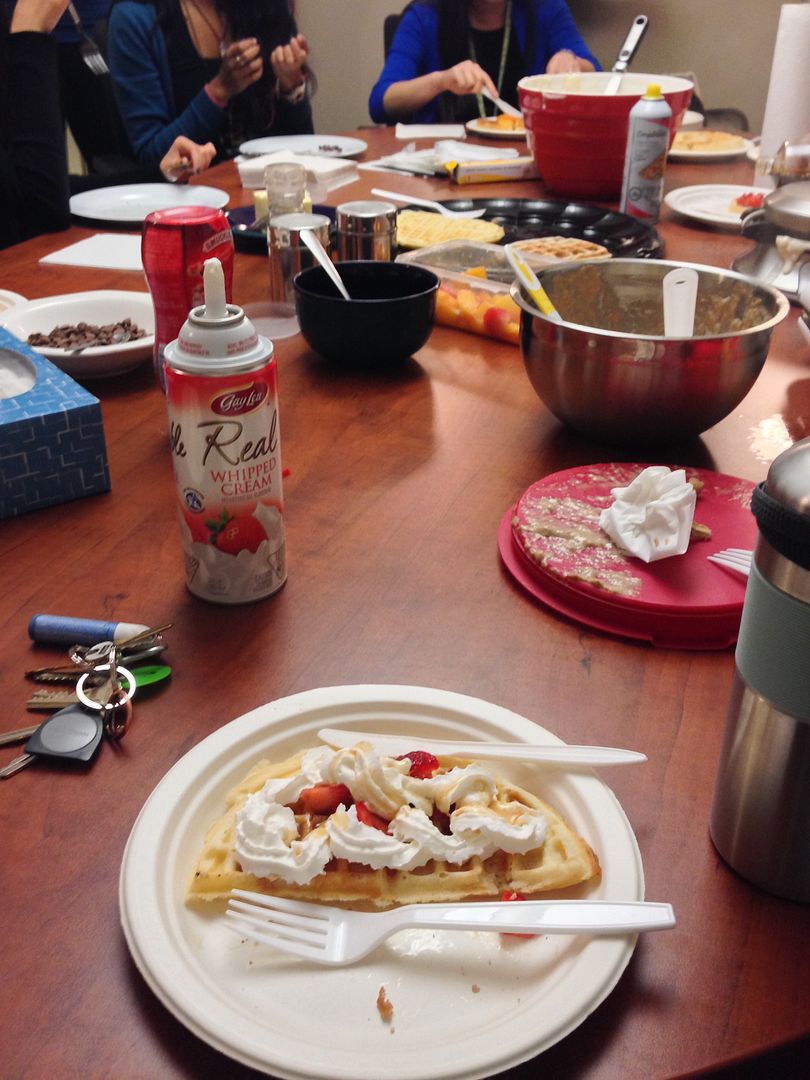
A random "waffle appreciation day" with my lab, which included homemade fresh waffles and tons of toppings. So fun!

snowfall

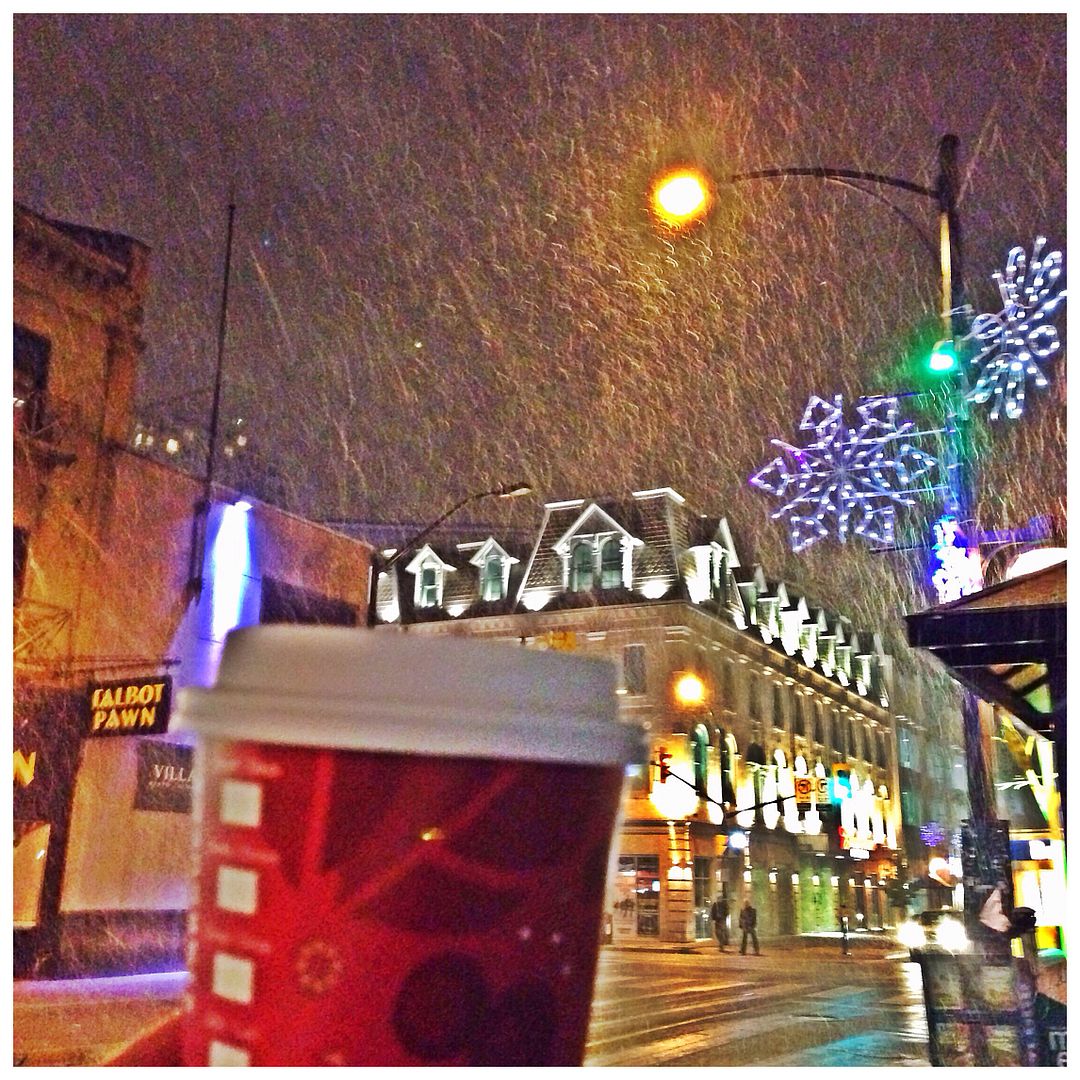
The first snowfall and Starbucks gingerbread lattes.

timothys latte

Timothy's winter wonder macaroon latte (with chocolate, coconut, and caramel flavours) - so good!

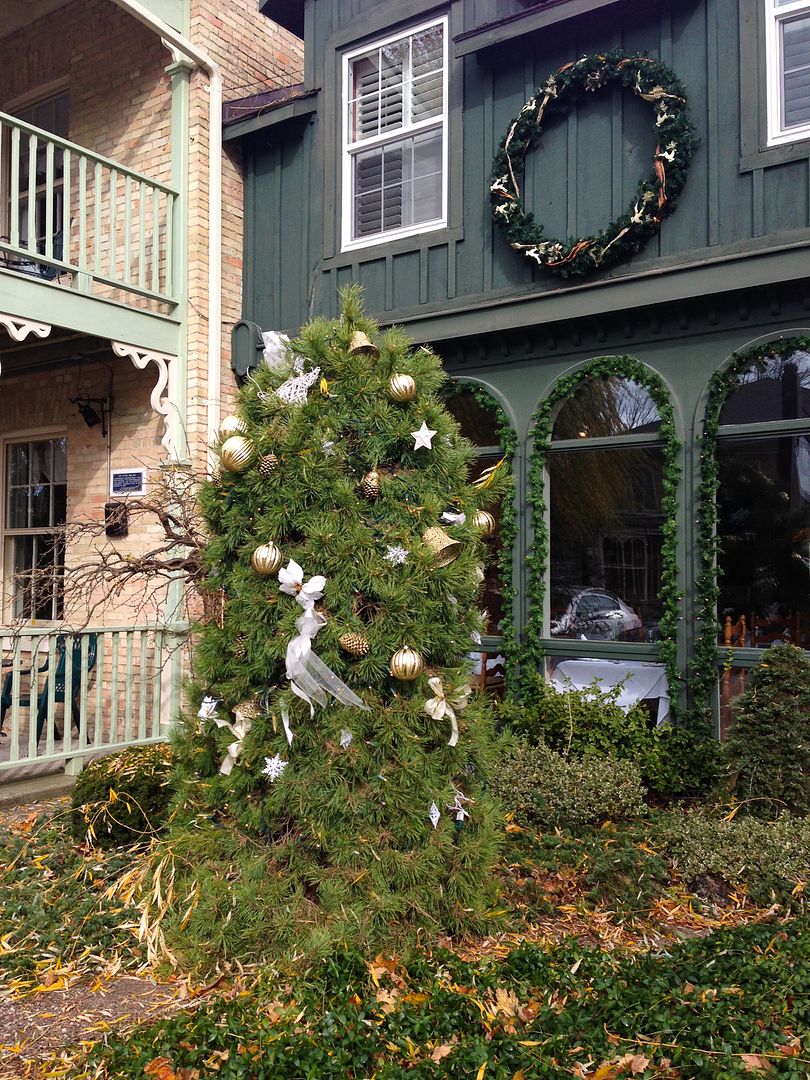
Christmas in Bayfield

A day trip to Bayfield, Ontario for their Christmas festivities.

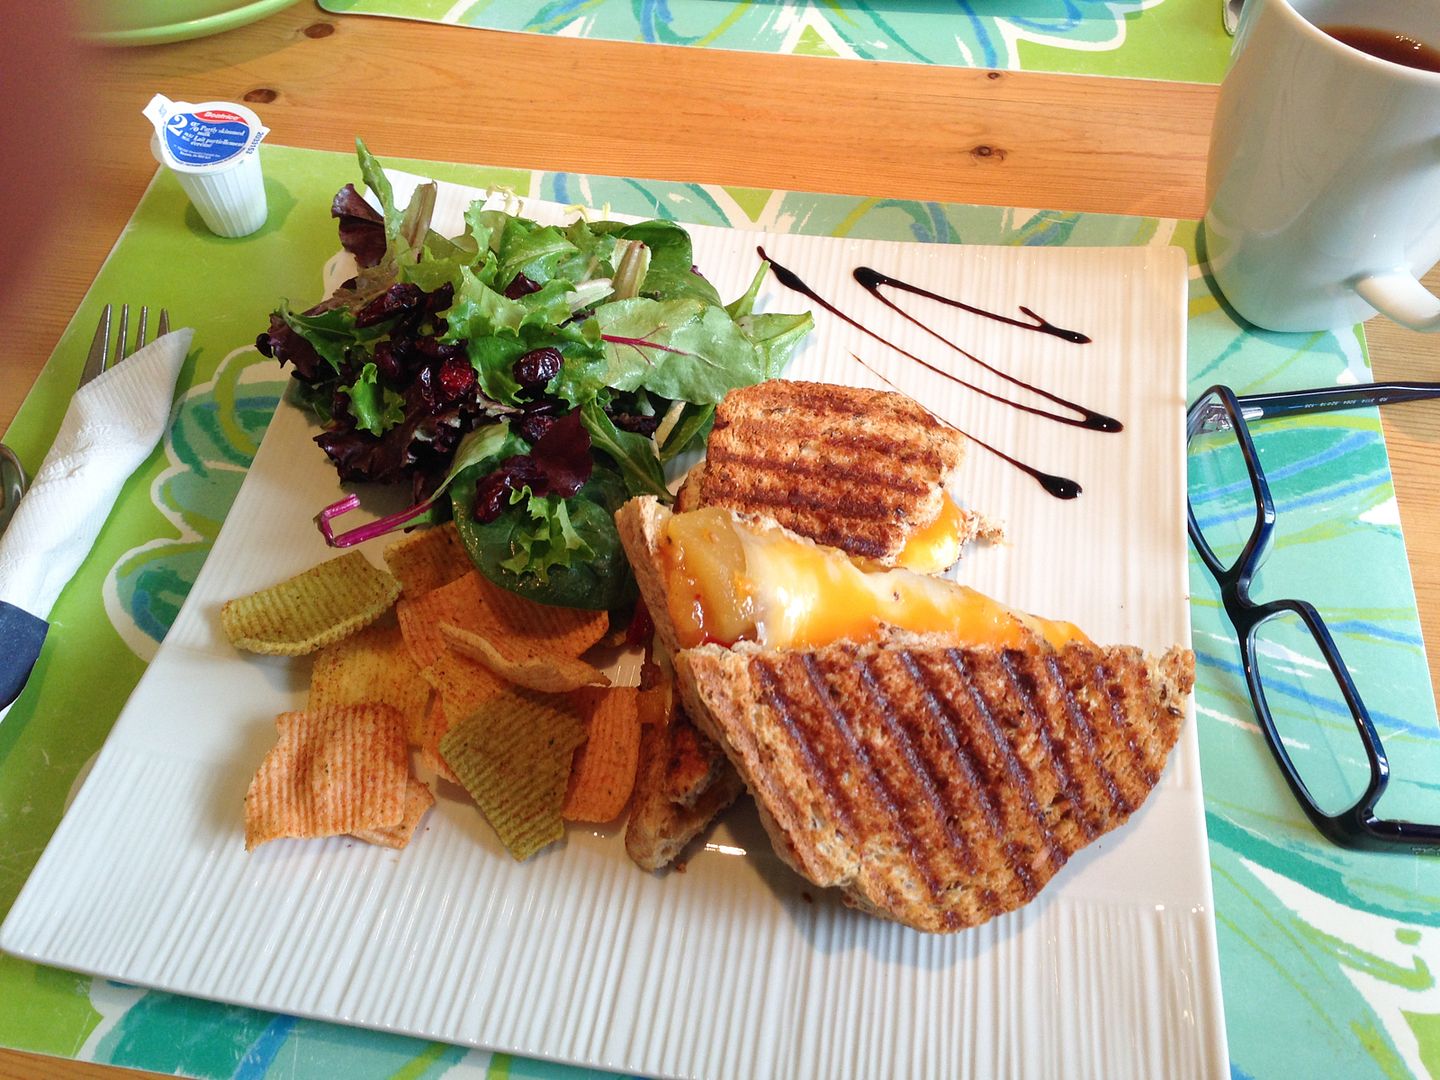
 photo 11-lunch_zpsc613accb.jpg

Including a delicious lunch at the ArtSee cafe, where I enjoyed this "gourmet grilled cheese" with apples and a ginger mango chutney.

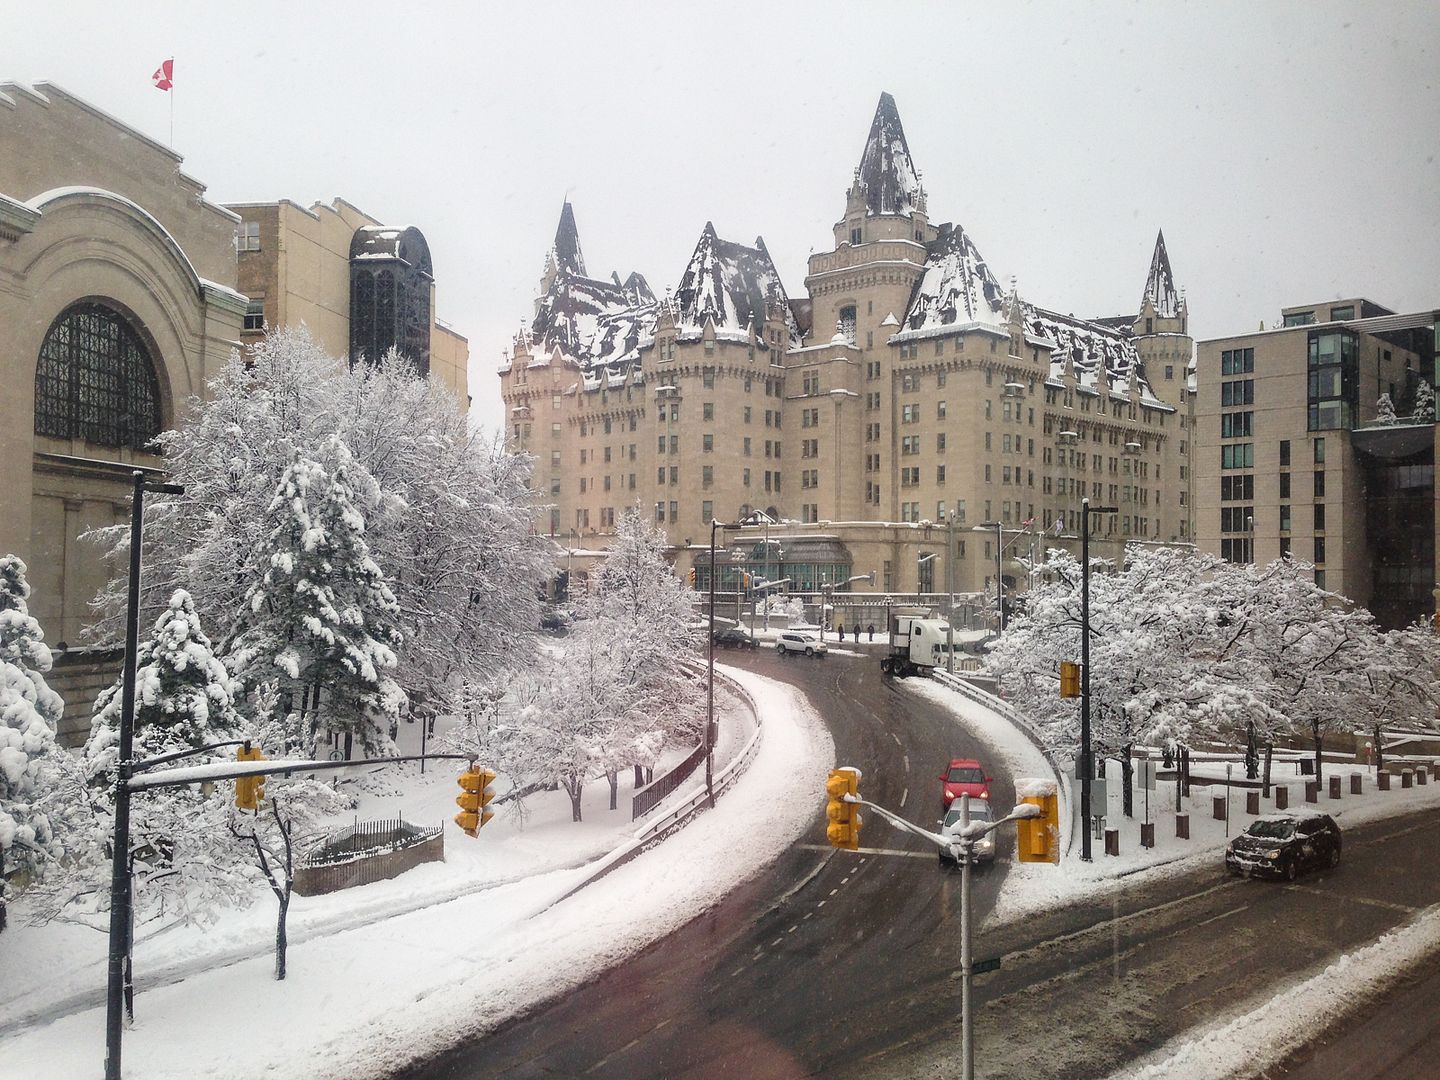
Ottawa in November

And a brief trip to our wonderful nation's capital, Ottawa! Where we saw the parliament buildings (pictured above),

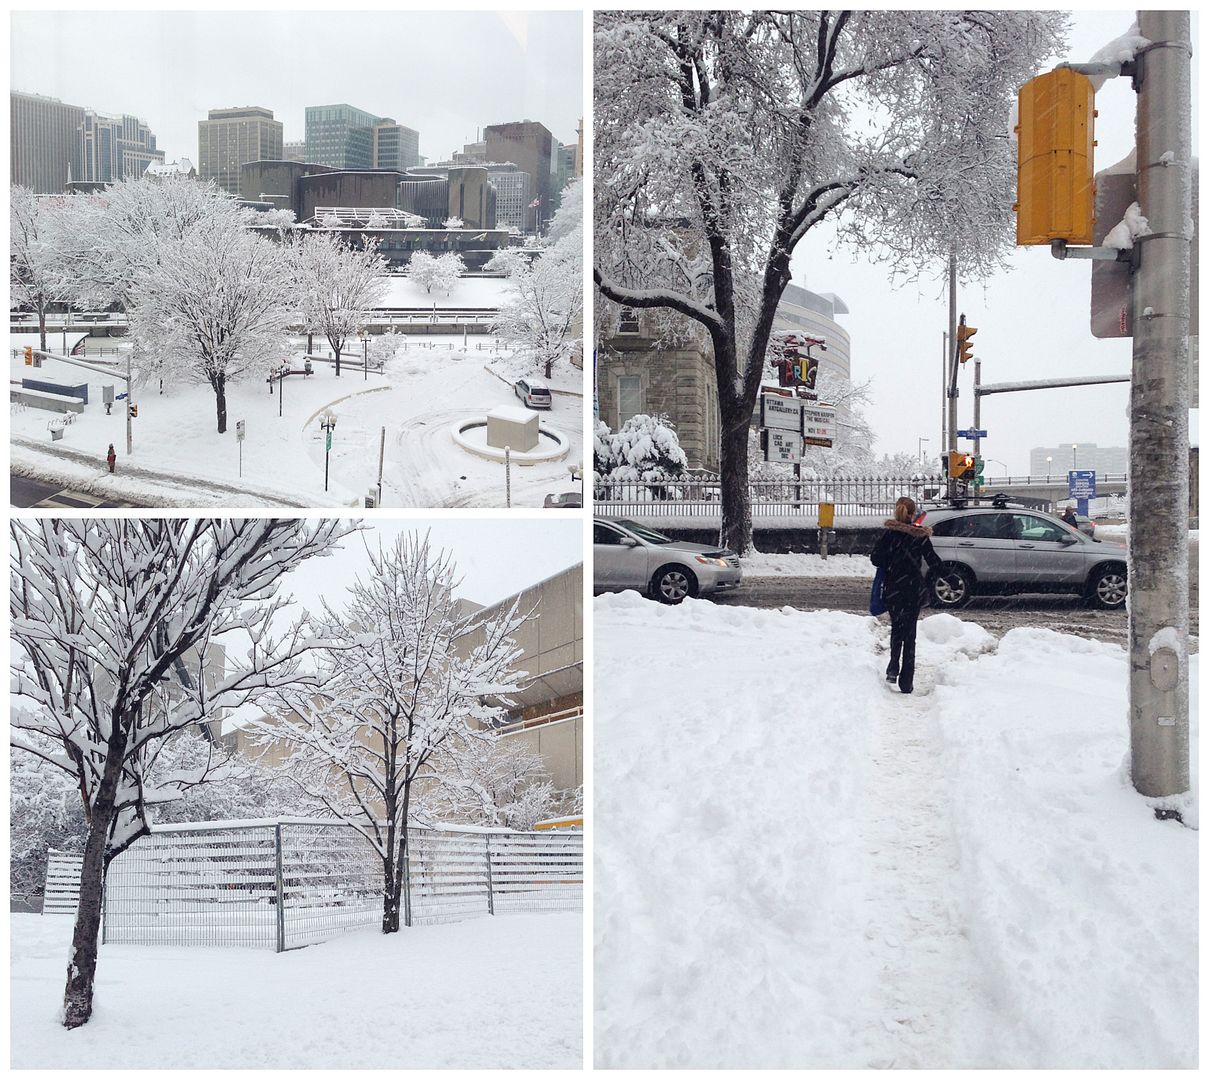
snow in Ottawa

got lots of snow,

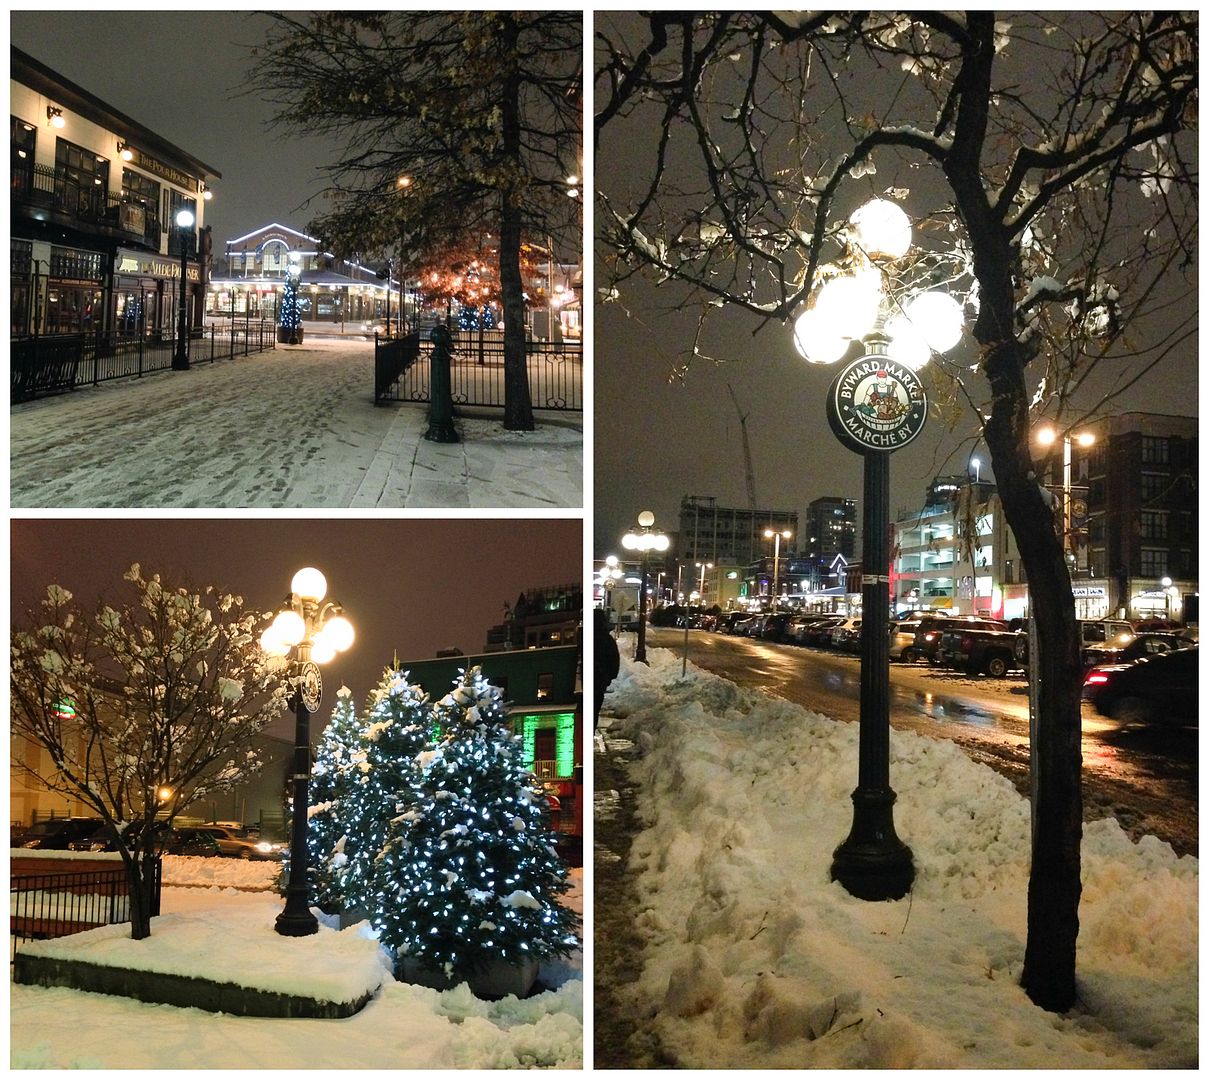
Byward Market

strolled through the lovely touristy area of Byward Market for some shopping,

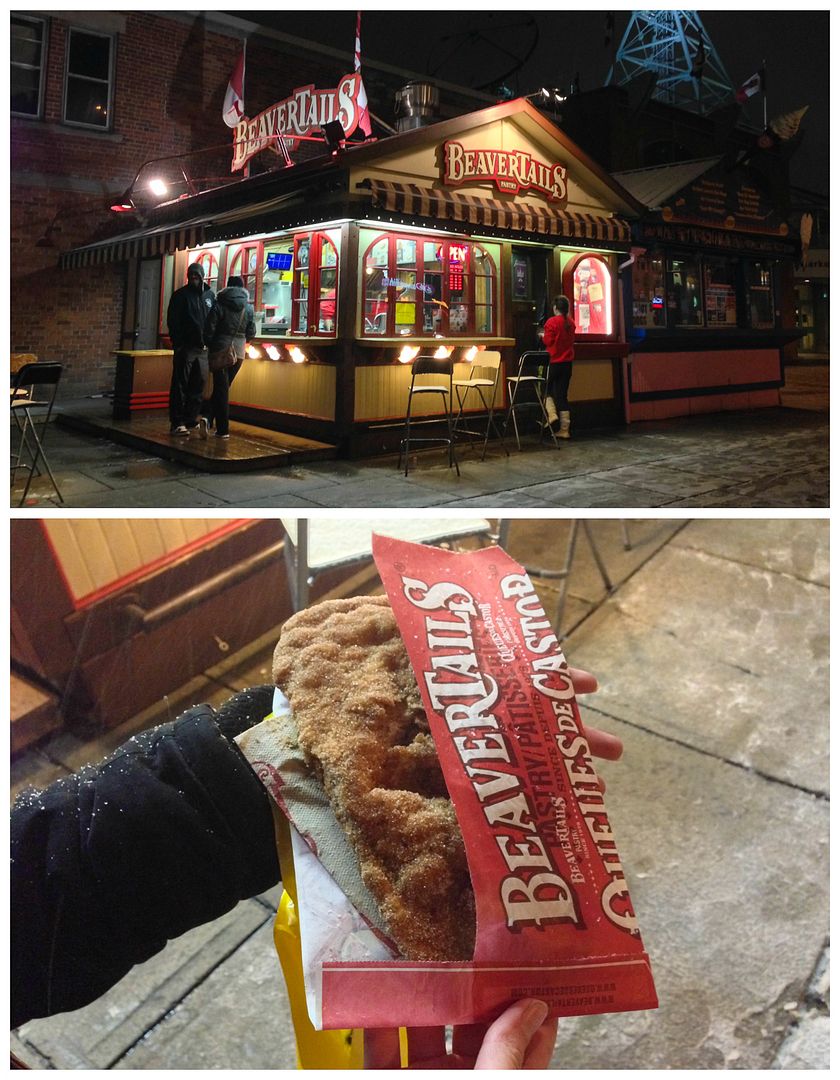
beaver tails

couldn't resist getting the famous "beaver tails", which is basically fried dough covered in cinnamon sugar,

.

and enjoyed a few good meals (which I took terrible dark photos of). Pictured above is a bento box from Wasabi, some bbq pulled chicken and mac and cheese from the Smoque Shack, which has some really great food at great prices (definitely recommend going here if you like bbq food), and a pesto, apple, onion, and arugula pizza from a food court, which was surprisingly good!

christmas tree

And finally, I've enjoyed getting into the Christmas spirit over the past couple of weeks and am looking forward to all the holiday festivities now that December is here! Hope you all had a great month!

Ingredient Index

Related Posts Plugin for WordPress, Blogger...