
Happy Halloween!
Halloween is one of the best holidays for getting creative with your food. I think there's a tricky line between food that's creepy and food that's just too gross to eat (I don't think I could ever bring myself to eat a kitty litter cake, for example, though I'm sure it would be fun to watch people's reactions to it!) but I think these severed fingers have just the right amount of scare factor without pushing the limits too much, at least for an adult party! I brought these to a Halloween potluck with my lab on Wednesday and received a few comments on how realistic and creepy they looked, which was my goal, but people were still eating them which was also important!
You've probably seen some version of severed fingers or witches fingers cookies on the web before but I had to share mine too because I think they're so great for a Halloween party if you still need any ideas for this weekend!
These cookies are easy to make - the recipe is sort of a cross between a sugar cookie and shortbread cookie. It's a bit time consuming to shape and decorate each cookie but I had a lot of fun with it. I wouldn't say the taste is anything extraordinary as the recipe is pretty basic, but in this case I wasn't as concerned about the taste compared to the look!
I'll post a link to the recipe I used below along with some tips I've learned from making these a couple of times. If you're looking for a Halloween party treat that will get your guests talking, these cookies are perfect!
I actually don't have very exciting plans for Halloween other than staying home to watch a scary movie and try to fight off a cold, but I hope you all have a safe and happy Halloween!
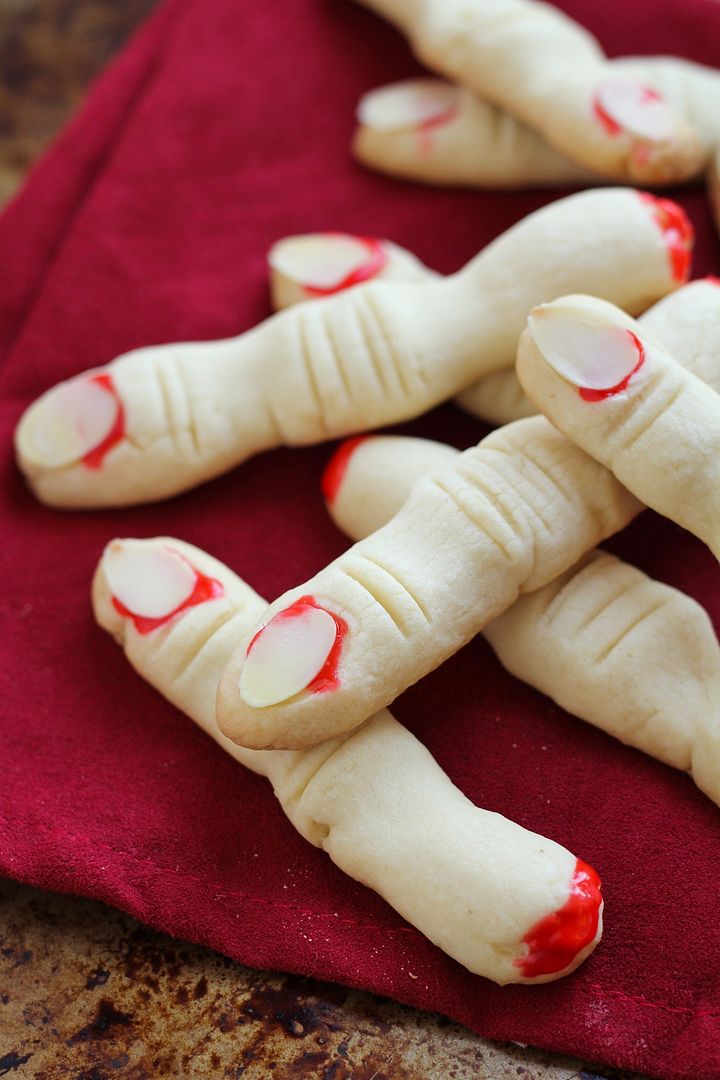
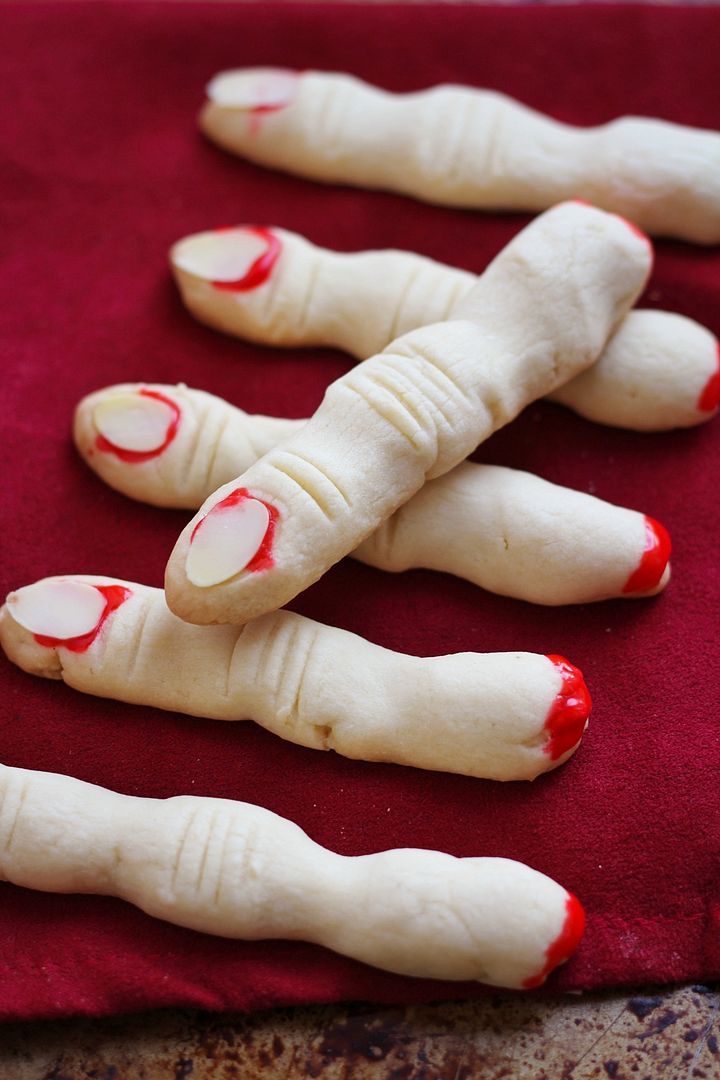
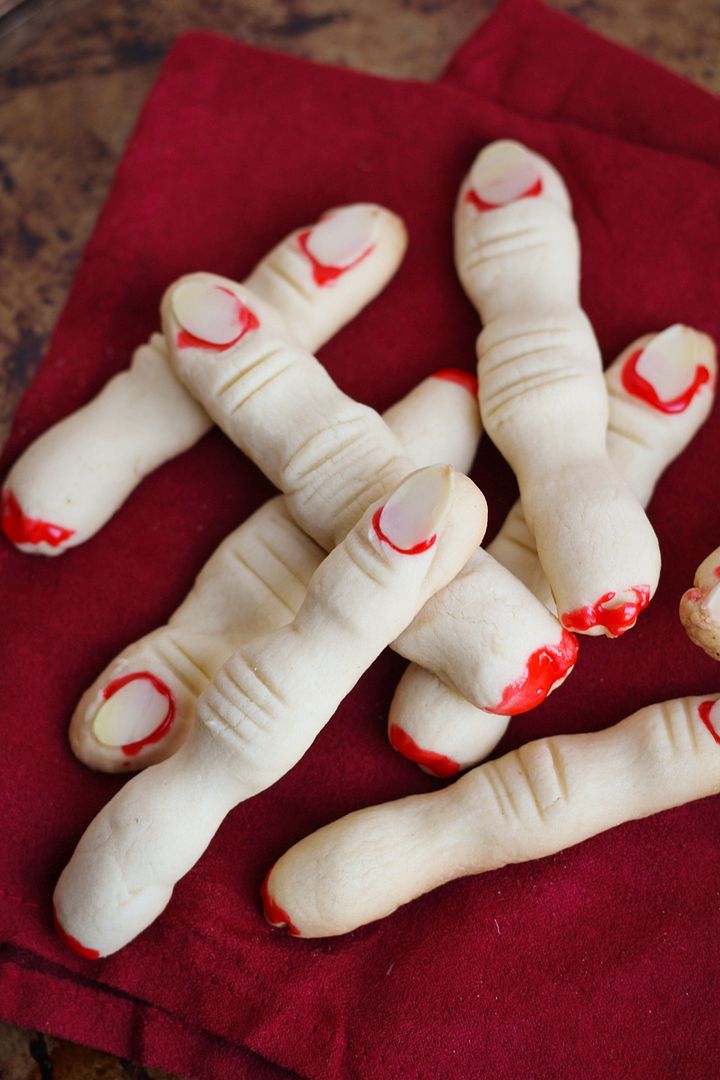
Severed Finger Cookies
The recipe I used for these cookies can be found at Cook and Be Merry.
It's similar to a Taste of Home recipe which I've seen several people make, but uses a little more sugar and a little less salt, which I think improves the taste.
Some tips I have and small changes I made to the Cook and Be Merry recipe are:
- I did not use green food colouring. If you want these to look more like witches fingers, then feel free to colour them green!
- I used sliced almonds for the fingernails rather than whole blanched almonds, which was only because I couldn't find the whole blanched almonds. Either work, but I think the nails look a little more realistic with whole almonds rather than slices. You can blanch your own almonds as the recipe gives instructions for.
- To shape the cookies, I divided the dough in four. Keep the sections you're not working with in the fridge. I shaped each of the four sections of dough into 10 fingers. Just break it into ten even pieces, roll each piece into a cylinder, then shape the knuckles, press the almond in for the nail, and use a knife to add wrinkles at the knuckle and below the fingernail. The wrinkles are important to make these more realistic!
- It's really important to keep the dough chilled to prevent it from spreading. If you don't do this your fingers will spread too much and won't look realistic. I kept the dough refrigerated, and after I shaped each section into fingers, I stuck the fingers into the freezer for a few minutes to chill them back up before going in the oven. As your first set of fingers bakes, you can shape the next set then stick them back in the fridge/freezer so they're ready to go in the oven as soon as the other ones are done.
- Watch the baking time! My first batch I cooked for 22 minutes because other recipes had said to bake for 20-25 mins, and they ended up overbaked (dry). After that I reduced to 20 then 17 minutes for subsequent batches, but they still ended up a bit dry. Next time I would start with Cook and Be Merry's recommendation of only 15 minutes.
- After baking the fingers, take each almond off one at a time, squeeze some red gel underneath, then place the almond back on so the red gel oozes out from behind the fingernail (and helps the almond stick). Add some red gel to the bottom of each finger too to make it look severed.
All no deposit bonuses at Michigan casinos will be credited to your account once as} you've successfully registered. Once the reward is active, use it to play games and win prizes. To bring this guide to an in depth, here is how Michigan players like have the ability to|you possibly can} declare the thecasinosource.com latest no deposit bonuses and deposit bonus offers.
ReplyDelete