Showing posts with label cauliflower. Show all posts

June 03, 2014

Gluten-Free Moroccan Macaroni Bowl (+ a giveaway!)

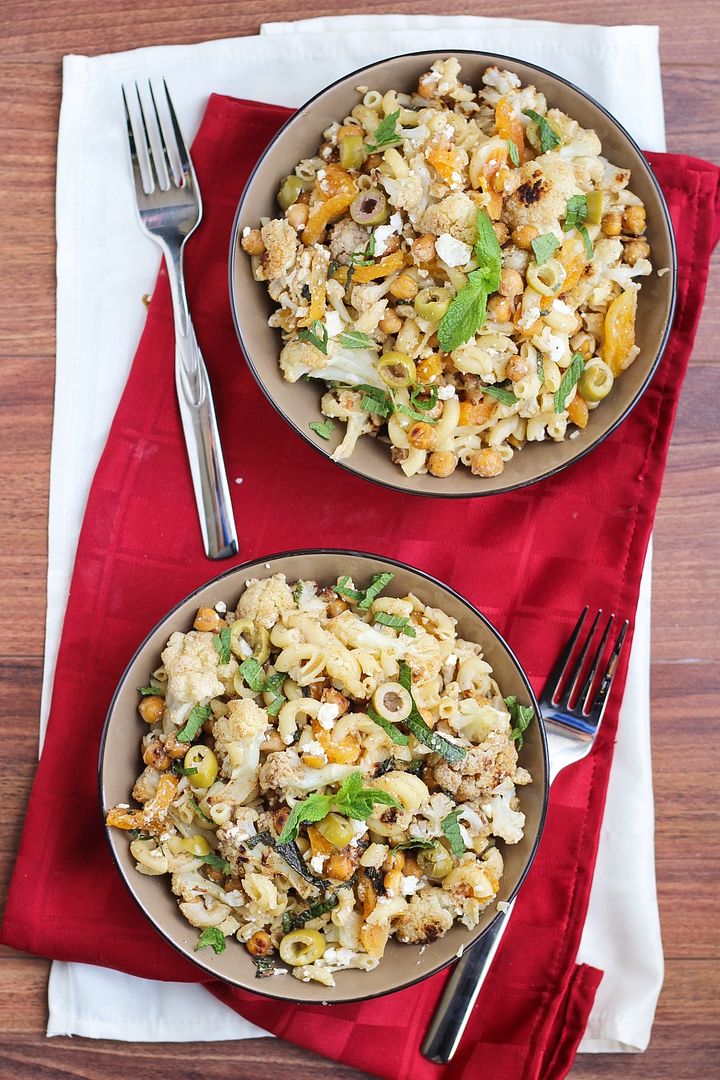
Gluten-Free Moroccon Macaroni Bowl with Roasted Cauliflower & Chickpeas

I don't follow a gluten-free diet or think of gluten as an evil thing to avoid, but I know there are a lot of people out there who have to avoid it for health reasons, and for their sake I'm happy that there now seem to be so many gluten-free alternatives out there.  People should not have to go without food like pasta!

Catelli pasta is one of my favourite brands here in Canada because they offer so many alternatives to regular white pasta.  I love their line with vegetables in the pasta, but I usually buy the whole grain pasta.  Last year they launched a line of gluten-free pasta including penne, fusilli, and spaghetti, and recently they added macaroni to the line-up and asked if I wanted to give it a try. 

Turns out it tastes just like regular pasta, even though it's made from white and brown rice, corn, and quinoa.  I still prefer using whole grain pasta whenever I can, but it's nice to know there's a tasty alternative out there for those with gluten sensitivities or intolerance, or for me to use in dishes where whole wheat doesn't really work as well, like in this pasta bowl.
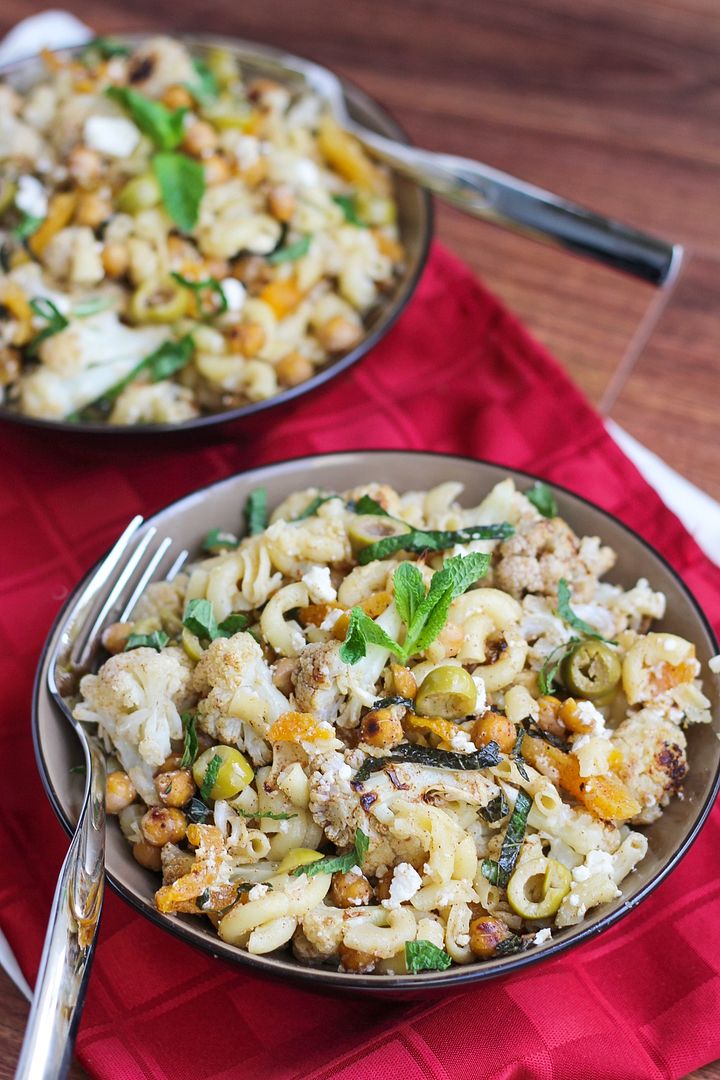
Gluten-Free Moroccon Macaroni Bowl with Roasted Cauliflower & Chickpeas

Catelli has lots of awesome pasta recipes on their site, and I decided to go with a Moroccan version to test out this pasta, and I'm so glad I did!  Everything about this pasta is so different from your typical tomato sauce pasta, and even though it looks like there are a lot of strange ingredients in this, they all work together so well!

Instead of a sauce, this pasta is tossed with a light dressing full of fresh lemon flavour and lots of spices.  You also use some of this dressing to roast some cauliflower and chickpeas, giving them awesome flavour and texture.  I never roast chickpeas for pasta, usually tossing them in raw, but now I always want to eat them this way - I love that they get a little crispy!  Also mixed in there are some green olives, sliced dried apricot, feta cheese, and mint leaves.  I know it sounds a little weird, but trust me that it all the ingredients are balanced and together make an amazing flavour, so don't leave anything out!  I couldn't stop eating this right after I made it and already look forward to making it again.
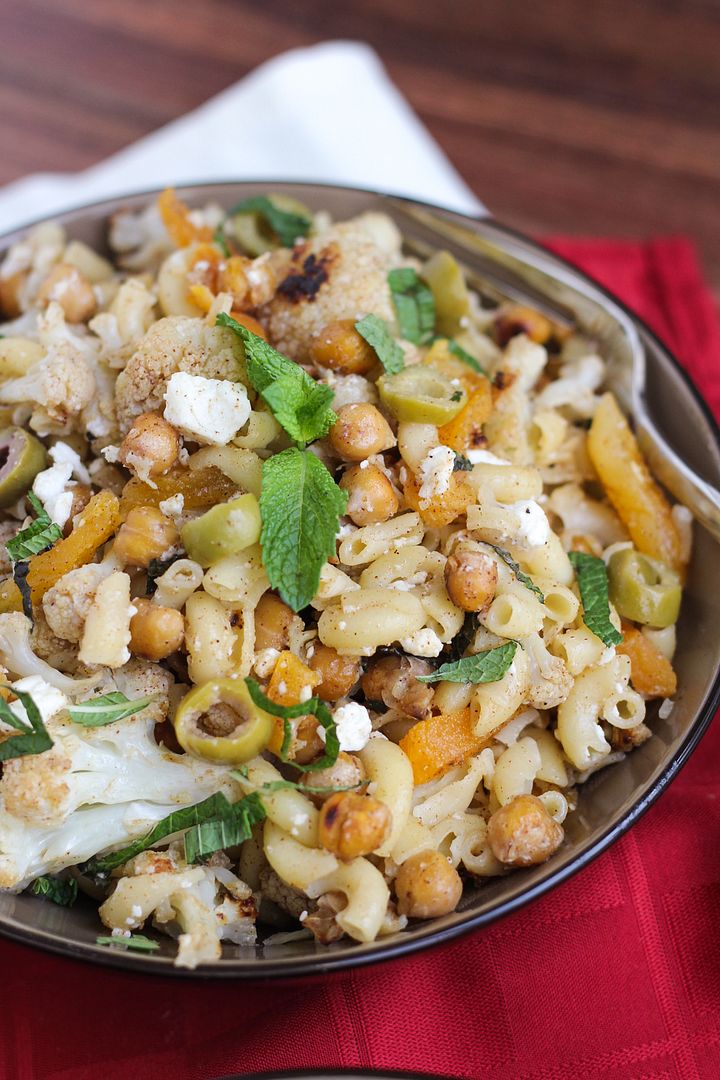
Gluten-Free Moroccon Macaroni Bowl with Roasted Cauliflower & Chickpeas

If you want to try out this gluten-free pasta yourself, you can get a coupon for $1.00 off here.  And if you're lucky (and live in Canada), you have a chance to win a whole year's supply of Catelli's gluten-free macaroni!

To enter to win this awesome prize (with a retail value of approximately $180), please follow the instructions in the Rafflecopter widget below - there are three ways to enter: leaving a comment on this blog, following me on Facebook, or on Twitter - pick one or all three for more entries!
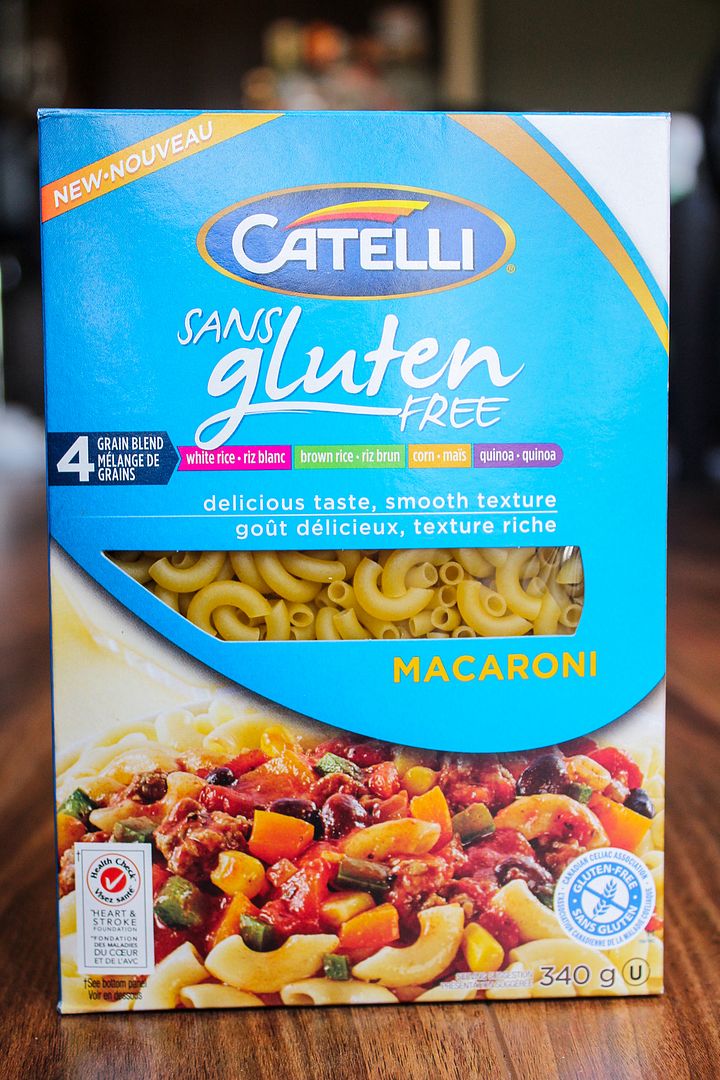
Catelli Gluten Free Macaroni

Please be sure to enter with a valid e-mail address or Facebook account so I can contact you if you're randomly selected as the winner.  The contest will close at midnight EST on Sunday, June 8th, 2014.  Please note that as this is a Canadian product, this contest is open to Canadians only (sorry, American friends!)

a Rafflecopter giveaway

And don't forget to check out the recipe below!

Disclosure: This is not a sponsored post.  I received one box of pasta to make this recipe but was not compensated in any other way for my time, ingredients, or thoughts, which are all my own :) I just thought this was a great giveaway opportunity for my readers!
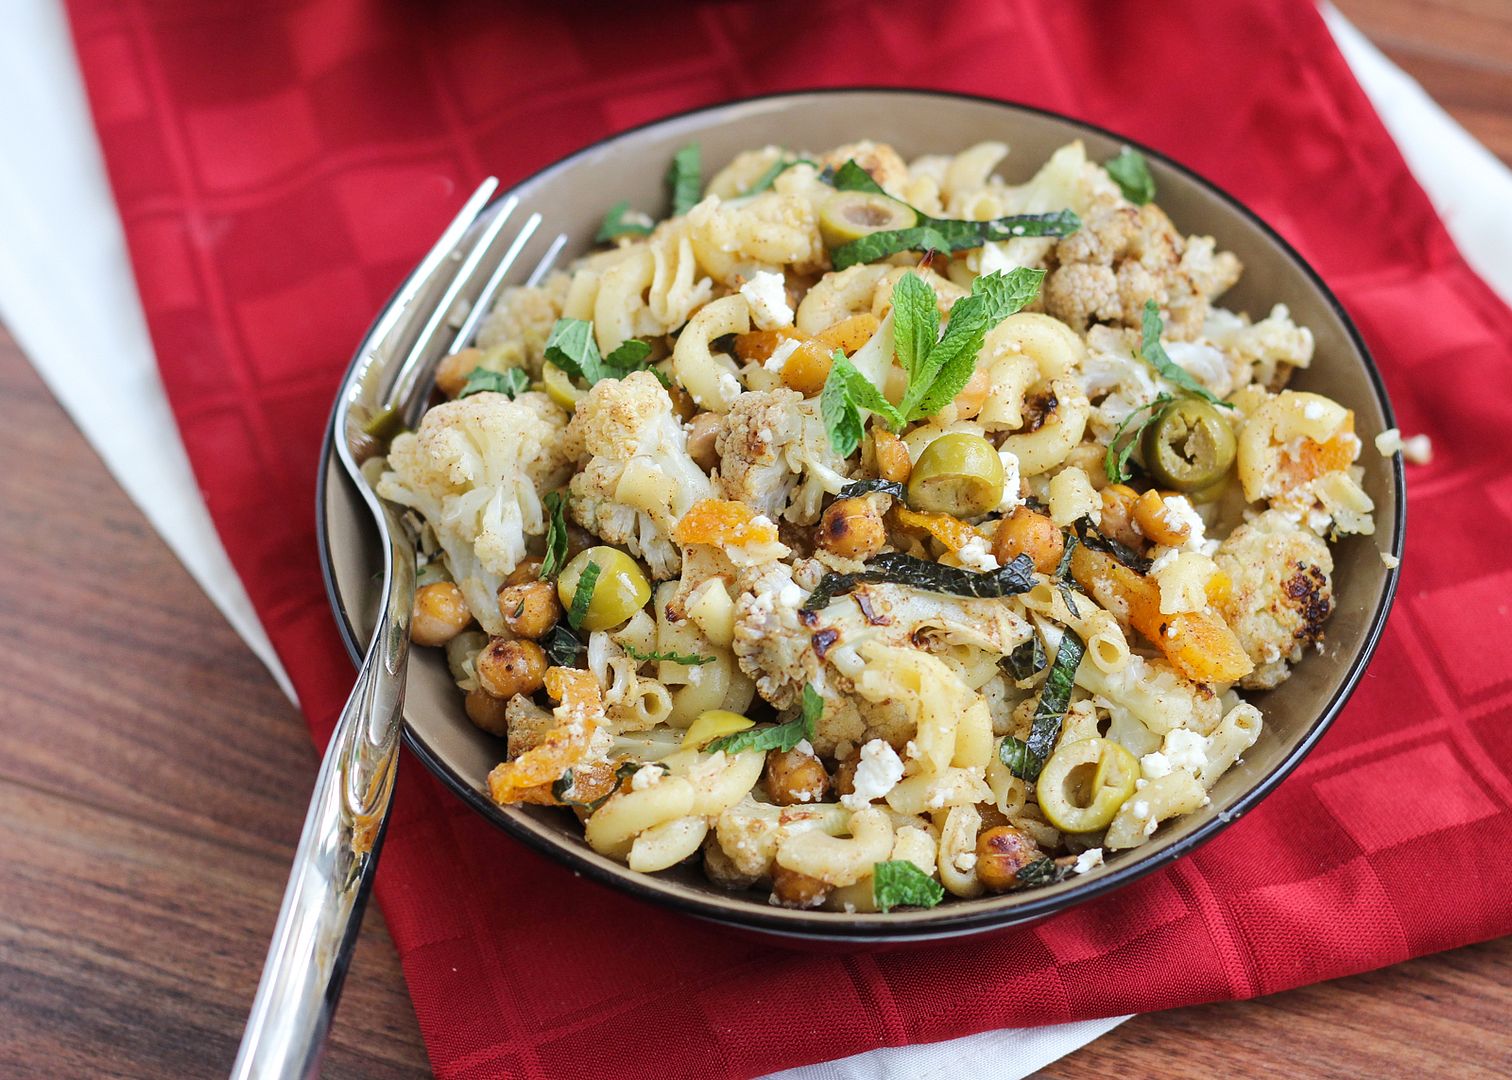
Gluten-Free Moroccon Macaroni Bowl with Roasted Cauliflower & Chickpeas

Gluten-Free Moroccan Macaroni Bowl with Roasted Cauliflower & Chickpeas

Slightly adapted from Catelli Pasta

Makes 4-6 servings

Ingredients:

1 (540mL) can of no-salt added chickpeas, drained and rinsed
4 cups cauliflower florets (about 1 small head or 3/4 of a larger head)
1/3 cup fresh lemon juice
1/4 cup olive oil
2 tablespoons honey
1 tablespoon minced or grated fresh ginger
2 cloves garlic, minced
1 tablespoon ground cumin
1 teaspoon cinnamon
1/2 teaspoon each salt and pepper
1 box (340g) Catelli® Gluten Free Macaroni
3/4 cup slivered dried apricots
1/3 cup sliced green olives
1 cup crumbled feta
3/4 cup loosely packed chopped fresh mint leaves

Directions:

Preheat oven to 400°F and line a large baking sheet (I used two) with parchment paper or foil.  Add cauliflower and chickpeas to a large bowl.  Whisk lemon juice, oil, honey, ginger, garlic, cumin, cinnamon, salt, and pepper in a small bowl until combined.  Drizzle 3 tablespoons of the dressing over the cauliflower and chickpeas and toss to combine.  Spread cauliflower and chickpeas onto prepared baking sheets in an even layer.  Roast in preheated oven for 30 minutes or until browned, tossing halfway through.

Meanwhile, cook pasta according to package directions.  Reserve 1/2 cup of the cooking water before draining.  Toss cooked pasta with roasted cauliflower and chickpeas, apricots, olives, feta, mint, reserved pasta water, and reserved lemon dressing.  Stir until combined and serve warm.

February 25, 2014

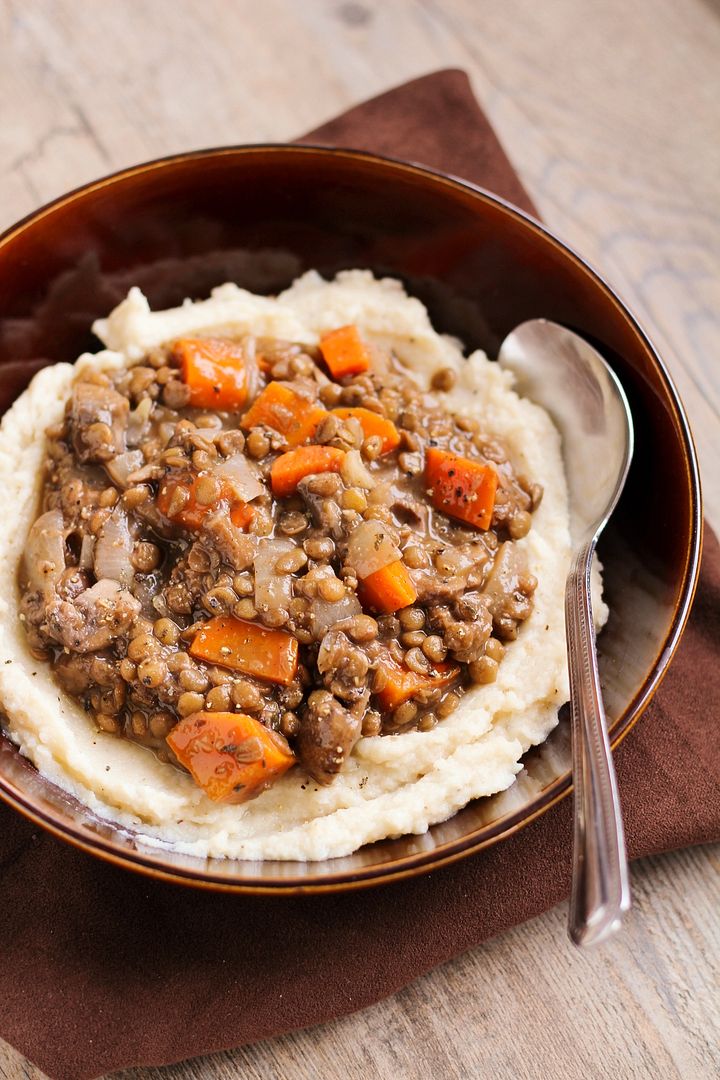
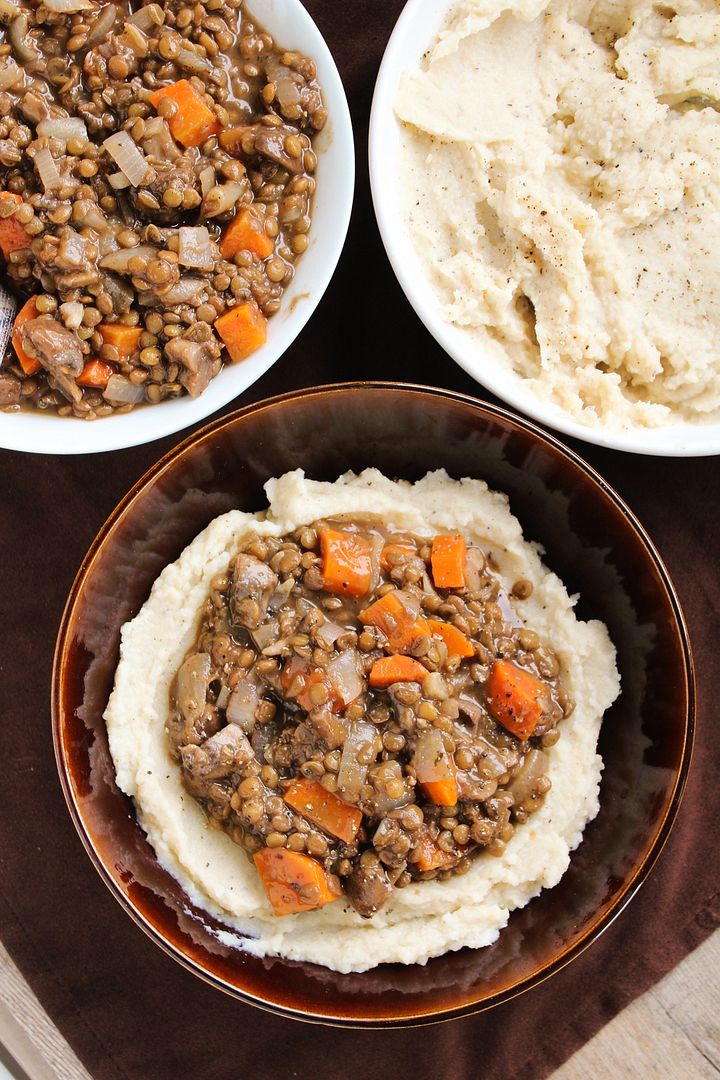
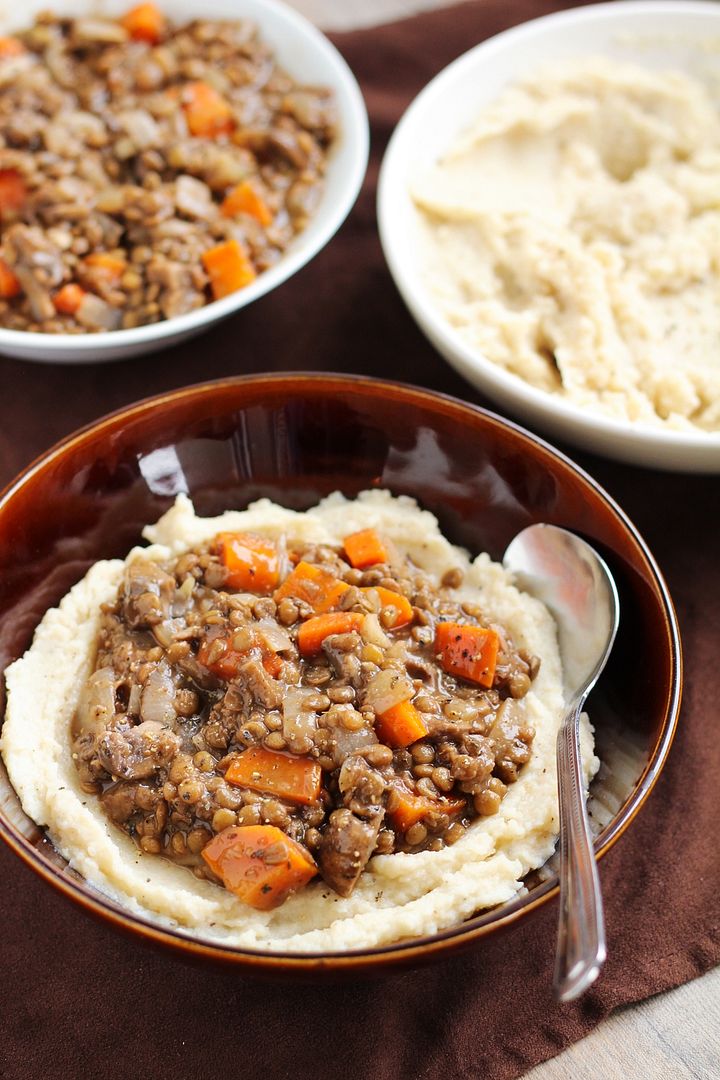
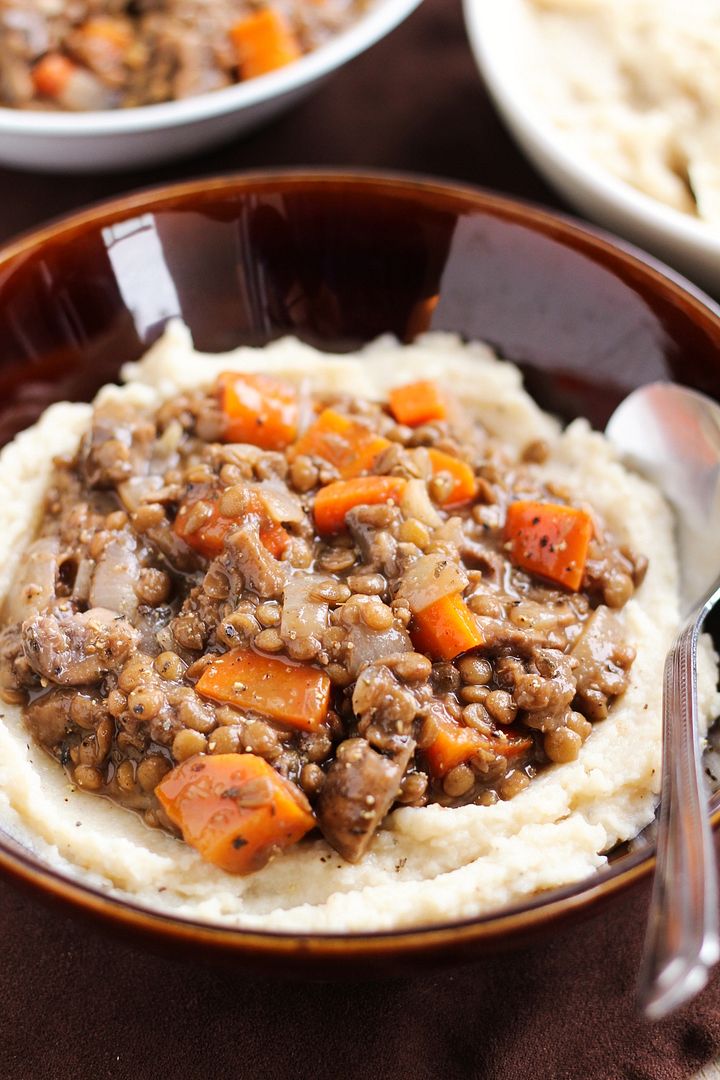
Lentil & Vegetable Stew with Cauliflower White Bean Puree

Lentil & Vegetable Stew with Cauliflower White Bean Puree

So I realize this isn't the most attractive looking plate of food you've ever seen...  I was cringing as I put together this post, wondering why I thought brown on brown on brown was a good idea for food styling, or why I didn't add a garnish on top for some colour.  I will hopefully redo these photos in the future, but I wanted to make sure I shared this now while you're still in the mood for hearty winter comfort food.  Not that winter seems to be showing any signs of ending soon!

Hopefully you're willing to get past appearances here because I promise the taste is worth it.  And not only is this dish comforting, filling, and full of flavour, but it's also really good for you!

Lentil & Vegetable Stew with Cauliflower White Bean Puree

This stew is made with lentils (obviously), onion, garlic, mushrooms, carrots, vegetable broth, plenty of seasonings, and a splash of red wine for good measure.  So you're getting a ton of vitamins, fiber, and protein to fill you up and keep you energized through the day or night.  I love using lentils in meals because they're a great source of protein, they're easy to cook, and they're really cheap!

And to make this even more of a protein power bowl, I pureed white beans with cauliflower to serve as the base for the stew.  Steaming and pureeing cauliflower is one of my favourite ways to eat it and I honestly like it even better than regular mashed potatoes.  Sometimes I'll puree cauliflower with chickpeas or white beans and some flavourful mustard and just eat that for dinner on its own, but it goes even better with a hearty stew on top! 

Lentil & Vegetable Stew with Cauliflower White Bean Puree


In case you're skeptical, or plan on serving this to picky eaters, I told Ryan that the cauliflower was just mashed potatoes, and after I'd finished watching him eat his meal while trying to hold in my evil grin the whole time, I told him it was really cauliflower and beans and he was completely surprised!

You can also eat the stew on its own if you prefer, and if your leftovers thicken up more than you like in the fridge, just add a splash of water or vegetable broth before you warm it up (this makes great lunch leftovers!)

It may not be pretty, but this is just what you need to get through these never ending winter days!

Lentil & Vegetable Stew with Cauliflower White Bean Puree

Lentil & Vegetable Stew with Cauliflower White Bean Puree

Recipe adapted from Unprocessed People’s Lentil Not Roast

Makes about 4 servings

Ingredients:

For the Lentil Stew:
1 cup dry green or brown lentils
2 teaspoons olive oil
1 lb (two 8oz containers) white or crimini mushrooms, chopped (around 2.5 cups)
2 large carrots, peeled and diced
2 medium yellow onions, peeled and diced
3 cloves garlic, minced
1/2 teaspoon cumin
1/2 teaspoon dried oregano
1/2 teaspoon dried basil
1/2 tablespoon dried thyme
1 tablespoon tomato paste
2 teaspoons cornstarch
1/2 cup red wine
2 cups low-sodium vegetable broth
2 bay leaves
2 teaspoons Worcestershire sauce (use vegetarian Worcestershire sauce to keep this vegetarian/vegan)
Salt and pepper

For the Cauliflower:
1 large head of cauliflower, chopped into florets
3 cloves garlic, crushed
1 can white kidney beans, drained and rinsed
2 teaspoons extra virgin olive oil
~1/2 teaspoon each salt and pepper

Directions:

Bring 2 cups water to a boil in a medium saucepan.  Add lentils, reduce heat to medium-low, and let simmer uncovered for 20-30 minutes, until cooked through and water is absorbed. Set aside when done.

Meanwhile, in a separate large saucepan or dutch oven, heat olive oil over medium heat.  Add mushrooms, carrots, onion, garlic, and dry seasonings (cumin through thyme), stir, and let cook for around 5-7 minutes, stirring often.  Add tomato paste, stir to coat, and let cook for about a minute. Add cornstarch, stir to coat, and cook for another minute.  Add red wine and let simmer for about 3 minutes.  Add vegetable broth and bay leaves and lower heat to a simmer.  Add lentils and let simmer for at least 5 minutes.  Remove bay leaves, stir in Worcestershire sauce, and season to taste with salt and pepper.

While your lentil stew is simmering, prepare the cauliflower bean mash.  Add cauliflower and garlic to a steamer basket and steam over boiling water, covered, for about 10 minutes.  Transfer to a food processor, add white beans, and process until smooth.  Slowly add olive oil, then season with salt and pepper.

Serve lentil stew warm over pureed cauliflower.  Garnish with chopped parsley if desired.

January 31, 2014

Healthy 'Cheezy' Roasted Cauliflower

Healthy 'Cheezy' Roasted Cauliflower

Even though my team didn’t quite make it to the Super Bowl this year, I’m still looking forward to this Sunday, not only to watch some very talented players compete in what should be an exciting game, but also to enjoy one of my favourite parts of the big game – the food!

Healthy 'Cheezy' Roasted Cauliflower

This year I’m going to try to keep things a little healthier than normal, though. I’ve been so busy with schoolwork over the past week that I feel like I haven’t been eating nearly as well as I usually do. Case in point: last night’s dinner consisted of peanuts, crackers, and a granola bar. Not the most nutritious meal I've ever had.

Healthy 'Cheezy' Roasted Cauliflower

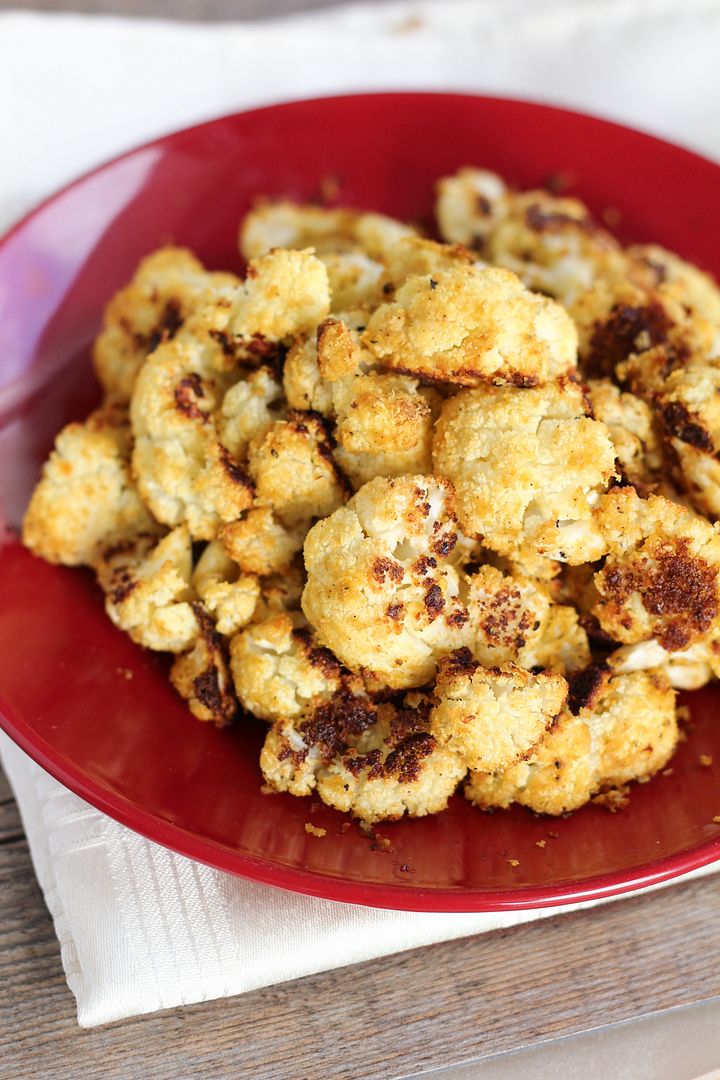
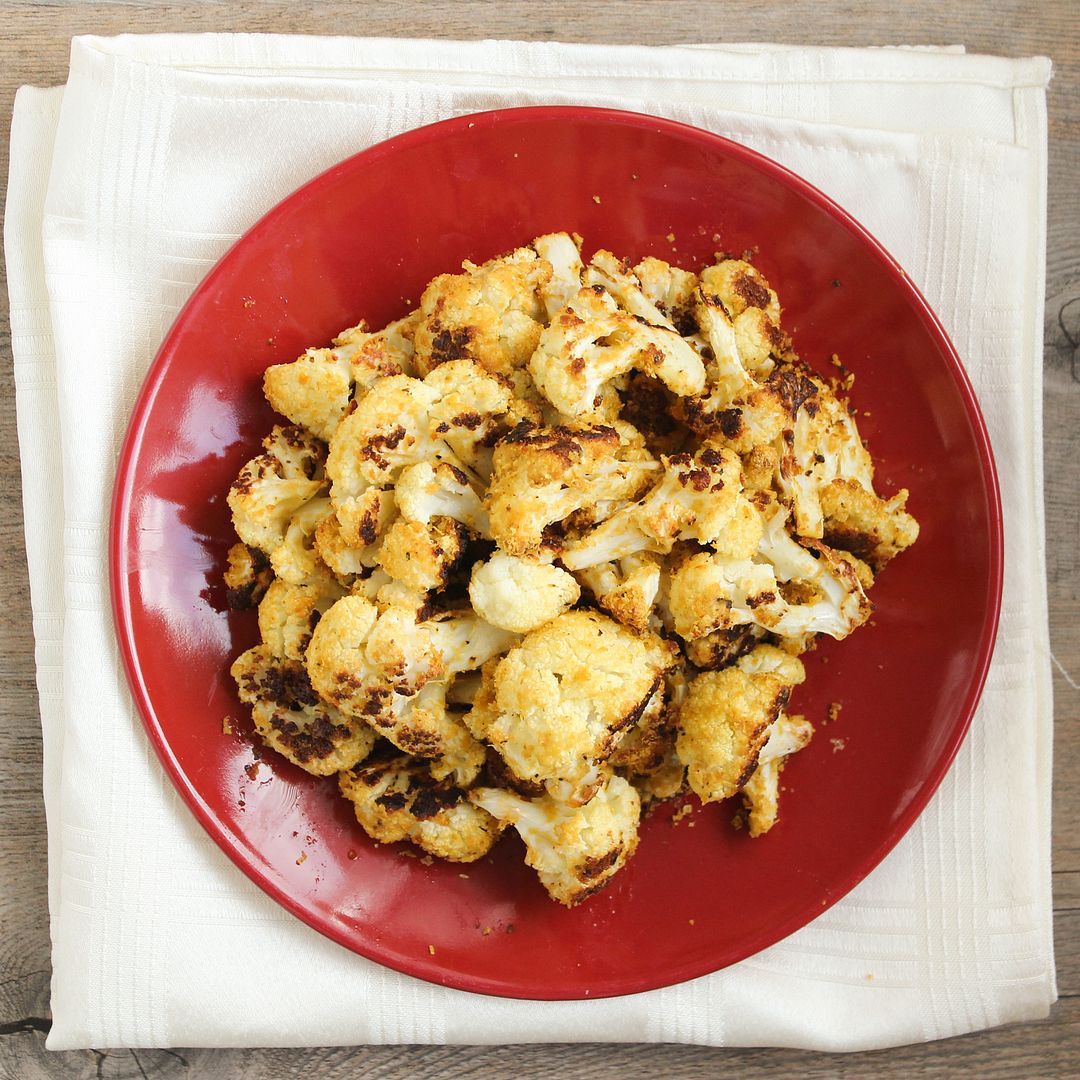
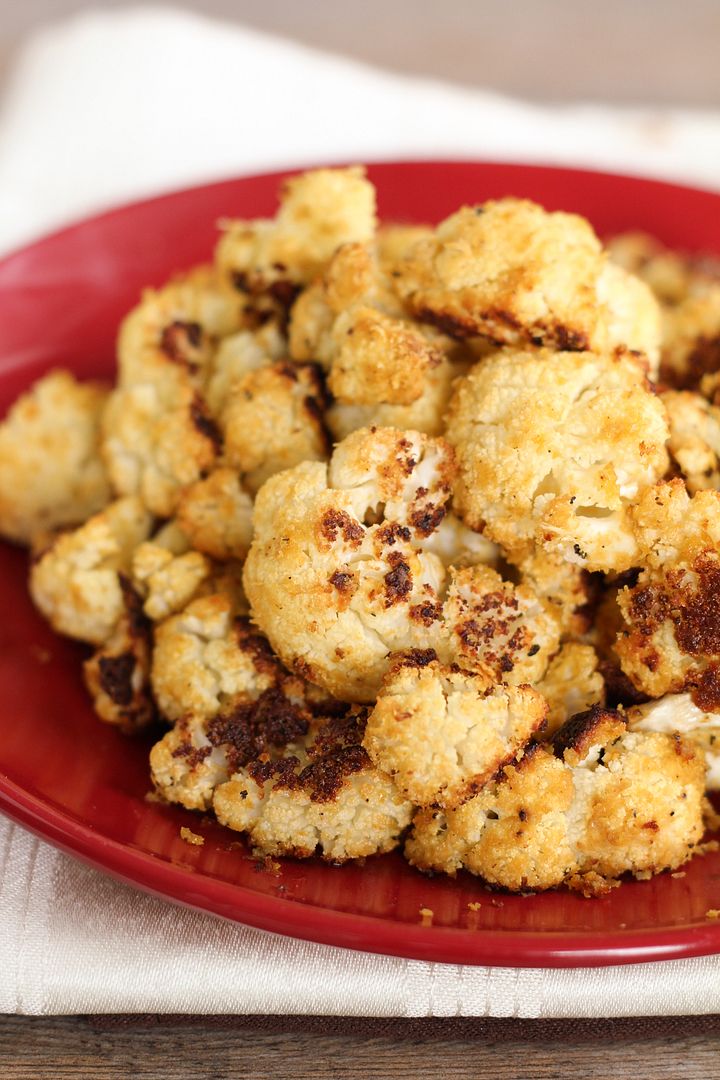
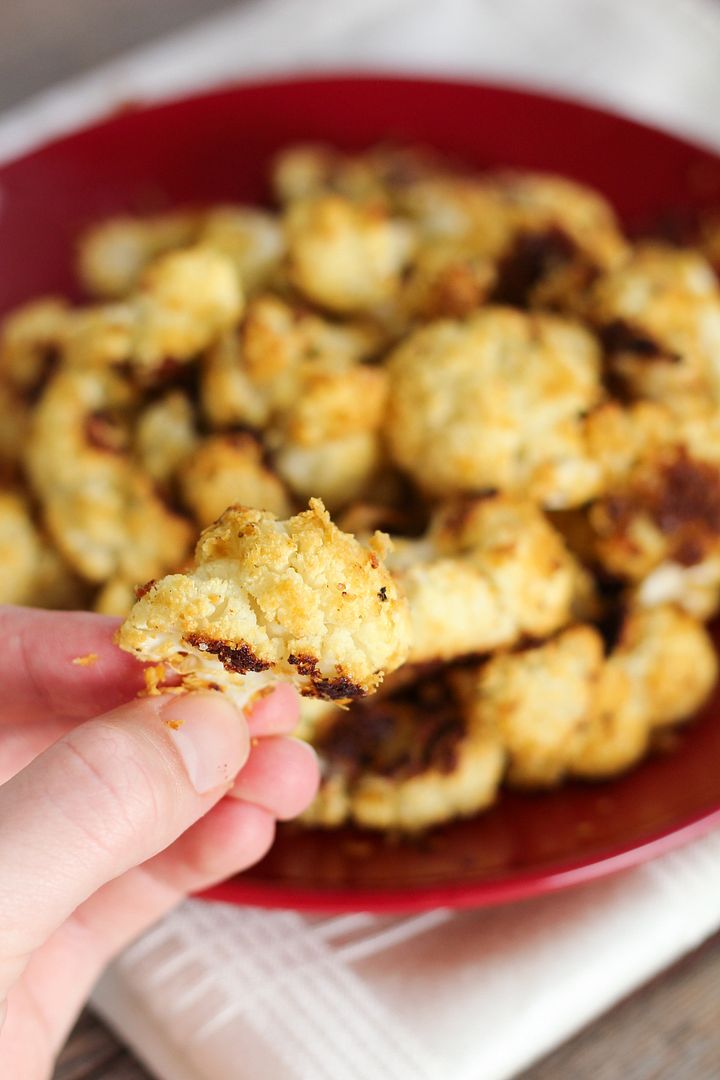
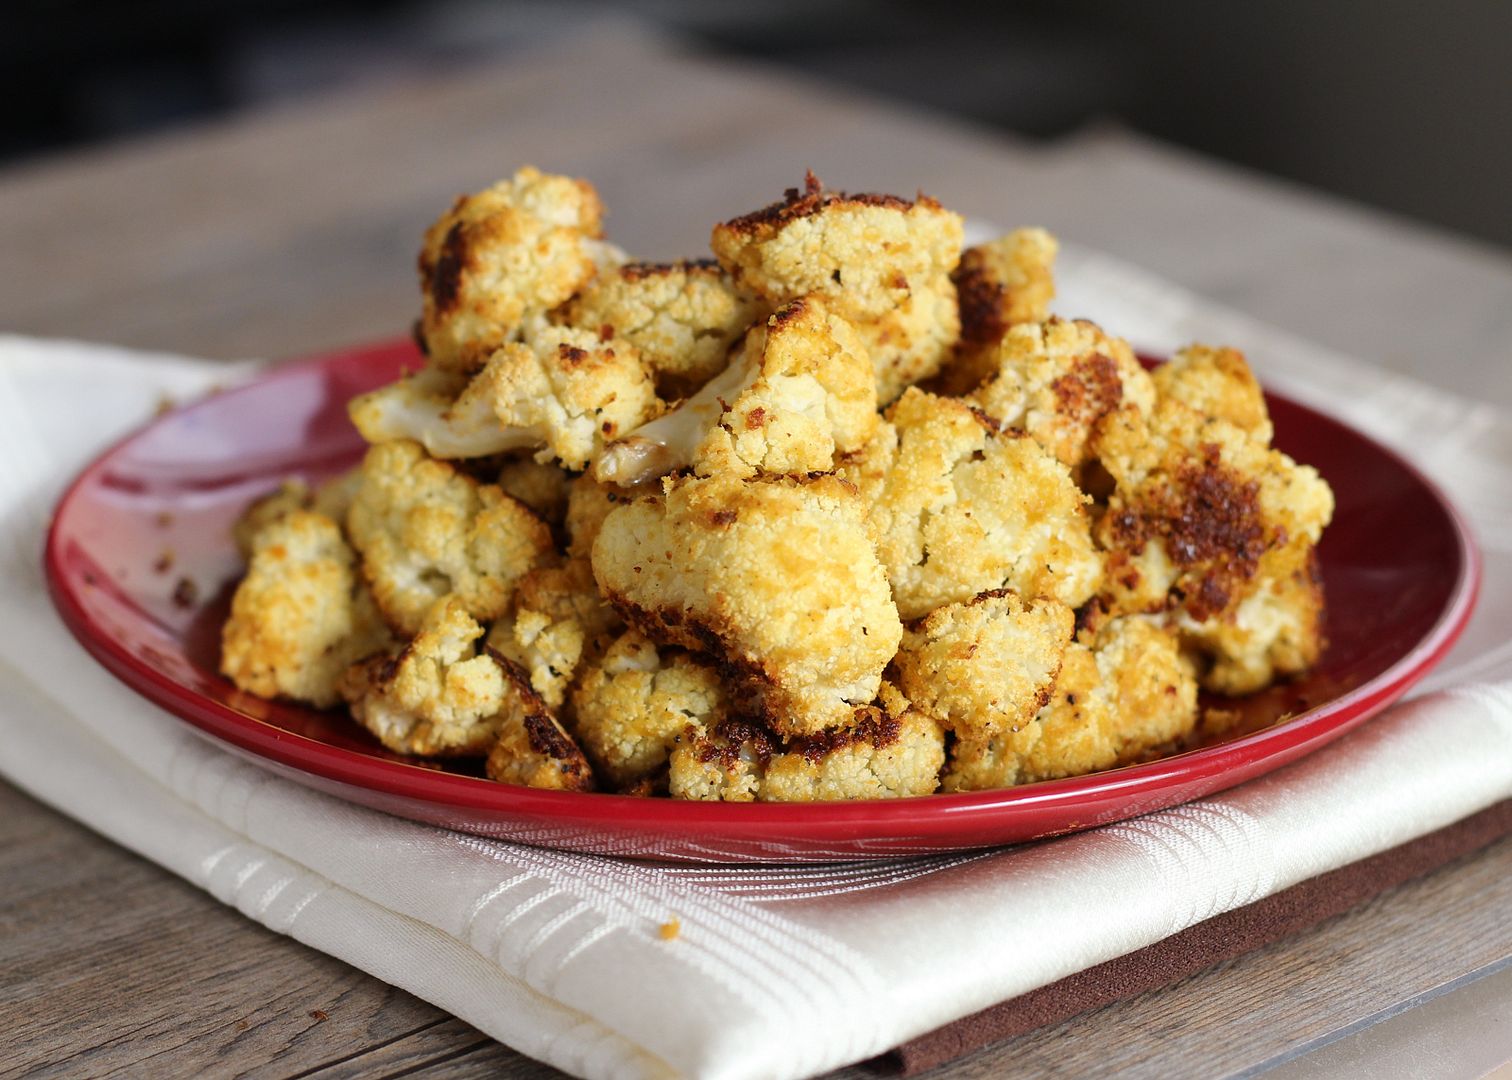
These cheezy cauliflower bites are the perfect healthy snack food to go with the big game, or to enjoy anytime! Throughout the football season we’ve been making roasted cauliflower tossed with buffalo sauce (in fact, this was how I finally got Ryan to admit that cauliflower can taste good), but I changed things up this time by going with a cheezy ranch type flavour. But without the cheese (hence the use of the ‘z’)!

Nutritional yeast (which indeed lives up to its name and is full of nutritional value, but with a cheesy nutty flavour) coats these cauliflower florets along with some mustard, seasoning, and a bit of olive oil, then they get roasted in the oven until they’re slightly crispy and delicious.

Healthy 'Cheezy' Roasted Cauliflower

The original recipe is from Clean Eating Magazine, though I made quite a few changes like adding more spices, adding mustard to complement the cheesy flavour and decrease the amount of oil needed to get the spices tso stick, and rather than dipping each cauliflower in oil, I just tossed everything together with some oil to cut the amount needed in half.  You might end up with less of the coating sticking to each piece this way, but I still thought there was plenty.  

There are other versions of this online that call this type of dish ‘cauliflower popcorn’, which I resisted because this really tastes nothing like popcorn, but it is still so tasty and will disappear quickly, so plan accordingly if making it for the game this weekend!

Healthy 'Cheezy' Roasted Cauliflower

Cheezy Roasted Cauliflower

Adapted from Clean Eating Magazine

Serves 2-4, depending on serving size

Ingredients:

Non-stick cooking spray
1 head cauliflower
2 tablespoons olive oil
2 tablespoons Dijon mustard
1/2 cup nutritional yeast
1/2 teaspoon garlic powder
1/2 teaspoon onion powder
1/4 teaspoon mustard powder
1/2 teaspoon salt
1/4 teaspoon freshly ground pepper

Directions:

Preheat oven to 400°F.  Line a large baking sheet with aluminum foil and spray lightly with non-stick cooking spray. 

Chop cauliflower into bite-sized florets and add to a large bowl.  Pour olive oil and mustard into bowl and toss until cauliflower is thoroughly and evenly coated.  In a small bowl, mix nutritional yeast, garlic powder, onion powder, mustard powder, salt, and pepper.  Pour mixture over the cauliflower and toss until evenly coated.

Spread cauliflower in an even layer on prepared baking sheet.  Sprinkle any leftover seasoning overtop.  Roast  in preheated oven for 20 minutes, remove from oven and turn cauliflower over, then roast for another 20-25 minutes, until browned.  Serve warm.

September 05, 2013

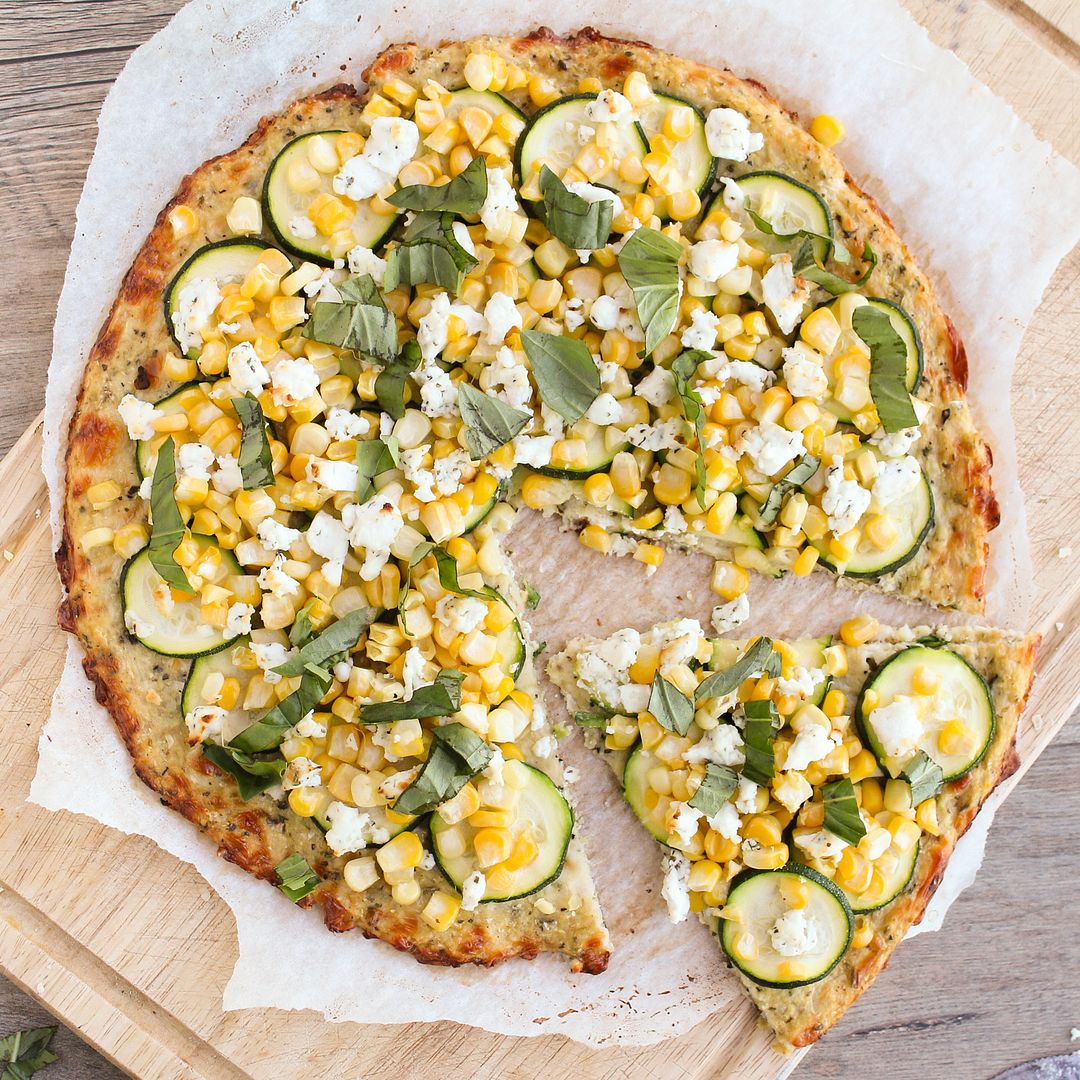
Cauliflower Crust Pizza with Corn, Zucchini, & Goat Cheese

Cauliflower Crust Pizza with Corn, Zucchini, & Goat Cheese

If you read blogs regularly or look at food on Pinterest, you've probably noticed at least a few recipes for cauliflower crust pizza before.  I've been seeing it all over the place for a while now and keep adding it to my list of things I need to try, but for some reason it took me until now to finally make it.  I admit I was skeptical that this was another fad that people go crazy for because it sounds good but in reality tastes disgusting (*cough*egg baked in an avocado*cough*), but I'm happy to report that this tastes as good as it sounds! (unless you think it sounds gross, like a certain boyfriend who shall remain unnamed, in which case you are wrong!)

If you have no idea what I'm even talking about when I refer to cauliflower crust pizza, I'll give a quick explanation of what it is.  Basically it's a breadless pizza crust that's made by mixing pulverized cauliflower with cheese, egg, and spices (if you like) to form a "crust" that is then baked and topped with any pizza toppings you like.  So it's healthier than pizza in the sense that there is actually some nutrition in the crust instead of empty carbs, but I should be clear that it's also not some sort of miracle calorie-free pizza because there is a lot of cheese in the crust, if that's what you're concerned about!

Cauliflower Crust Pizza with Corn, Zucchini, & Goat Cheese

There are lots of different recipes for cauliflower crust floating around, but I used one from The Lucky Penny Blog (with a few small changes), which Jessica from How Sweet It Is recently affirmed is the best cauliflower crust pizza recipe around, and though I haven't tried any other versions, this one worked so well that I know I won't need to (though she does have a cheese-free version if you're interested in trying it)!

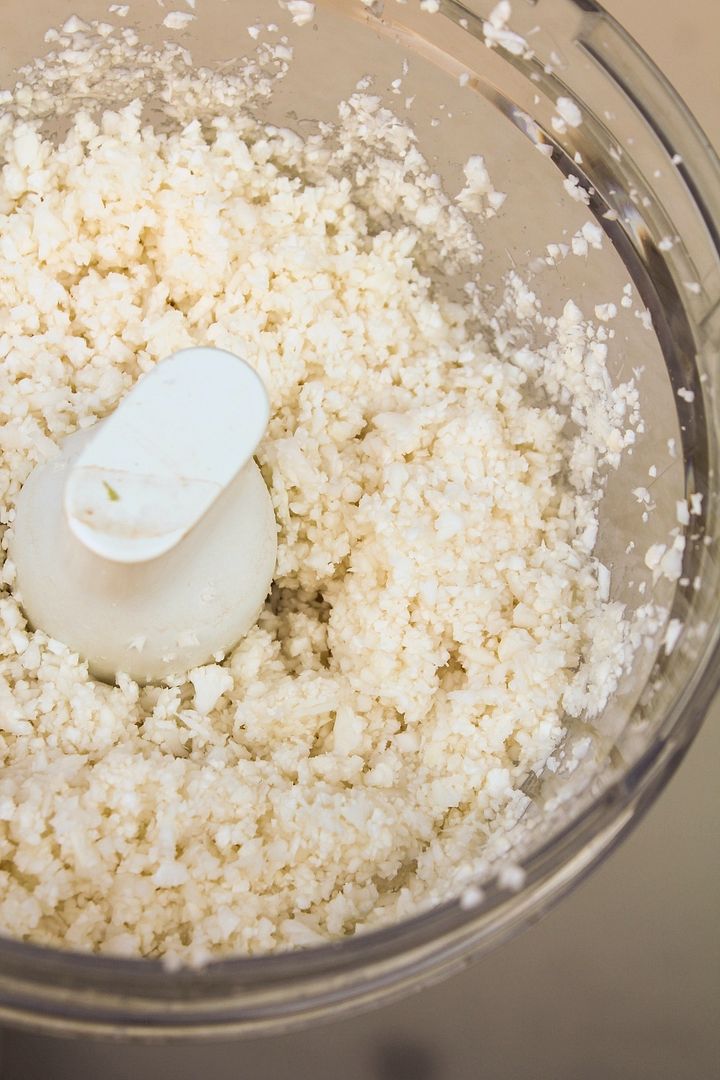
Making the crust is pretty simple.  You start by pulsing your cauliflower florets in a food processor until you get a bowl of fluffy snow-like "crumbs":

Making cauliflower crust pizza

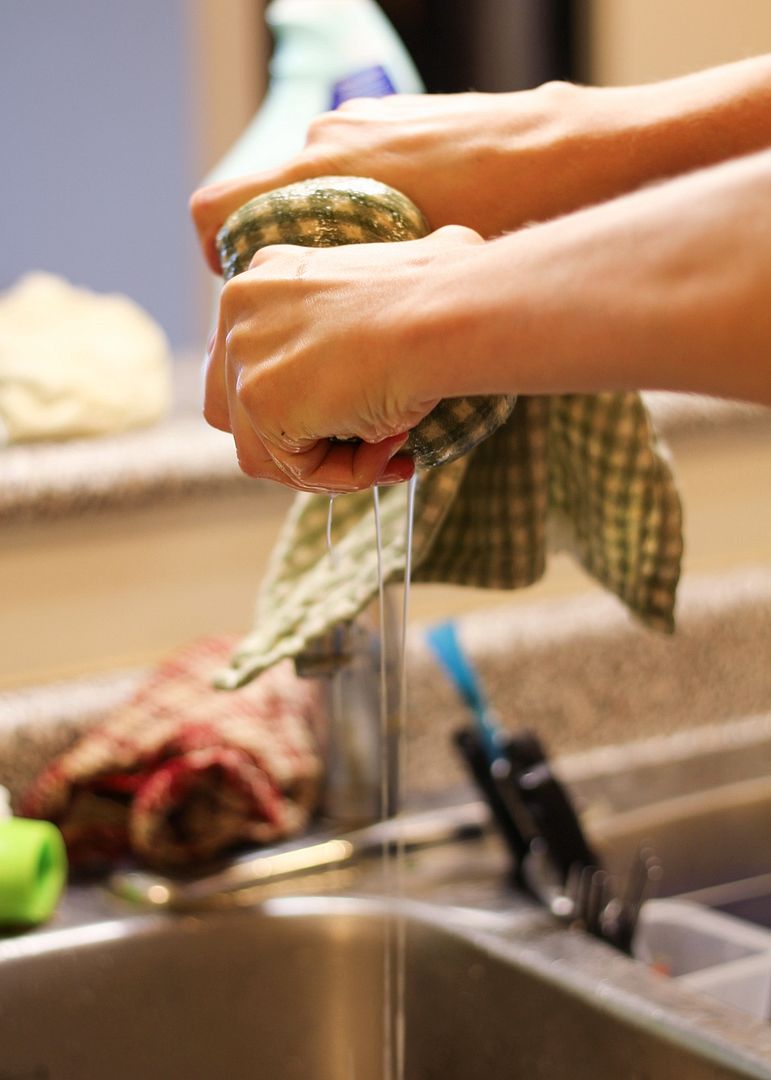
You then cook the "crumbs" in the microwave, let them cool, then transfer them to a towel to wring out all the water.  This is probably the most important step, as it will help make sure your crust stays together later.  You'll be surprised at how much water comes out - and you'll get a bit of an arm workout during the process!

Making cauliflower crust pizza

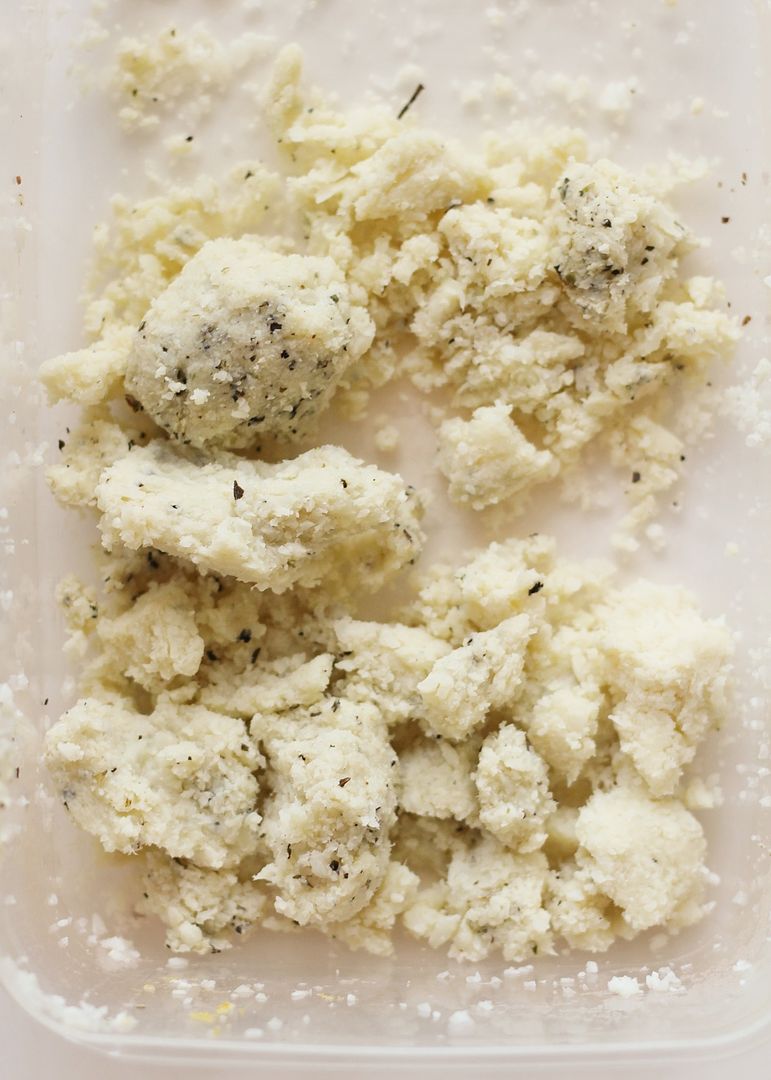
After you wring out all the moisture, the cauliflower will look completely different and if you smoosh it together with your hands it should actually stay together in clumps:

Making cauliflower crust pizza

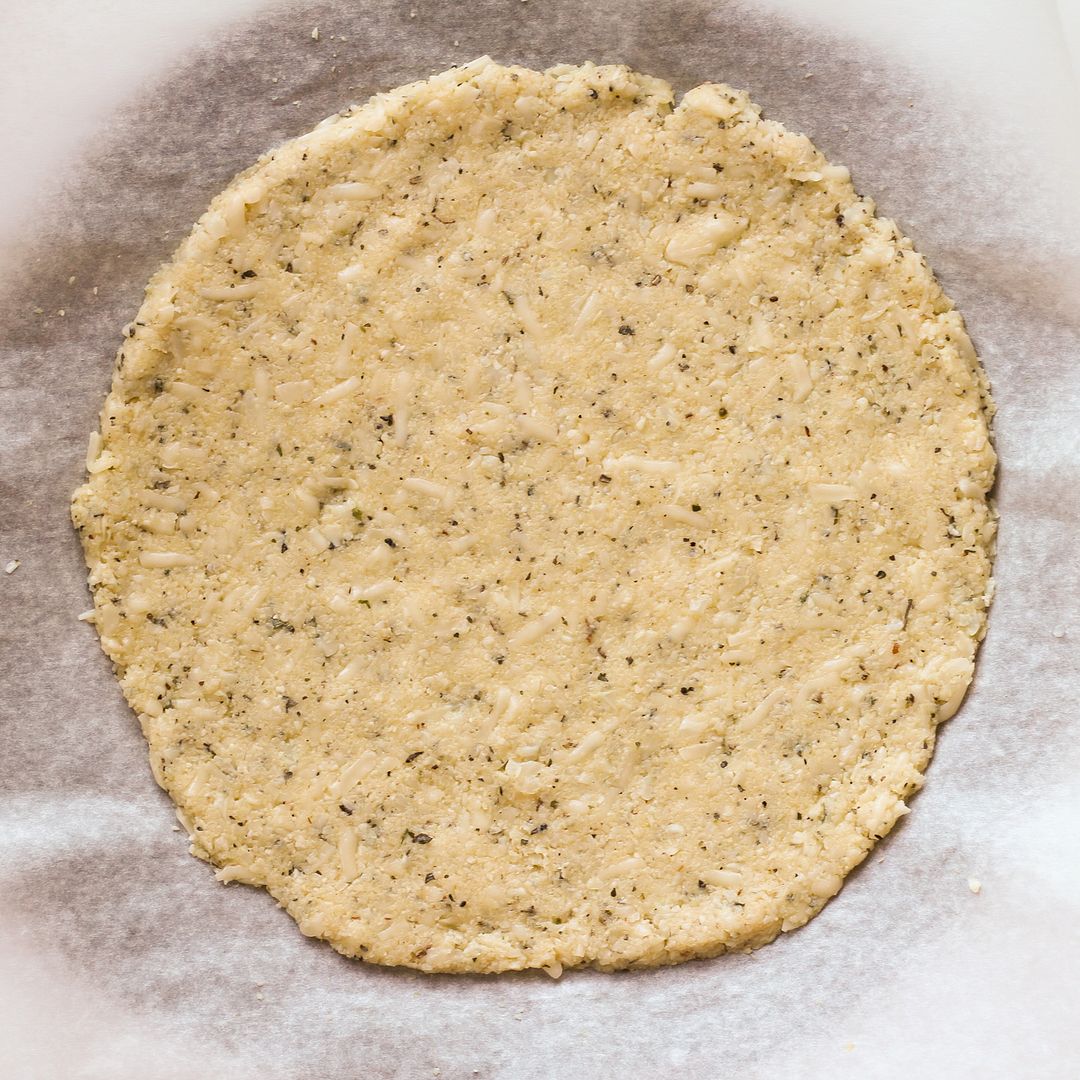
You then mix in your cheese, egg, and seasonings (if you like - I added dried basil, oregano, salt, pepper, and nutritional yeast for added cheesy flavour).  Then you pat the mixture into a pizza crust shape:

Making cauliflower crust pizza

You'll need to prebake your crust, during which time you can get all your toppings ready, then return the pizza to the oven with the toppings, wait very impatiently for it to be ready, and eat!

Cauliflower Crust Pizza with Corn, Zucchini, & Goat Cheese

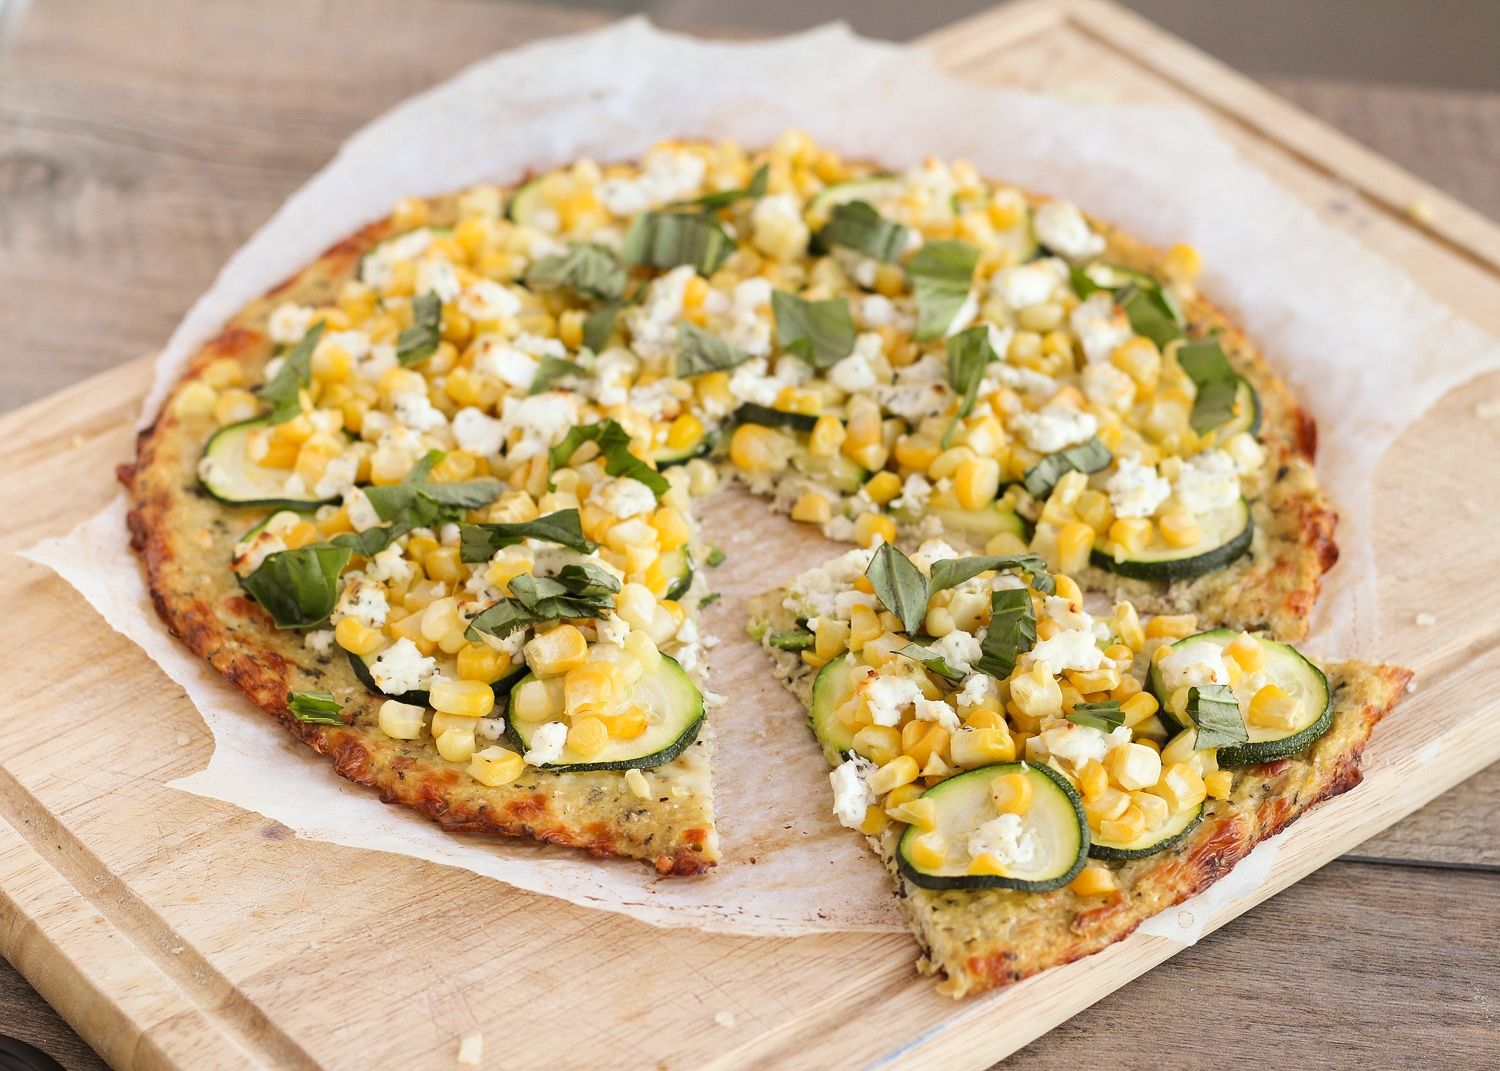
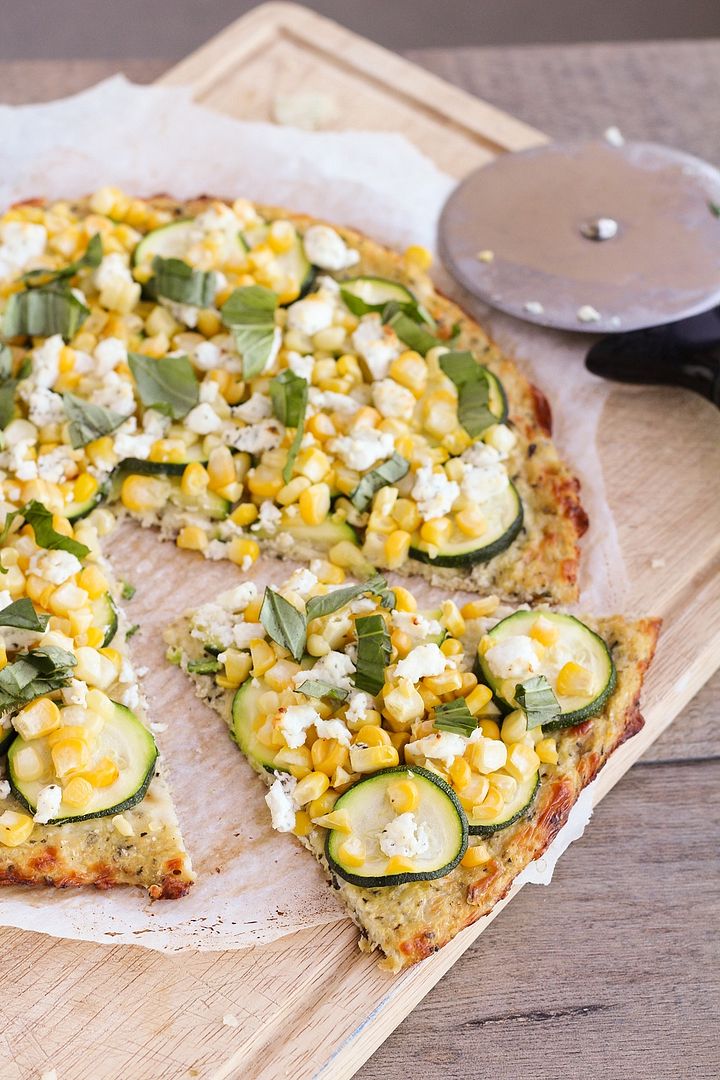
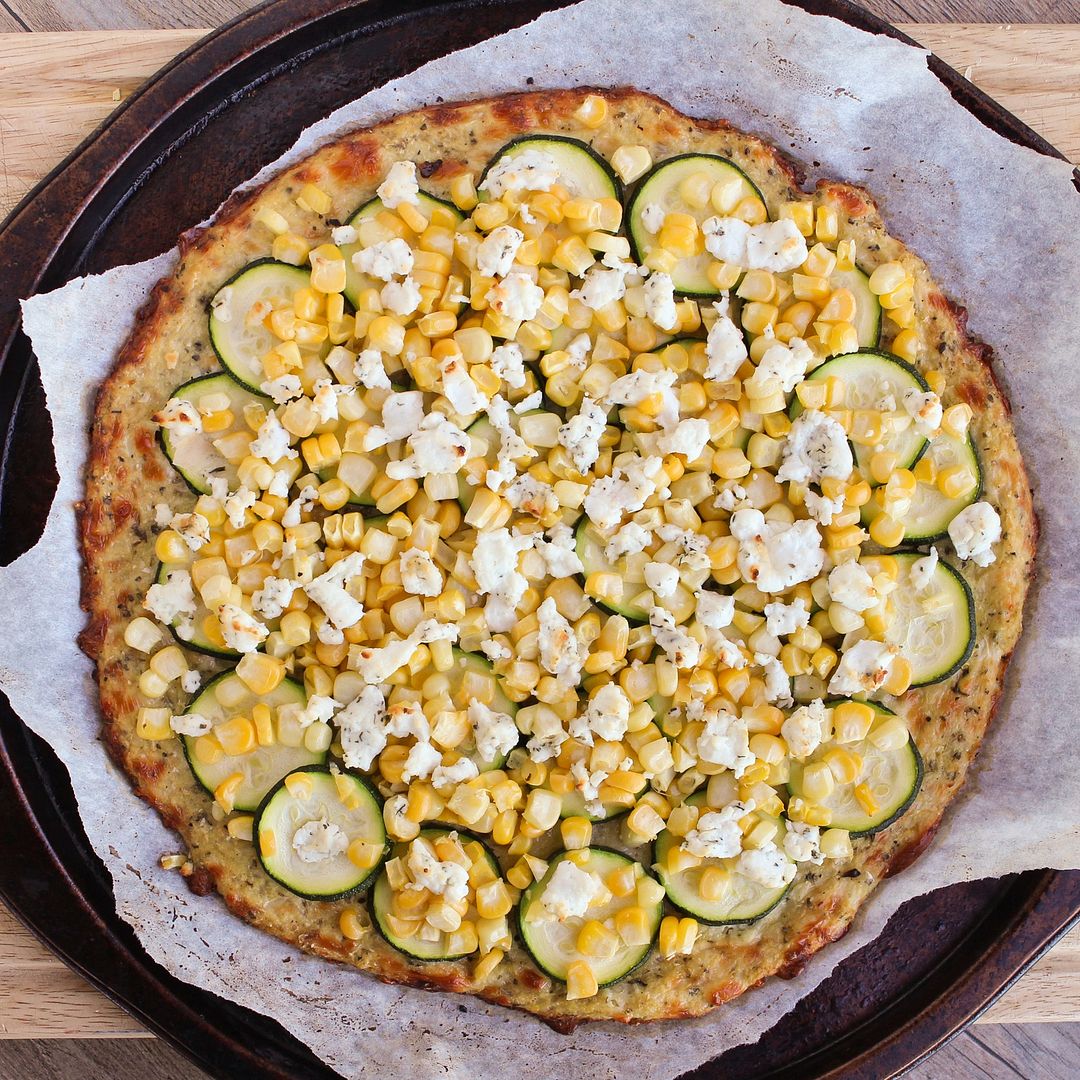
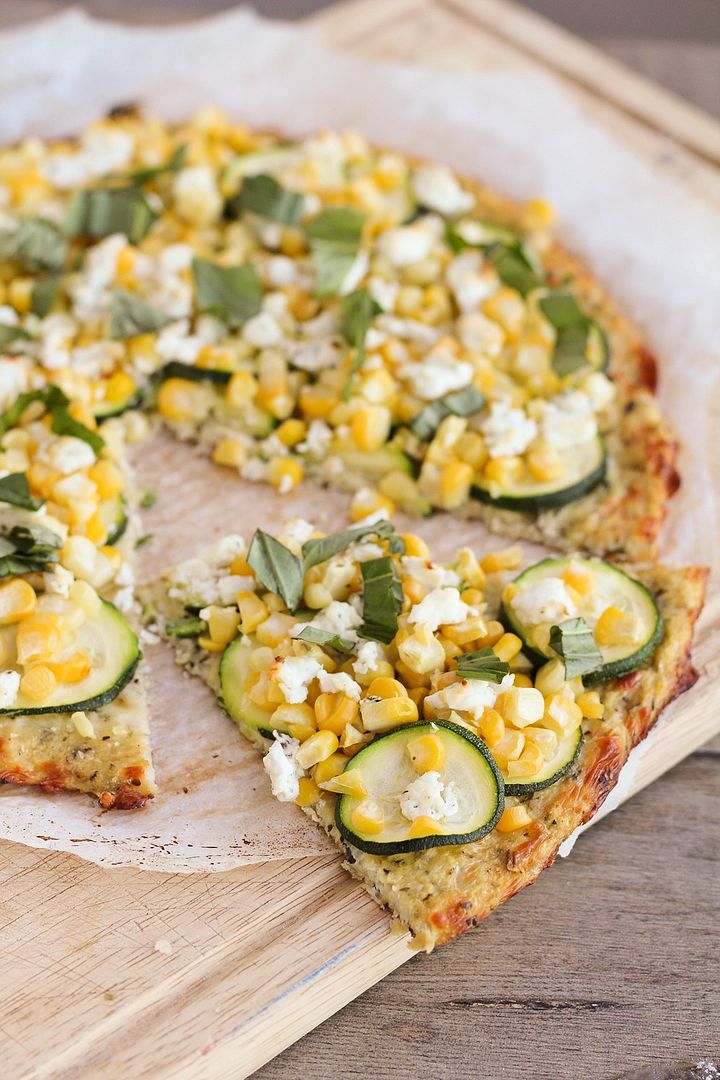
I decided to keep my toppings light and summery with corn, zucchini, and basil.  Even though the air is definitely getting chillier around here, it's still summer and there's still lots of corn and zucchini available!

I didn't use a sauce or cheese except for the goat cheese on top, as there's already cheese in the crust and I didn't want this to be too heavy.  Everything worked so well together and tasted fresh, which I loved!

Cauliflower Crust Pizza with Corn, Zucchini, & Goat Cheese

The crust was also way better than I expected!  It definitely doesn't taste anything like traditional pizza crust, so if that's what you're expecting then you'll be sadly disappointed.  Instead, it's chewy and flavourful and cheesy, and I think I actually might like it even better than regular crust!

Not that this will be replacing regular pizza for me as there's definitely still a time and place for that, but it's nice to have an alternative!

Cauliflower Crust Pizza with Corn, Zucchini, & Goat Cheese

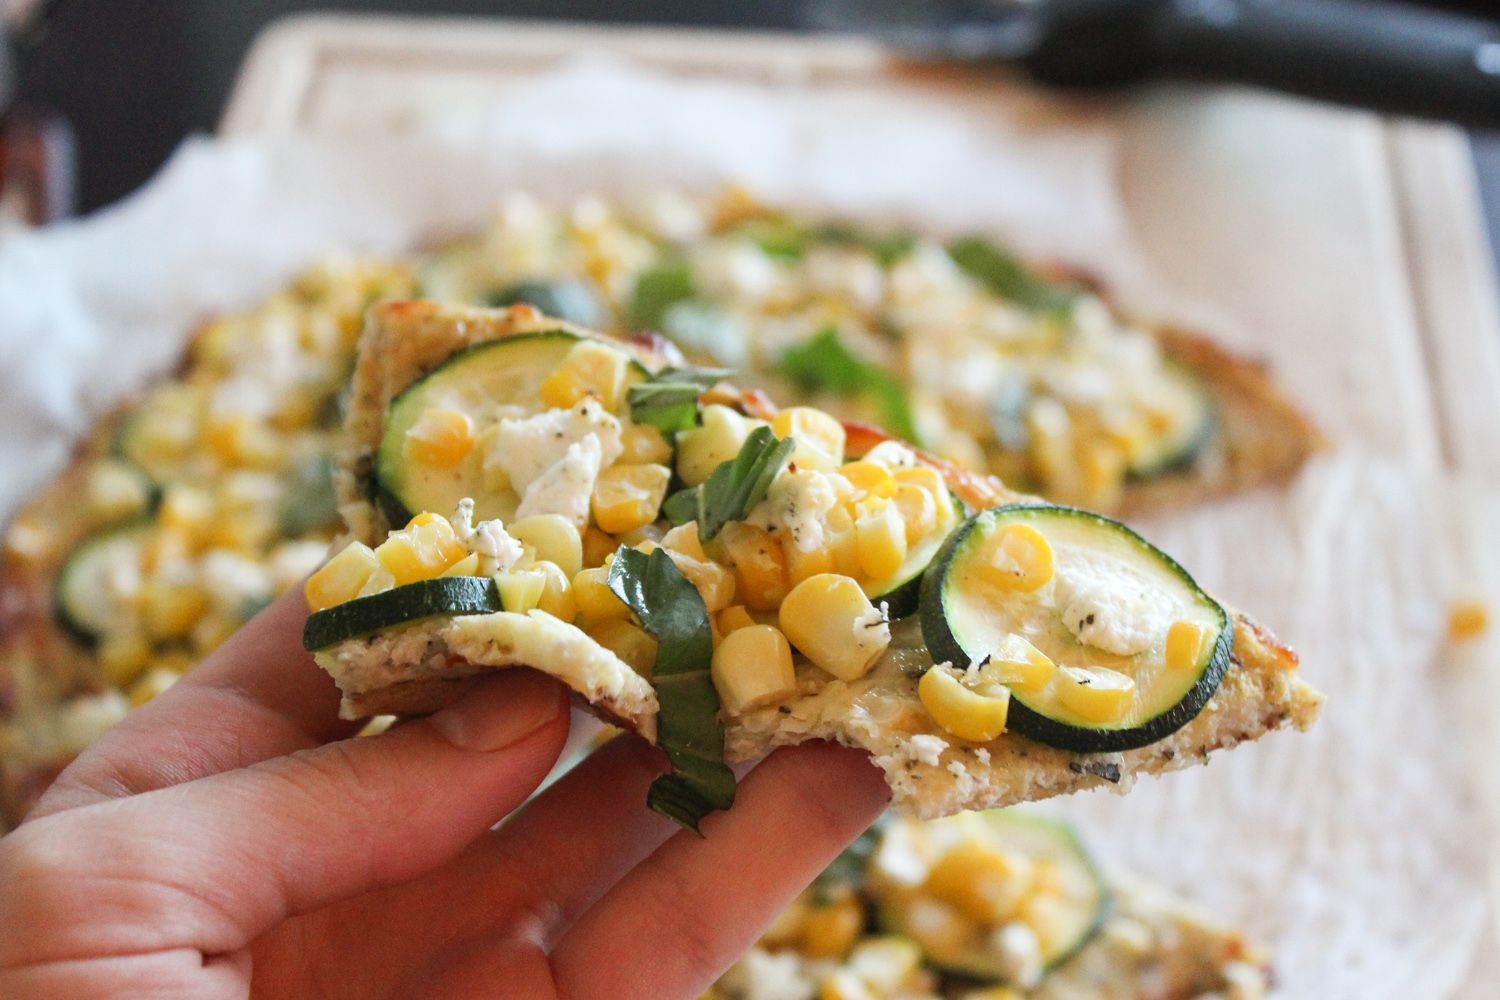
The only problem some people have noted is that the crust isn't super sturdy, so it can be hard to pick it up and eat it with your hands like regular pizza.  I found that I could still pick up the slices of pizza (see picture below for an idea - sorry it's so dark, I didn't think to take a picture until I'd already started eating), but because I chose corn as a topping, it was a bit hard to keep everything in place!  But as long as you don't mind getting a bit messy, it's worth it!  (and you can always eat with a knife and fork if you prefer!)

Cauliflower Crust Pizza with Corn, Zucchini, & Goat Cheese

Cauliflower Crust Pizza with Corn, Zucchini, & Goat Cheese

Crust recipe adapted from The Lucky Penny

Serves 2-3

Ingredients:

For the Crust:
1 medium head of cauliflower
1 cup grated part-skim mozzarella cheese
1/2 teaspoon dried basil
1/2 teaspoon dried oregano
1/2 teaspoon salt
1/4 teaspoon pepper
1 teaspoon nutritional yeast (optional)
1 large egg

For the Toppings:
1 small zucchini, sliced into thin rounds
1 ear of corn, kernels removed
2 oz herbed goat cheese (or plain goat cheese)
A few leaves of fresh basil, sliced thinly

Directions:

Preheat oven to 450°F and line a baking sheet with parchment paper.

Chop the cauliflower into florets (try to remove the stems).  Place in the large bowl of a food processor and pulse for about 30 seconds, just until all of the florets have been pulsed into very fine crumbs.  You should have about 3 cups of crumbs.  Transfer to a microwave safe bowl, cover, and microwave on high for 4 minutes.  Remove and let cool slightly.  Transfer to a clean tea towel (don’t use paper towels - they will shred), wrap up tightly in the towel, and wring all the water out of the cauliflower over the sink.  You will be surprised at how much water comes out!  Keep wringing to get as much water out of the cauliflower as you can – this will prevent the crust from crumbling.  Combine dried cauliflower with the cheese, basil, oregano, salt, pepper, nutritional yeast, and egg.  Mix to combine (I just used my hands).  Transfer to prepared baking sheet and form into a 10” thin circle.  Bake in preheated oven for 10-11 minutes.

Once crust has precooked, remove from oven and top with zucchini, corn, and goat cheese (you might not be able to fit all of the zucchini or corn kernels, depending on how big the zucchini and ear of corn were).  Top with crumbled goat cheese.  Return to oven and bake for another 15-20 minutes.  Remove from oven, top with sliced basil, season with additional pepper if desired, and serve!

Note that this is best eaten fresh - it doesn't keep very well.

January 15, 2013

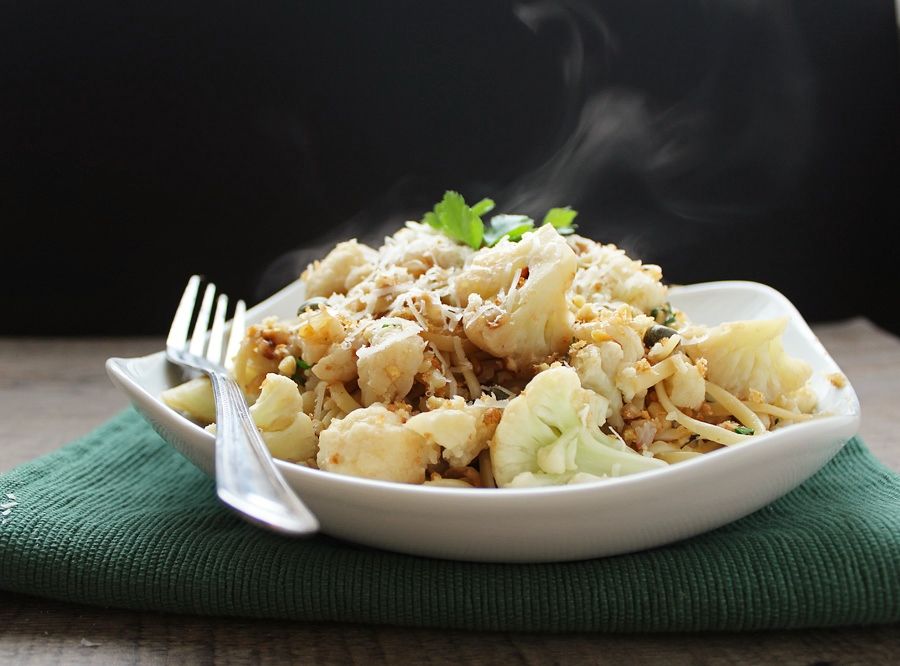
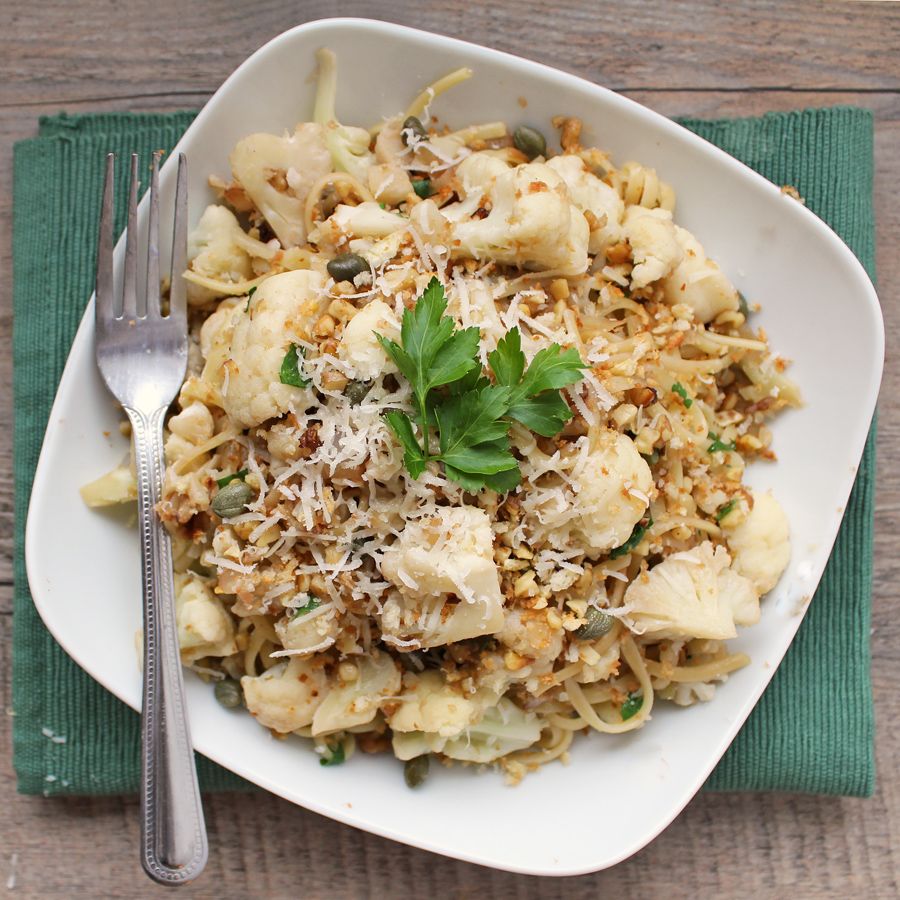
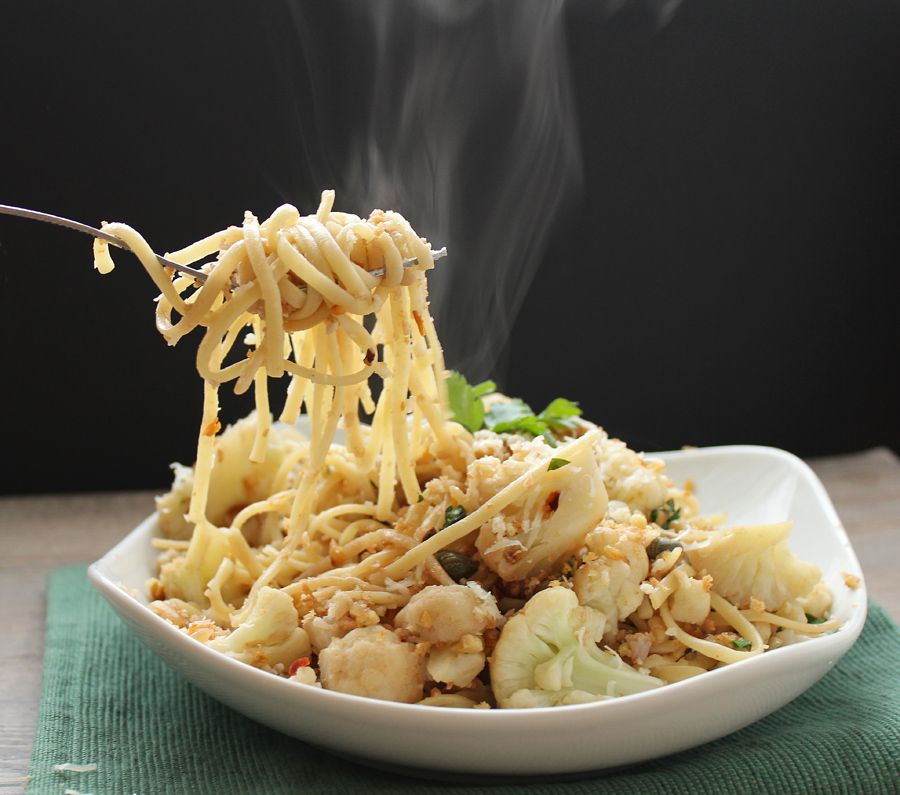
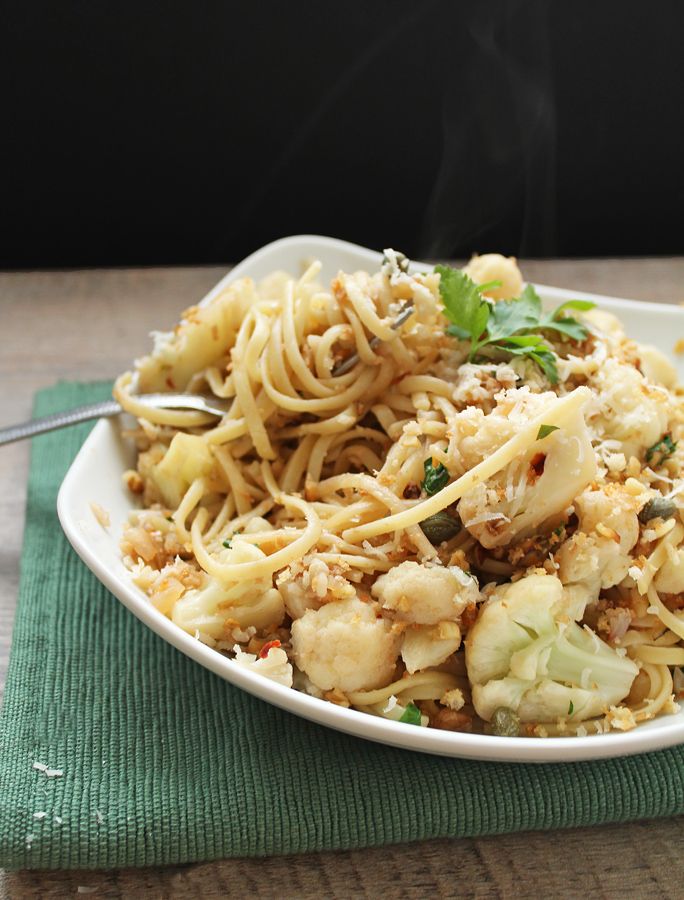
Cauliflower Linguine with Lemon & Capers

Cauliflower Linguine with Lemon & Capers

This past weekend, the temperature went up to 12°C (about 54°F for my American friends!) and it was glorious.  The snow had all melted, I didn't need my winter jacket, and something about the spring-like air just made me so happy!  Of course it was just a big tease and it's now back to being even colder than it was before, but that glimpse of Spring got me in the mood for lighter meals than the stews and chilis I've been enjoying lately.

Cauliflower Linguine with Lemon & Capers

This almost sauce-less pasta dish with lemon juice felt like a Spring-like dish, but the addition of cauliflower reminded me I still have a ways to go before I can add things like asparagus and peas in there!

Because there's not much of a sauce on this pasta, the mix-ins are really important!  And this has plenty of mix-ins: along with the cauliflower and lemon juice, there are sauteed onions and garlic, capers, fresh parsley, parmesan cheese, and a toasted breadcrumb and walnut mixture that gets mixed throughout for a little added crunch. 

Cauliflower Linguine with Lemon & Capers

I was in a hurry to photograph this before the day's light disappeared so I hadn't tasted it yet when I took pictures.  It definitely didn't disappoint - it was just what I was in the mood for and I loved how all the flavours combined, but as I ate, I thought of two extra add-ins that would have made it even better.  Sliced kalamata olives would complement the salted, pickled flavour of the capers well, and golden raisins would add a nice burst of sweetness throughout.  I added a handful of raisins to my leftovers today and loved it, and tomorrow I'm going to add olives!  As always, taste and customize to your liking!

(Update: I didn't have kalamata olives in my fridge so I added green olives today and it was delicious!)

Cauliflower Linguine with Lemon & Capers

Cauliflower Linguine with Lemon and Capers

Adapted by combining recipes from William Sonoma and Clean Eating Magazine

Serves 4

Ingredients:

10 oz linguine pasta
2 tablespoons olive oil, divided
3 cloves garlic, minced
1/2 cup panko bread crumbs
1/4 cup chopped walnut pieces
1 yellow onion, diced
1 head cauliflower, chopped into florets
3/4 teaspoon red pepper flakes, or to taste
1/2 teaspoon salt
3 tablespoons capers
1/4 cup chopped parsley, plus more for topping
1/3 cup grated parmesan cheese, plus more for topping
3 to 4 tablespoons lemon juice (or to taste)
Freshly ground pepper
Optional add-ins: Sliced Kalamata olives and/or golden raisins

Directions:

Bring a large pot of salted water to a boil.  Add the pasta and cook according to package directions to bring it to al dente.  Drain the pasta, reserving 1 cup of the cooking water.

Meanwhile, heat 1 tablespoon olive oil in a large saucepan over medium heat.  Add garlic, bread crumbs, and walnuts.  Cook, stirring often, for 2-4 minutes, until bread crumbs are golden brown and toasted.  Remove and transfer to a small bowl.  Add remaining tablespoon of oil to the saucepan and heat over medium heat.  Add onion and sautee until golden brown, stirring occasionally, 5-6 minutes.  Add cauliflower, red pepper flakes, and salt.  Cook, stirring occasionally, for another 5-6 minutes.  At this point, the pasta should be ready.  Add 3/4 cup of the reserved pasta cooking water and cook until cauliflower is tender, 5 to 7 minutes, adding more cooking water if needed.  Add the pasta to the saucepan, and stir in the capers, parsley, parmesan, toasted breadcrumb mixture, and lemon juice.  Taste and season with more salt if needed, along with freshly ground pepper. You can also add more lemon juice or throw in more capers if you like!

Serve immediately, topping each portion with additional parmesan cheese and parsley if desired.

Note: As I was eating this I thought that either golden raisins would have been a nice addition for a hint of sweetness, or Kalamata olives to complement the flavour of the capers.  Either ingredient would boost the overall flavour of the dish, and could be stirred in at the end along with the capers, etc., but it was also fine without them!

October 04, 2012

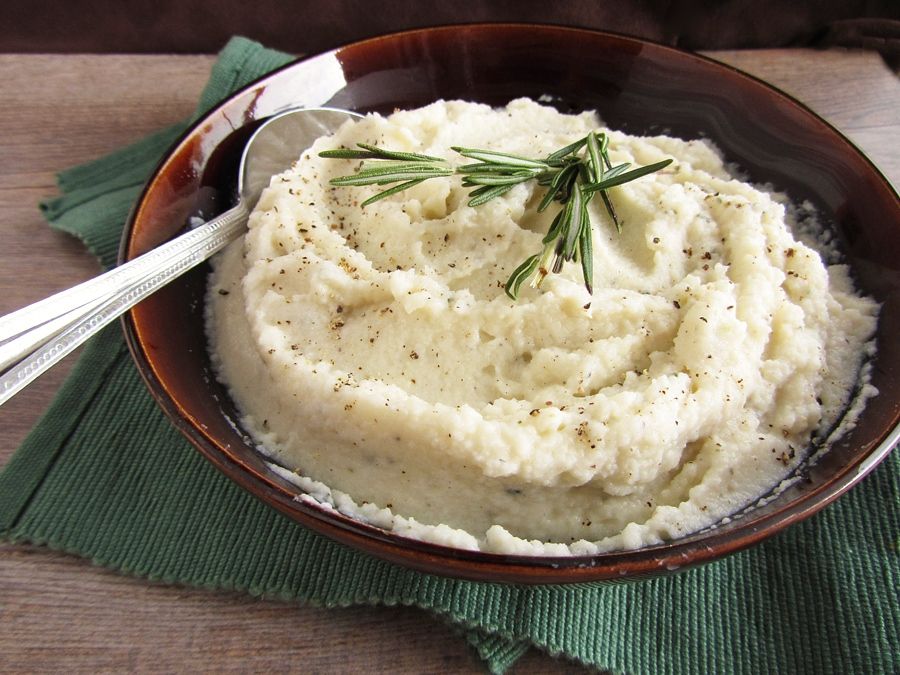
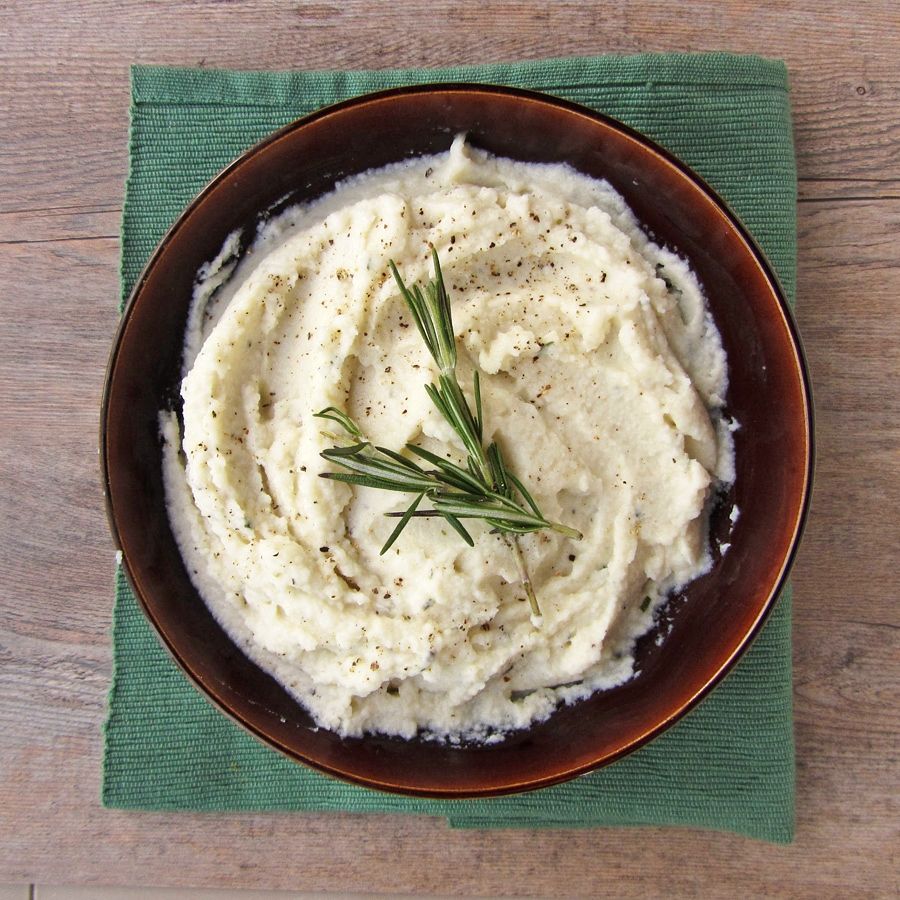
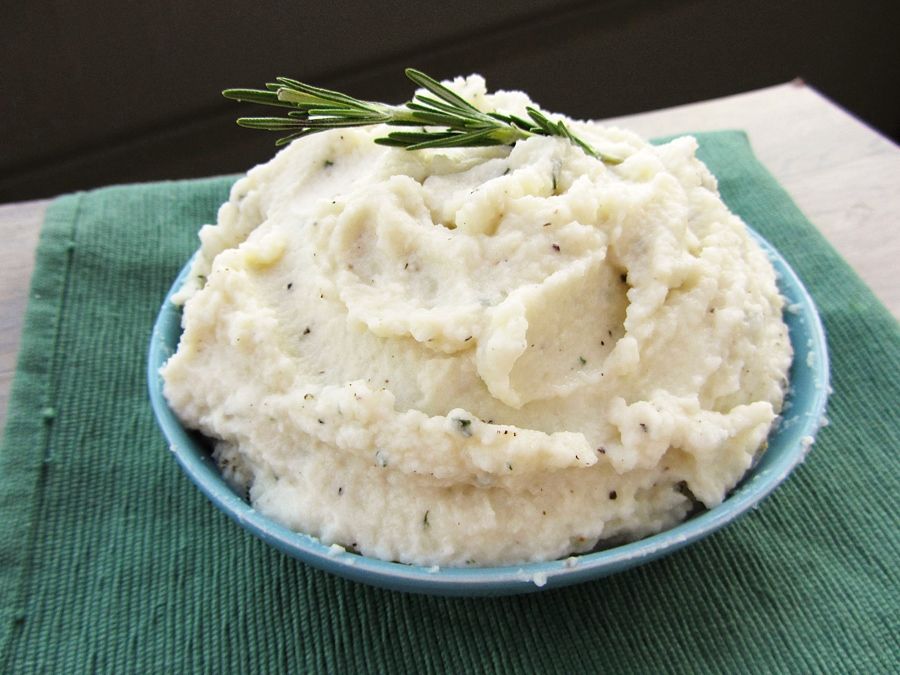
Puréed Cauliflower with Goat Cheese

Puréed Cauliflower with Goat Cheese

It’s no secret that I love goat cheese – of the 12 types of cheese I have listed in my Ingredient Index, goat cheese is the most used in my recipes!  So when I was asked if I wanted to participate in a virtual potluck to celebrate the release of Tasia’s Table, a cookbook by the award-winning cheesemaker at Belle Chevre, I immediately said yes!

Tasia’s Table isn’t just about goat cheese, though it is an ingredient in many of the recipes, but is a celebration of Tasia's two main culinary influences: Southern and Greek.  To celebrate the book’s release, each participating blogger chose a recipe from the book to share in a virtual potluck today.  I had a ridiculously hard time choosing a recipe to make – goat cheese gratin, goat cheese and caramelized onion tarts, wild mushroom and goat cheese pasta, or even goat cheese cheesecake! - and I wish I could have shared five or ten recipes, but I finally narrowed it down to this puréed cauliflower with goat cheese. 

Puréed Cauliflower with Goat Cheese

And I'm so glad I chose it!  

I had recently tried mashed cauliflower for the first time and was surprised at how much I loved it.  Even more than mashed potatoes!  And I love mashed potatoes!  Adding goat cheese to the cauliflower was a brilliant idea – it adds a wonderful but not overpowering flavour while keeping the mixture smooth and creamy.  Throw in some garlic and rosemary and you’ve got a pretty tasty dish! 

I ate my first batch way too quickly and am thinking of making it again for Canadian Thanksgiving this weekend, it's really easy to make and I think it would be a great side dish to complement the meal!

Puréed Cauliflower with Goat Cheese

Be sure to check out all the talented bloggers participating in the potluck to see what they made - many of them are also offering giveaways for a chance to win the cookbook for yourself! 

Eggton  

Tasia's Table

Puréed Cauliflower with Goat Cheese

Slightly adapted from Tasia’s Table Cookbook

Serves 4-6

Ingredients:

1 head cauliflower, chopped into florets
1 teaspoon minced garlic
2 teaspoons butter, softened
1/2 to 1 teaspoon herb of choice – I used rosemary, but thyme or chives would work well too
1/2 to 1 teaspoon sea salt
1/2 to 1 teaspoon pepper
1/3 to 1/2 cup goat cheese

Directions:

Add cauliflower to a large flat-bottomed skillet or saucepan with enough water around the cauliflower so that it is halfway covered.  Bring to a boil, reduce heat to simmer, cover tightly and let steam until cauliflower is tender, about 10-12 minutes.

Once cauliflower is cooked, remove from heat.  Using a slotted spoon, transfer about half the cauliflower to the large bowl of a food processor, being careful not to add water with the cauliflower.  Add the garlic and process quickly in short bursts of five or ten seconds.  Scrape down the sides of the bowl and add the rest of the cauliflower.  Process until cauliflower looks like mashed potatoes, then transfer to a bowl and mix in the butter, herbs, salt, pepper, and goat cheese.  Add the smaller amount listed of each ingredient to start, then taste and add more if desired (it's a lot easier to add ingredients then to take them away!).  Serve warm.

I like to add a bit (1-2tsp) of dijon mustard for some extra zing!


Note: I was not asked to review the cookbook, but I really liked it and wanted to share a few of my thoughts!

Ingredient Index

Related Posts Plugin for WordPress, Blogger...