Showing posts with label pear. Show all posts

October 08, 2013

Pear, Blue Cheese, & Caramelized Onion Panini

Pear, Blue Cheese, & Caramelized Onion Panini

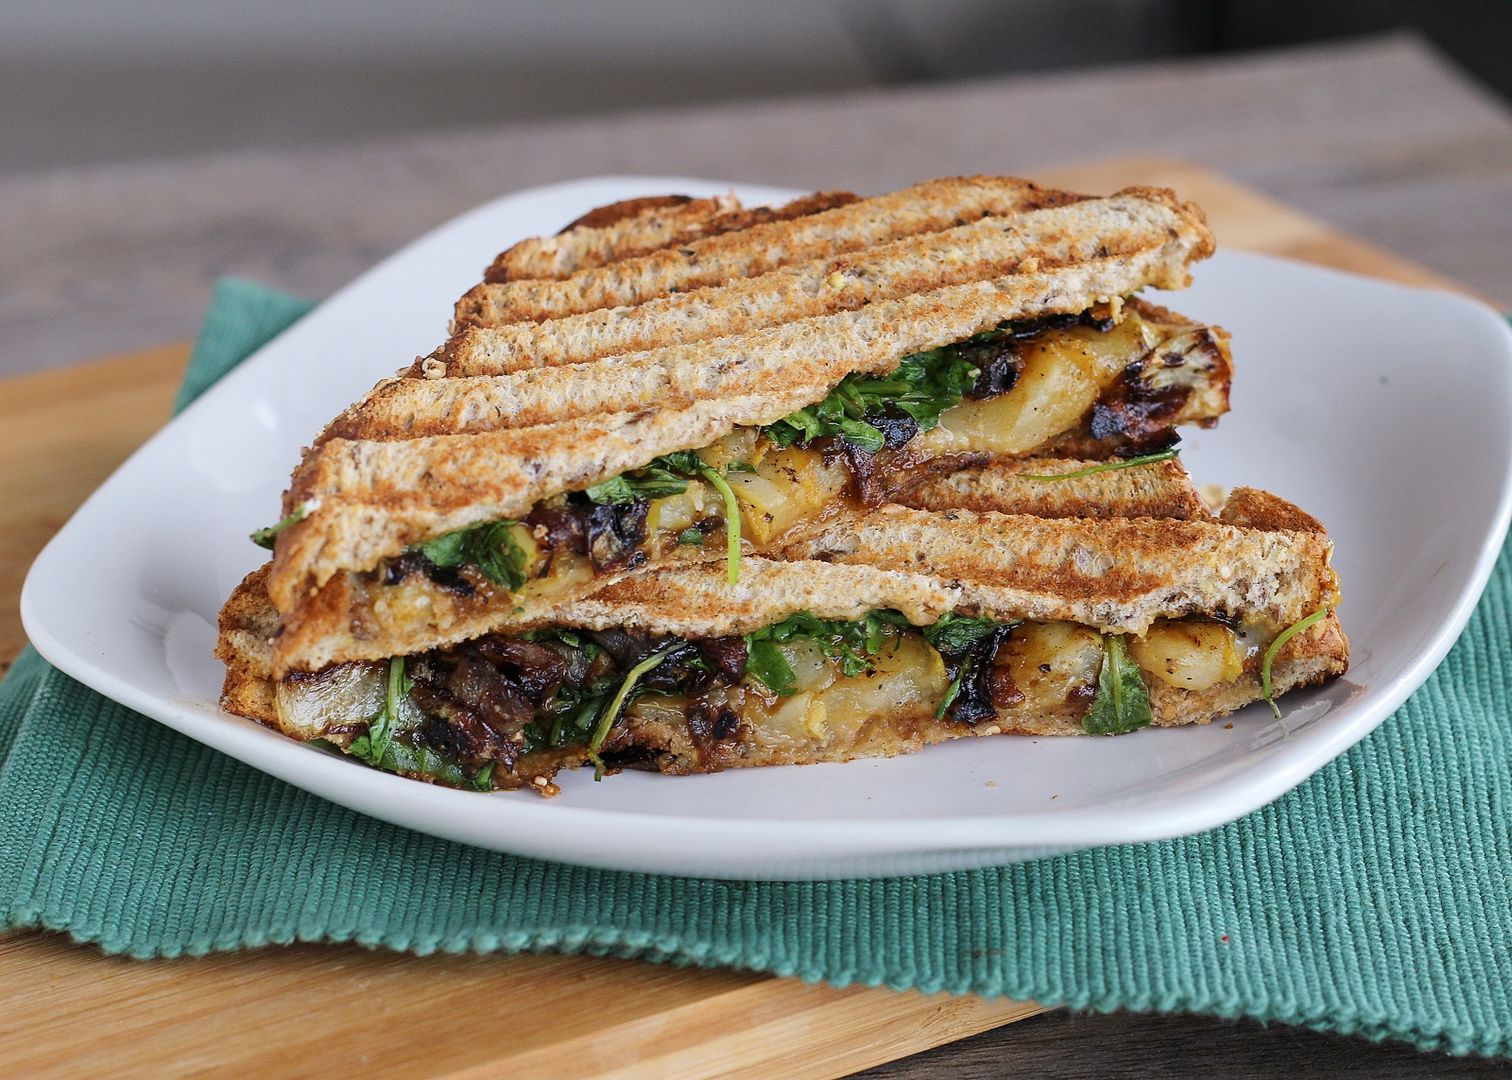
I know I just posted a panini recipe fairly recently, but this new panini was so good that I had to share it with you guys immediately!

I also know that these pictures are extremely similar to the last set, but there are only so many ways you can photograph a sandwich. The one thing I don’t like about paninis is that because everything gets pressed together, whatever's between the bread is almost impossible to show in photos (and what parts you can see look indistinguishable).  But I love making and eating paninis, so you’ll have to use your imagination a little to see through those pieces of bread to the deliciousness that’s in between them!  Here's a little help - this is what was inside my sandwich before I pressed it together:

Pear, Blue Cheese, & Caramelized Onion Panini

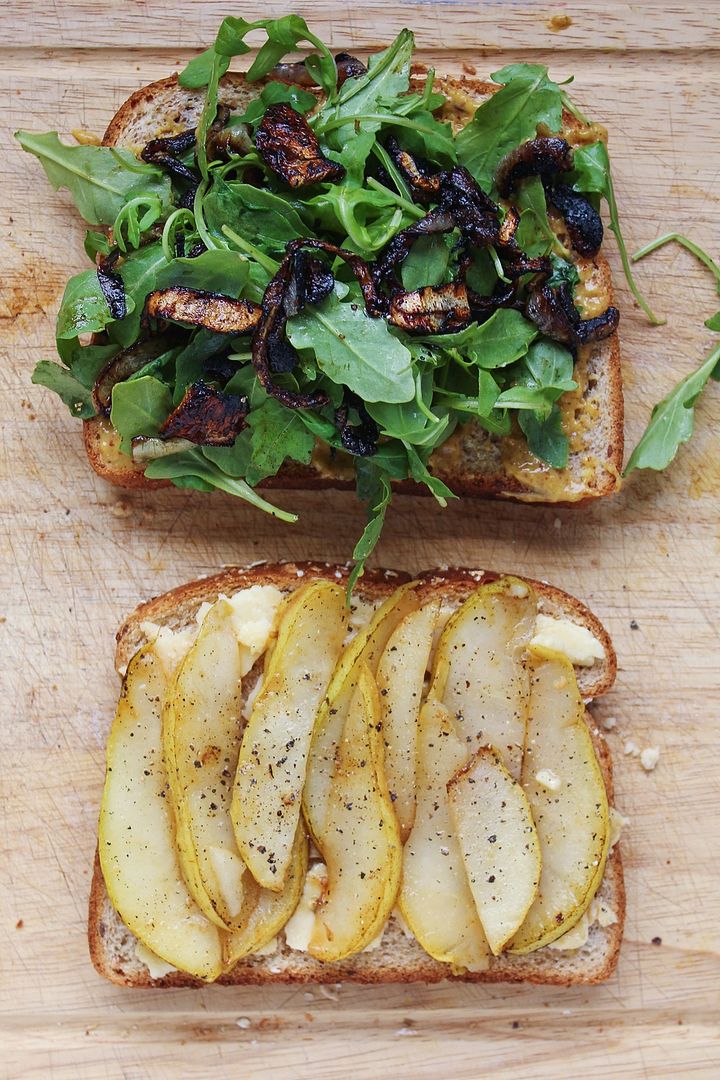
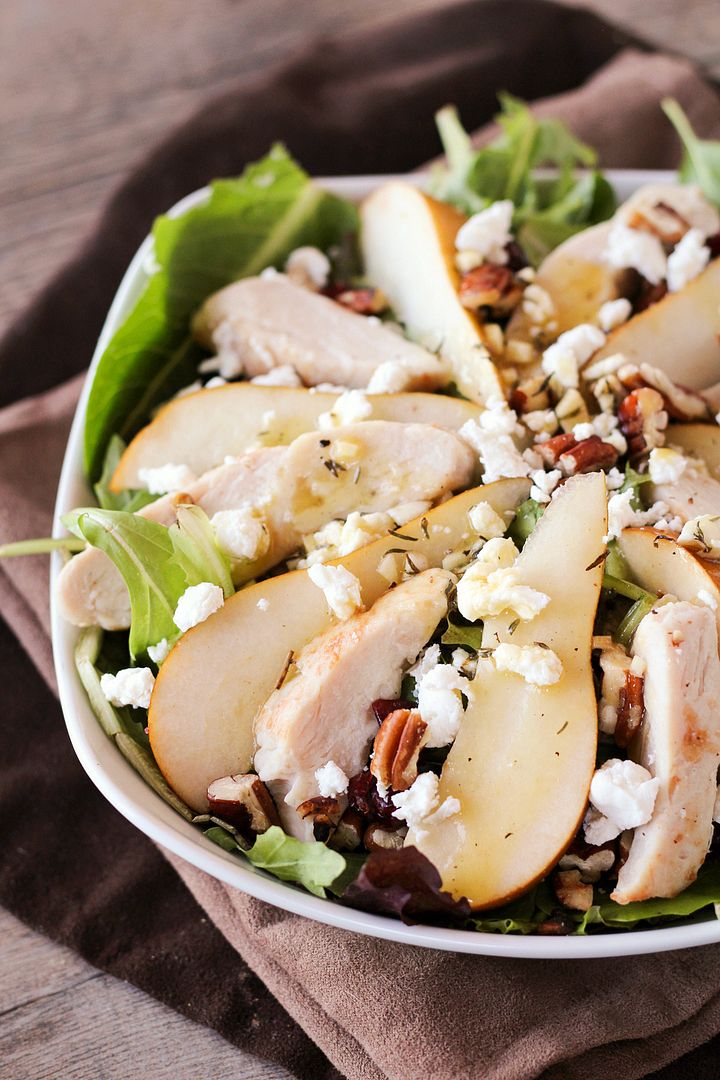
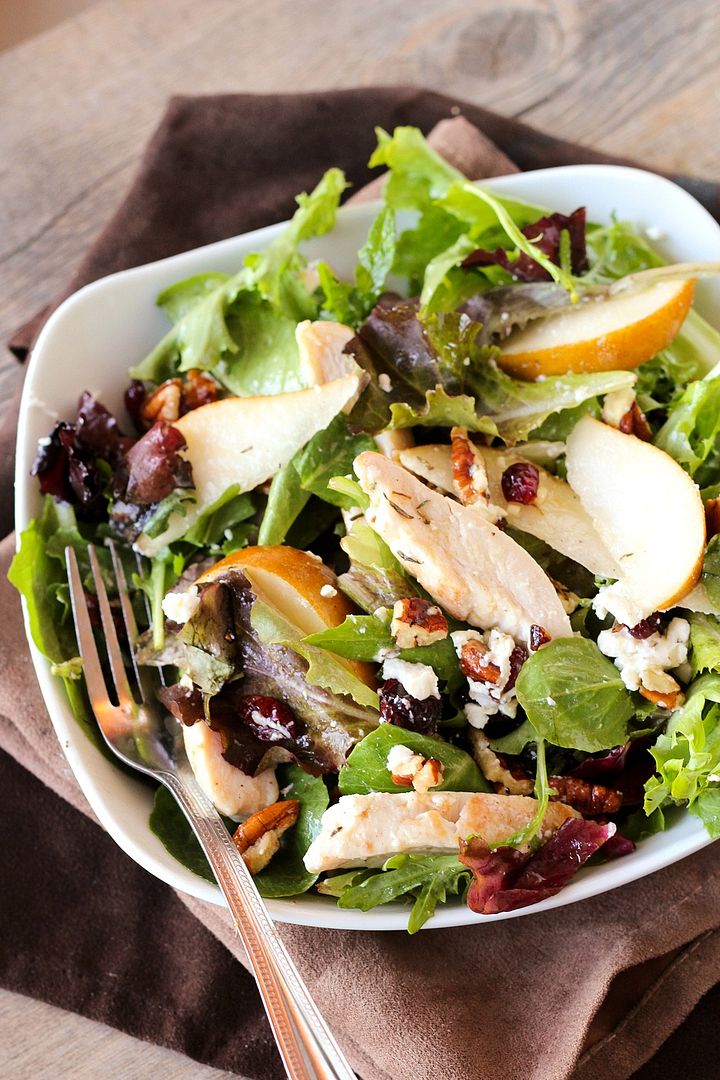
I wanted to make an autumn-ish panini with one of my favourite flavour combinations – pears or apples with blue cheese and caramelized onions.  I’ve used at least a couple of these ingredients together in the past, like in these apple, caramelized onion, and blue cheese naan pizzas, apple turkey burgers with caramelized onions and brie, and roasted potatoes and green beans with caramelized onions and blue cheese – there’s something about caramelized onions and blue cheese together that I just can't get enough of.  

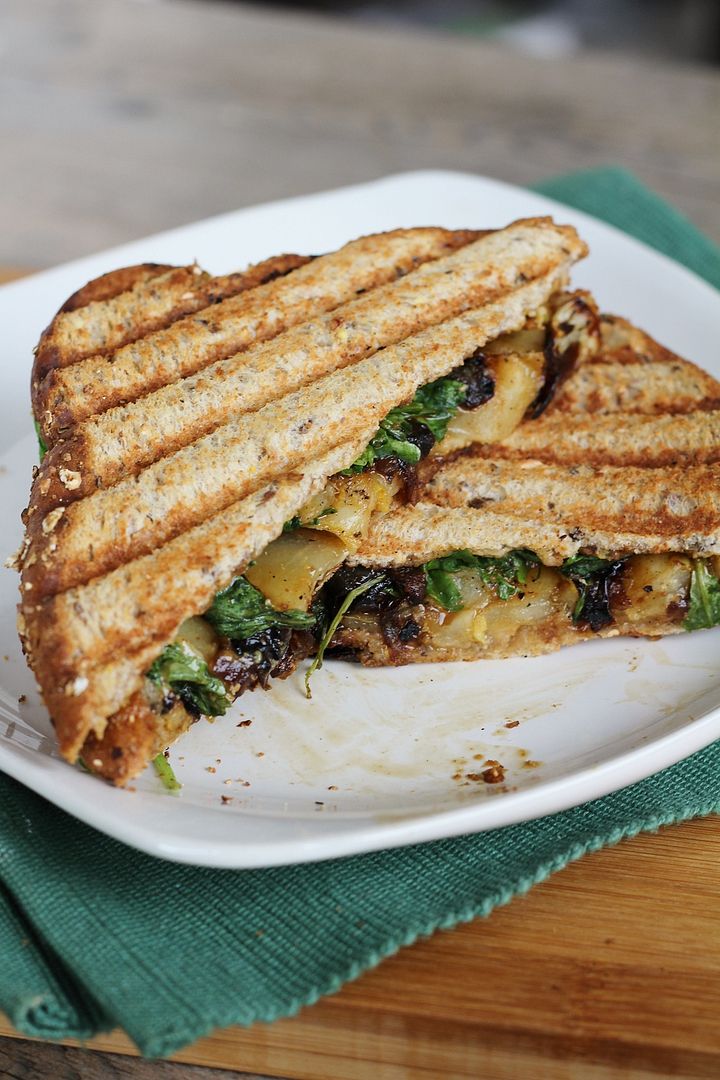
Add in some juicy, lightly sautéed pears, some peppery arugula and spicy honey Dijon, press it together until it's warm and melty, and you have what may be my new favourite sandwich!

Pear, Blue Cheese, & Caramelized Onion Panini

And before someone points it out, yes I’m aware that the onions as pictured above are much more on the burnt side than the caramelized side – I swear I do know how to caramelize onions, but I only had a tiny onion to work with that had been open in the fridge plus I was in a big rush when I made this.  Too thin slices + too high heat = burnt onions.  Try not to make the same mistake I did, but if you’re really in a hurry, you could leave them out and this panini would still be delicious; I recommend making time to add them in though - caramelized onions make everything better!  Plus they can always be made ahead of time and stored in the fridge to add to all sorts of things!

I’ve also been on a big blue cheese kick lately, adding it to anything I can think of, but I know a lot of you don’t like blue cheese (though I cannot understand why!), so you could substitute something like brie or gruyere instead if you like.  Your sandwich will have a different flavour profile, but will still be amazing and even more melty!

Pear, Blue Cheese, & Caramelized Onion Panini

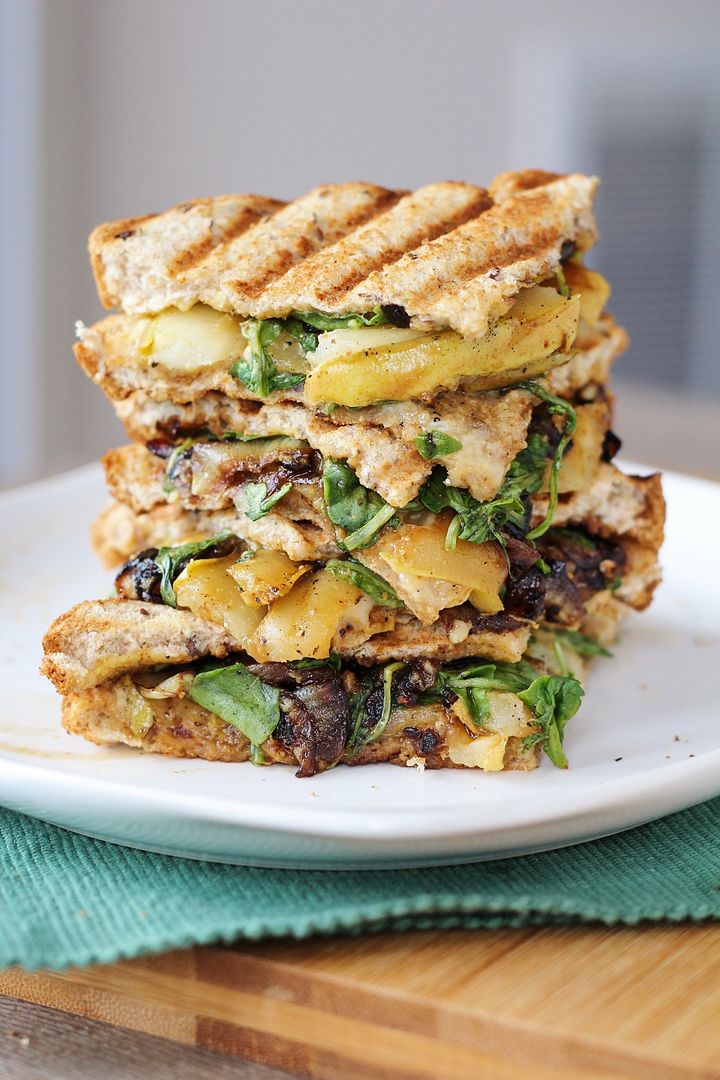
Pear, Blue Cheese, Caramelized Onion, & Arugula Panini

Adapted from Clean Eating

Makes 1 sandwich

Ingredients:

1/2 tablespoon olive oil
1/2 medium-large yellow or red onion, thinly sliced
Salt & Pepper
1 teaspoon balsamic vinegar (optional)
1/2 ripe pear, cored and thinly sliced
2 slices whole grain bread
2 teaspoons honey Dijon mustard
1/2 oz blue cheese, sliced thinly
Handful of baby arugula

Directions:

Heat oil in a medium to large skillet over medium heat.  Add onions, stir to coat with oil, and season with salt and pepper.  Let cook over medium-low heat, stirring occasionally, until onions are soft and caramelized, about 25-30 minutes.  I like to add a splash of balsamic vinegar in the last few minutes of cooking to deglaze the pan and add some flavour to the onions, but this step is optional.

Remove onions from pan, and add sliced pear.  Cook over medium heat for around 3 minutes, until softened and slightly golden coloured.  Remove from heat.

Spread mustard on one slice of bread, top with arugula, onions, pears, and blue cheese, and the other piece of bread.  Heat in a panini press, or if you don’t have one, heat the sandwich on a griddle pan (or skillet) with a heavy pot on top of the sandwich to press it into the skillet (I put a can inside the pot to weigh it down), then flip and repeat on the other side.  Serve warm.

September 27, 2013

Chicken, Pear, & Goat Cheese Salad with Wheat Beer Vinaigrette

Chicken, Pear, and Goat Cheese Salad with Wheat Beer Vinaigrette

Now that fall has officially begun, I’m craving all things autumn: apples, pears, cranberries, squash, sweet potatoes, apple cider, warm drinks, and pumpkin everything, though I’ve had particular cravings for pumpkin baked goods and pumpkin pie. It’s crazy to think that (Canadian) Thanksgiving is only a couple weeks away and I haven’t made anything with pumpkin yet – I think that needs to change this weekend!

But before I start baking, my first venture into comforting fall dishes began a little healthier with this salad!

Chicken, Pear, and Goat Cheese Salad with Wheat Beer Vinaigrette

I’ve been wanting to try using beer in a vinaigrette for a while now - the house salad at a popular restaurant chain around here includes a beer dressing, and though you can’t taste it, the idea of including beer in your dressing makes the idea of salad for dinner so much more exciting!  So I found a recipe for a pear and walnut salad with wheat beer vinaigrette from Vegetarian Times and used that as a base for the salad that I had in mind.

Wheat beer is pretty mild, but when you reduce it, it intensifies in flavour (which is why you don’t want to start with a strong or bitter beer).  Once you add all the other ingredients for the dressing though, you’d have no idea there’s beer in there, it just subtly enhances the flavour in a nice way that complements the other fall ingredients in the salad – including pears, goat cheese, pecans, cranberries, and chicken.

Chicken, Pear, and Goat Cheese Salad with Wheat Beer Vinaigrette

I loved this salad as is (and think it would be great for Thanksgiving!), but you could also make tons of substitutions to it to make it your own. Blue cheese instead of goat cheese would be delicious, or apples instead of pears, walnuts instead of pecans, spinach or arugula instead of mixed greens, or even leave out the chicken for a vegetarian side salad. You could also of course use any dressing you like if you don't keep beer in the house - a maple balsamic vinaigrette would probably taste great!

Hope you all enjoy the first official full weekend of fall!

Chicken, Pear, and Goat Cheese Salad with Wheat Beer Vinaigrette

Chicken, Pear, & Goat Cheese Salad with Wheat Beer Vinaigrette

Adapted from Vegetarian Times

Serves 4 as a main dish

Ingredients:

For the Dressing:
1/4 cup + 2 tablespoons wheat beer
1 tablespoon minced shallot
1/2 tablespoon honey
1/2 tablespoon Dijon mustard
2 tablespoons balsamic vinegar
1/4 cup extra virgin olive oil
1/4 teaspoon dried thyme (optional)
1/8 teaspoon each salt and pepper

For the Salad:
~4 cups mixed salad greens
2 chicken breasts, cooked and sliced
2 ripe bosc or red-skinned pears, halved, cored and thinly sliced
3 oz goat cheese, crumbled (or as an alternative you could use blue cheese)
1/4 cup toasted pecans or walnuts
1/4 cup dried cranberries

Directions:

Prepare the vinaigrette: Add wheat beer to a small saucepan, bring to a boil, and let simmer until reduced to 2 tablespoons (about 5-7 minutes).  Remove from heat and whisk in the remaining dressing ingredients (shallot through to pepper).  Set aside.

Prepare the salad: Divide greens among 4 plates or bowls.  Top each salad with sliced chicken and pears, and sprinkle pecans, cranberries, and goat cheese on top.  Drizzle each salad with the vinaigrette and serve immediately.

Note: All amounts are approximations - adjust based on your own tastes if desired.

September 18, 2012

Autumn Fruit Ginger Crumble Pie

Autumn Fruit Ginger Crumble Pie

If given the choice between pie and cake, I’d choose pie every time.  Buttery pie dough wrapped around a creamy or fruity filling is just so much more appealing to me than cake and icing (not that I don’t love a good cake!).   Surprisingly though, there are very few pie recipes on my blog - apart from mini pies and a frozen peanut butter pie, both of which aren’t really the type of thing that comes to mind when you hear the word ‘pie’.  I guess it’s because I usually make cake when there’s a celebration, and if I’m making a dessert just for fun, I usually make cookies or bars because they’re easier to transport and share with others.  Pie just doesn’t seem to fit in anywhere!

But when I saw the autumn fruit pie with ginger crumble topping in this fall’s Food & Drink magazine (a wonderful magazine that’s free at the LCBO, which is where us Ontarians go to buy our alcohol), I knew I had to make it.  I love apple pie, but I also love unusual twists on classic desserts, so I loved that this version added pears and ginger!

Autumn Fruit Ginger Crumble Pie

I also liked that this pie was deep-dish, so I went out and bought a deep dish pie pan just for it.  But then on the day I wanted to make it, I already had a ton of stuff to do so I decided to use a storebought frozen pie crust instead.  I chose one that specifically said ‘deep dish pie crust’ on the box, but when I opened it up at home, it looked the exact same as a regular pie crust.  When I placed it in my deep dish pie pan to compare the size, it only went halfway up the sides of the pan.   Why do they call it deep dish if it’s not deep at all!?

Since at this point it was too late to make my own dough, I ended up cutting apart and piecing together two of the so-called deep dish pie crusts (thankfully there are two in a box) into one true deep-dish crust, and placing it in my pan.  At least the pan I bought came in handy!  So if you’re worried about the same thing happening to you, I’d recommend just making your own pie dough – it’s really not that hard and probably would have taken me less time than it did to piece together the two frozen ones!

Autumn Fruit Ginger Crumble Pie

Despite that little setback, this pie turned out wonderfully.  The pears and ginger add a nice little twist to an apple pie without taking it too far from the classic apple pie flavour we all love.  I was a little worried that the ginger would be overpowering, but it was actually quite subtle.  I almost would have preferred a stronger ginger flavour, but others thought that it was just right. 

Based on how quickly this pie disappeared (and everyone complained about only getting one piece, myself included), I think I need to start making pies more often!

Autumn Fruit Ginger Crumble Pie

Autumn Fruit Ginger Crumble Pie

Slightly adapted from Food & Drink, Autumn 2012 (issue not yet online)

Makes 1 deep dish pie

Ingredients:

1 deep dish 9-inch pie crust
3 cups peeled and sliced cooking apples (about 2-3 apples)
3 cups peeled and sliced just-ripe pears (about 3 pears)
3 tablespoons fresh lemon juice
1/3 cup packed brown sugar
1/4 cup all-purpose flour
1/2 teaspoon ground ginger
1/2 teaspoon cinnamon
1/4 teaspoon nutmeg

For the Crumble Topping:
3/4 cup rolled oats
1/4 cup all-purpose flour
3 tablespoons packed brown sugar
2 tablespoons finely chopped crystallized ginger
1/3 cup unsalted butter, cut into small pieces

Directions:

Preheat oven to 450°F.  If using a storebought deep dish frozen pie dough, allow to thaw 10-15 minutes before you’re ready to fill and bake the pie.*  Otherwise, you can prepare your favourite pie dough recipe, roll it into a deep-dish pie pan, and chill while preparing the filling.

Place apples, pears, and lemon juice in a large bowl.  Add the brown sugar, flour, ginger, cinnamon, and nutmeg, and toss everything together until fruit is well coated.  Transfer filling and any juices to the prepared pie shell, spreading it evenly and packing gently. 

Prepare the crumble by mixing oats, flour, brown sugar, and ginger in medium bowl, and cutting in the butter with a pastry cutter or fork until the mixture clumps together.  Sprinkle crumble over the fruit.

Place pie on a baking pan to catch any drippings and bake in lower third of oven for 15 minutes or until pastry edge looks cooked.  At this point, I wrapped a thin strip of aluminum foil around the edge of my pie to prevent the crust from burning.  Reduce oven heat to 375°F and bake for another 50 minutes or until juices are thick and bubbling and topping is brown.  Remove from oven and let cool completely before slicing.

This pie is great at room temperature, but I preferred it warmed up.

*Note: I bought a Tenderflake deep dish pie crust, but it was not as deep as a standard deep dish pie pan.  I ended up transferring the dough to a deep dish pie pan, then cutting dough from the second crust in the box and pinching it together with the other dough so that I had enough crust to fill the pan.

Ingredient Index

Related Posts Plugin for WordPress, Blogger...