Showing posts with label cornmeal. Show all posts

July 16, 2013

Blueberry Maple Cornmeal Cobbler

Blueberry Maple Cornmeal Cobbler

This past weekend, my family got together to do some cherry and blueberry picking, which was my first time berry picking in years (when you don't have a car, berry fields are kind of inaccessible).  Fortunately, blueberries and cherries are probably the easiest things to pick - no prickly thorns to watch out for and no crouching down getting your shorts covered in berry stains.  It was crazy hot out, but it was pretty nice ending up with bags full of fresh berries with fairly minimal work involved.

Blueberry picking in Ontario

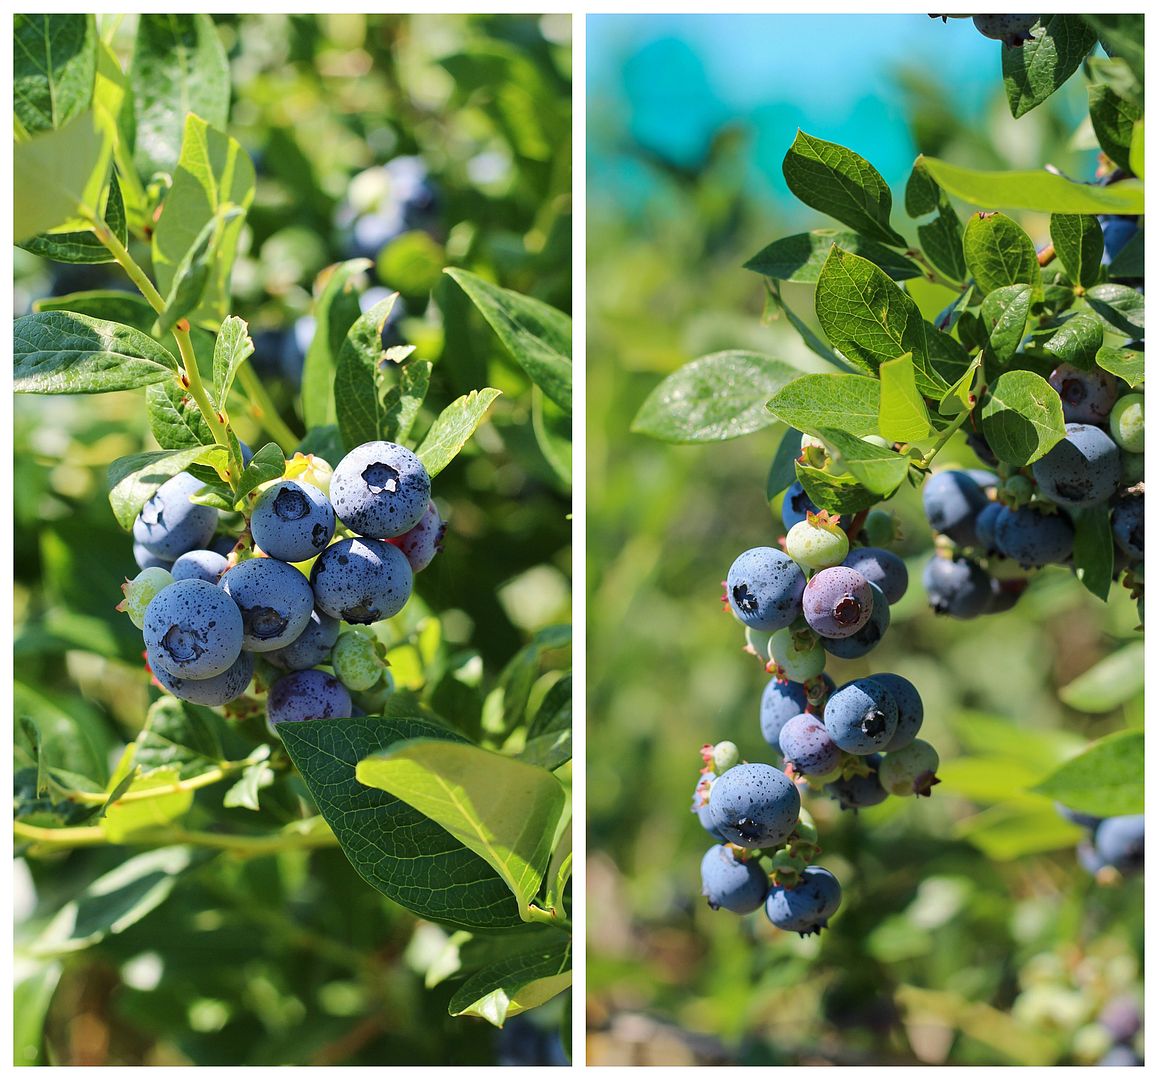
Of course, I now have a ton of blueberries to eat, but that's not going to be much of a problem for me because they're one of my favourite berries to eat on their own.  If you like your blueberries more in dessert form (or if you just love blueberries in any form), this is the dessert for you!

I love crisps and cobblers because they're such the perfect summertime dessert - they can be thrown together quickly and with minimal dishes, there's only one dish in the oven to worry about, they highlight summer berries, and they're a fairly light tasting way to end a meal out in your backyard on a summer evening.

Blueberry Maple Cornmeal Cobbler

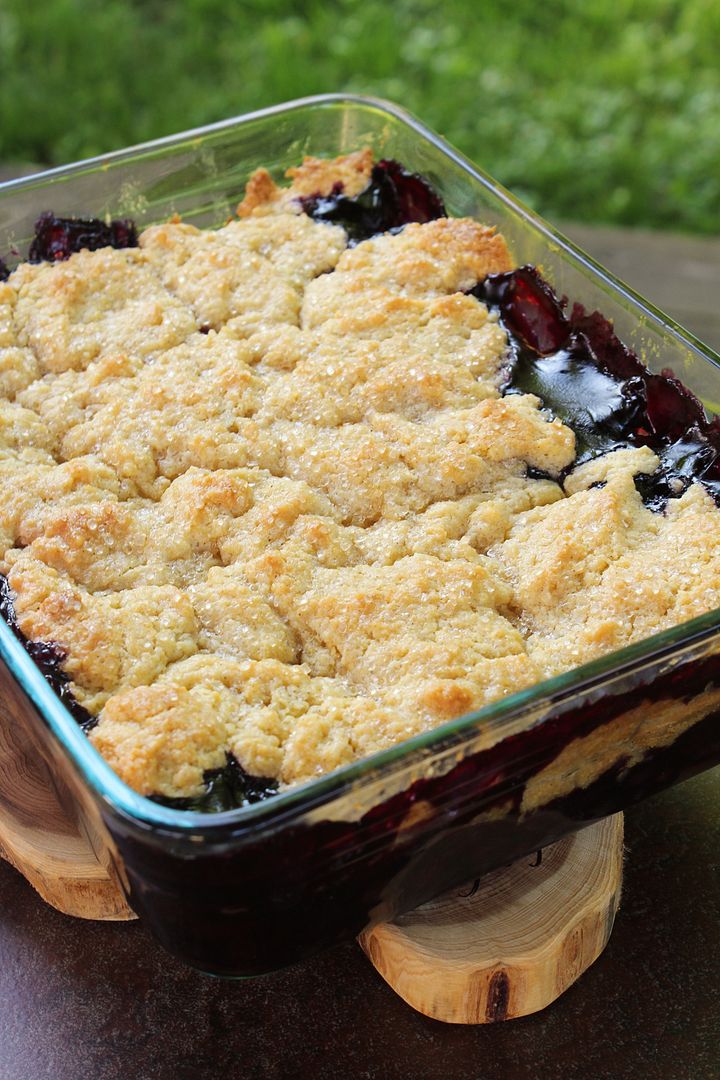
Which is exactly how we enjoyed this blueberry maple cornmeal cobbler on Saturday night.

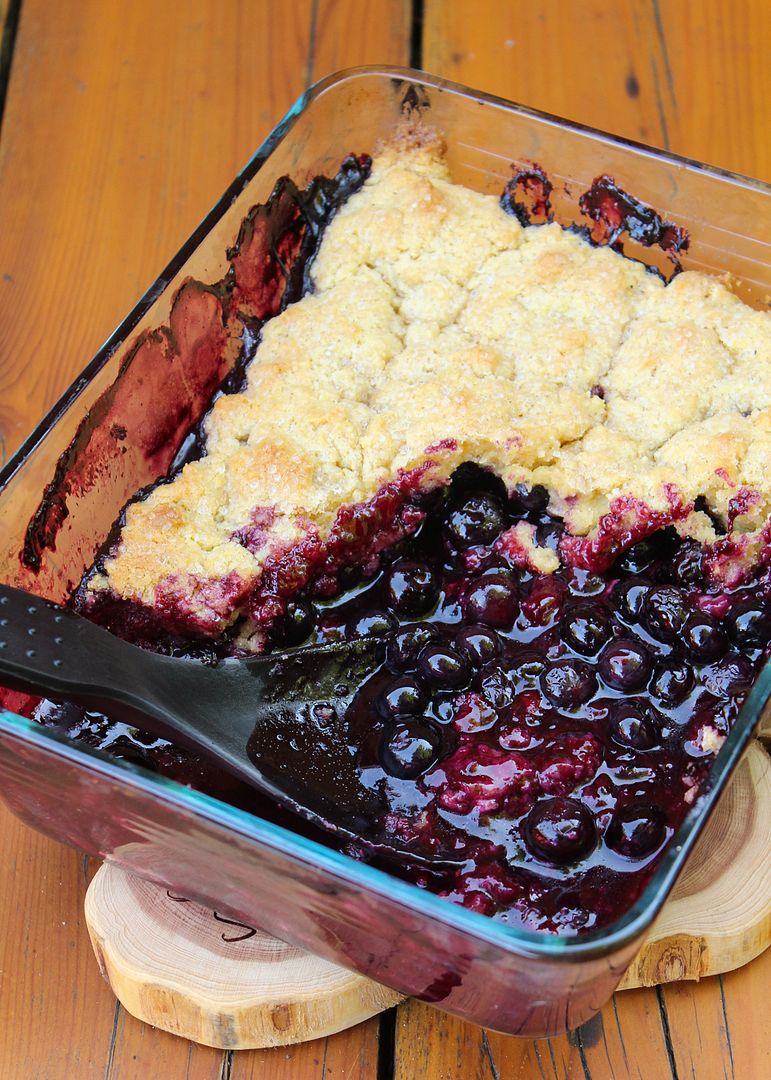
And because I made this for my family to enjoy, I didn't style and photograph it the way I normally would for a blog post, making sure I have optimal lighting, accessorizing with napkins, and cleaning up the sides of my bowl from berry stains.  Instead, what you see is exactly what we saw before we all devoured our servings. 

Blueberry Maple Cornmeal Cobbler

The only difference you may see in your own version is that your biscuit topping will probably be a bit puffier because unlike me, you probably know how to follow recipe directions.  I realized only 15 minutes after I had put the cobbler in the oven that I completely forgot to add baking powder to the biscuit dough.  I had a minor little meltdown thinking it would turn out to be a disaster, but luckily, it still turned out wonderfully!

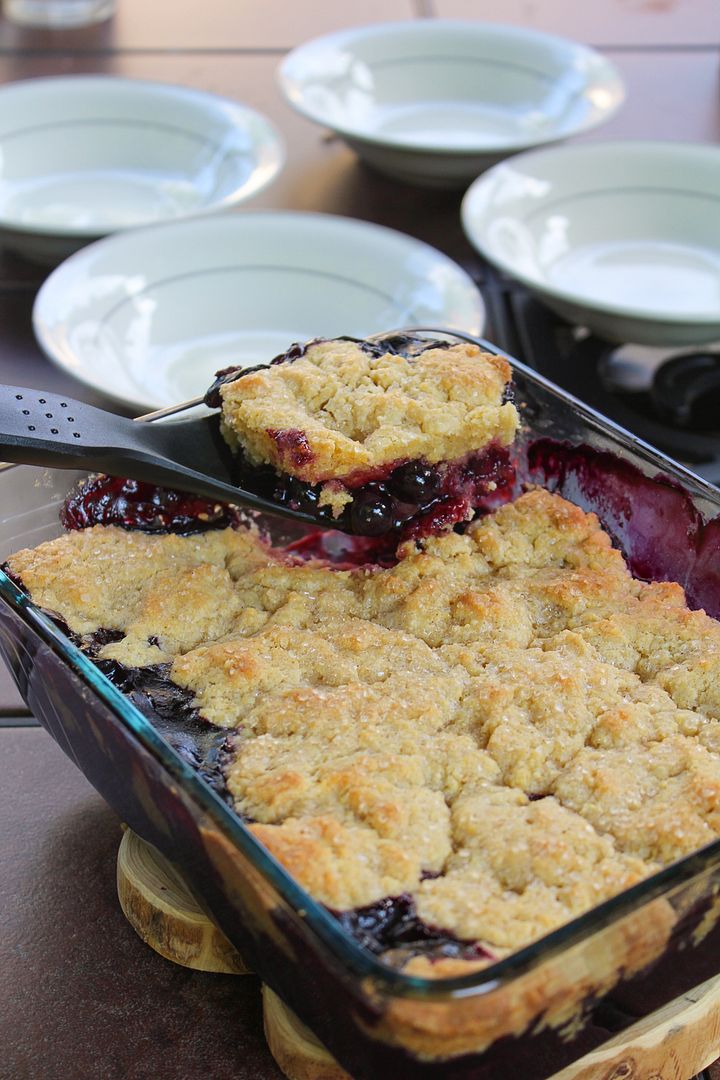
I had reduced the amount of sugar in the blueberry filling and added pure maple syrup (plus some cinnamon) for flavour, and I loved the hint of maple in the sweet, warm berries.  I also loved the crunch of cornmeal in the topping that paired so well with the blueberries, along with the crunch from the turbinado sugar on top that also added a lovely sparkle to the dish!  The original recipe called for forming biscuits and placing those on top, but I just dropped my dough across more evenly so every piece could have some of the delicious cornmeal biscuit dough with it!

Blueberry Maple Cornmeal Cobbler

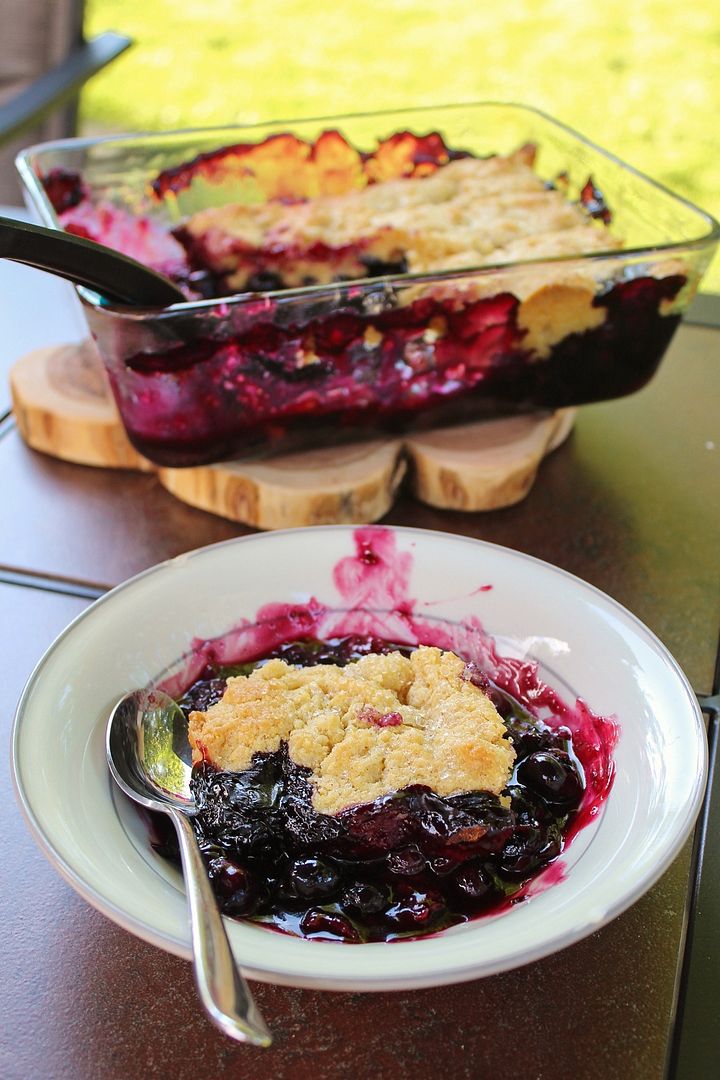
The only thing missing from the servings pictured was vanilla ice cream - I didn't think to add it when I first served it but it would have been the perfect addition to cool down and cut the sweetness of the filling a bit.  My sister tried some of the leftovers with ice cream and assured me that it was the way to go - so make sure to serve this with ice cream (and don't forget the baking powder)!

Blueberry Maple Cornmeal Cobbler

Blueberry Maple Cornmeal Cobbler

Adapted from a recipe in Rustic Fruit Desserts

Serves 6-8

Ingredients:

1 teaspoon unsalted butter at room temperature, for greasing the baking dish

Filling:
3 dry pints (2 pounds) fresh blueberries
1/2 cup sugar
3 tablespoons cornstarch
1/4 teaspoon salt
1 teaspoon cinnamon
2 tablespoons fresh lemon juice
1/4 cup pure maple syrup

Biscuit Topping:
1-1/4 cups all-purpose flour
1/2 cup fine cornmeal
2 tablespoons sugar
1 teaspoon baking powder
1/2 teaspoon salt
1/2 teaspoon cinnamon
1/2 cup cold unsalted butter, cubed
1 cup cold heavy cream
1 tablespoon turbinado sugar

Directions:

Preheat oven to 375°F.  Butter a 2 or 3 quart glass baking dish.

To make the filling, wash and drain the blueberries and place in a large bowl.  In a small bowl, whisk together the sugar, cornstarch, salt, and cinnamon.  Toss with blueberries to coat.  Pour in the lemon juice and maple syrup and stir to combine.  Transfer to the prepared dish, using a flexible spatula to scrape down the bowl and get all the juices.

To make the biscuit topping, whisk together the flour, cornmeal, sugar, baking powder, salt, and cinnamon in a large bowl.  Add the butter and use a pastry cutter or your fingers to cut in the butter until the mixture reaches the texture of large crumbs. Pour in the cream and stir just until the mixture comes together (it will be wet).

Drop the dough by large pieces on top of the blueberries, leaving some gaps.  Sprinkle turbinado sugar on top.  Transfer to preheated oven and bake for 45 minutes, or until biscuits are golden and filling is bubbling in the middle.  Serve warm, but let servings sit for a few minutes before eating as the filling will be very hot!  Serving with ice cream will help with this too (and is highly recommended).  Leftovers will keep for a few days at room temperature, covered with a tea towel.

October 04, 2011

Thanksgiving Week Day 3 - Hearty Sweet Potato Braids

sweet potato bread
For Day 3 of Thanksgiving Week, I decided to share this recipe for hearty sweet potato braids. Bread is an essential part of any meal, but especially the Thanksgiving meal. I think there are two types of bread people – the first likes to eat their bread on the side of their meal, and the other uses it to construct a sandwich out of everything else on their plate. I used to be in the former category, until I discovered how amazing all the components of Thanksgiving dinner (turkey, cranberry sauce, potatoes, stuffing) taste when mixed together on top of a slice of thick bread. But either way you like to eat it, this sweet potato bread is delicious!

This is not a light and fluffy bread – it’s dense and moist, hence the word ‘hearty’ in the title. It’s also not a sweet bread as you might expect from having the sweet potato in there – the addition of the thyme makes it a savory bread, but you could always adjust any of the spices to your own taste! I really enjoyed this bread as is, and I think it would be a great addition to a Thanksgiving meal on its own. But it would also work really well as a base for the spicy pumpkin hummus appetizer I shared yesterday (I tried this and they paired really well together)!

sweet potato bread
The recipe makes two loaves, and while one would be enough to feed a crowd, you might as well make two loaves because it would be tricky to divide a package of yeast in half. This also means you get to keep a whole extra loaf all to yourself – just slice it, wrap it up well and pop it in the freezer after you bake it, then you can pull out a slice or two to thaw anytime you want! One of my favourite dinners last week consisted of a few slices of this bread topped with a ton of roasted garlic with salt and pepper – amazing!

As with any yeast bread, this does take a while to make, but most of it is “hands off” time, freeing you up to work on your other Thanksgiving dishes! This was my first time making a braided bread, and it was actually much easier than I thought! If you’ve ever braided hair, then it’s just like that (although a little heavier and doughier!) After dividing your dough into six equal portions, you roll each one into a 20” rope – if you have a pastry mat with measurements on it, then this part is really easy! Ryan’s mom gave me one and it makes rolling out pie dough and other dough so much easier than my old method of trying to line up a bunch of rulers on the counter. It also makes clean up much simpler too!

sweet potato bread

I tried two methods for braiding the dough. First I tried braiding from the centre of the ropes:

sweet potato bread

For my second loaf, I tried braiding from the end of the ropes:

sweet potato bread
Both worked, but as you can see from the pictures, the first method resulted in a slightly more even braid, so I think I’d recommend you try the braiding from the middle method.

If you don’t have time to make a yeasted bread on Thanksgiving, then check out the Thanksgiving Week recipe for rosemary sweet potato cornbread over at Vanilla & Spice!

sweet potato bread
Hearty Sweet Potato Braids

Adapted from Taste of Home

Makes 2 loaves

Ingredients:

1 package (1/4 ounce) active dry yeast
1/4 cup warm water (110° to 115°)
1/2 teaspoon sugar
~1.5 lbs sweet potato, peeled and cubed (from about 1 large or 2 medium sweet potatoes)
1 cup warm skim milk (110° to 115°)
1/4 cup canola oil
3 tablespoons honey
1 cup all-purpose flour
1/2 cup yellow cornmeal
2 teaspoons kosher salt
1 teaspoon dried thyme
1/2 teaspoon nutmeg
2-3/4 to 3-1/4 cups whole wheat flour

Directions:

Bring a large pot of water to a boil. Add the sweet potato cubes and simmer about 15 minutes, until tender. Drain and rinse with cold water, then transfer to a bowl and mash the sweet potatoes with a fork. Let cool to room temperature.

In a small bowl, dissolve the yeast into the warm water. Add the sugar, stir, and leave for 10 minutes. Mixture should foam and double in size – if it doesn’t, the yeast is no longer active, and you’ll have to start again with a new pack.

Pour the yeast mixture into the bowl of an electric mixer, or a large bowl. Add the mashed sweet potatoes, milk, oil, honey, all-purpose flour, cornmeal, salt, thyme, nutmeg, and 2 cups of the whole-wheat flour. Beat until smooth. Stir in enough of the remaining whole wheat flour to form a firm dough.

Attach the dough hook to the mixer and knead for 6-8 minutes until smooth and elastic. If you don’t have a dough hook, knead the dough by hand on a floured surface. Add more flour as you’re kneading if the dough is too sticky.

Transfer the ball of dough into a large, lightly oiled bowl. Cover and let rise in a warm place until doubled, about 1 hour.

Punch down dough and divide into six equal portions (a scale is helpful here). Shape each portion into a 20-inch rope. Place three ropes side by side on a baking sheet that has been lightly greased or lined with parchment paper. Braid the three ropes and pinch each end to seal, tucking under the braid. Repeat with the remaining ropes to form two braids. Cover and let rise in a warm place until doubled, about 35 minutes. Meanwhile, preheat oven to 350°F.
Bake loaves together at 350°F for 30-35 minutes or until golden brown. Remove to wire racks to cool. Slice diagonally.

-------------------------------------------------------------------------------------------------------------------------------
For other Thanksgiving bread ideas, check out these links:

Perfect dinner rolls from Mel’s Kitchen Café
Buttermilk cluster from The Fresh Loaf
Soft garlic knots from Annie’s Eats
Parmesan pull-apart rolls from Picky Cook
Cranberry walnut bread rolls from La Tartine Gourmande
Pumpkin garlic knots from Handle the Heat
Rosemary pumpkin crescent rolls from Heat Oven to 350
-------------------------------------------------------------------------------------------------------------------------------

Ingredient Index

Related Posts Plugin for WordPress, Blogger...