Showing posts with label maple syrup. Show all posts

May 04, 2015

Maple Balsamic Roasted Salmon, Brussels Sprouts, & Potatoes

Maple Balsamic Roasted Salmon, Brussels Sprouts, and Potatoes

I know it's a little late for brussels sprouts season and most of you are probably too focused on asparagus right now to think about wintry vegetables, but I'm happy to eat brussels any time of year (and we don't have local asparagus here yet last time I checked)!

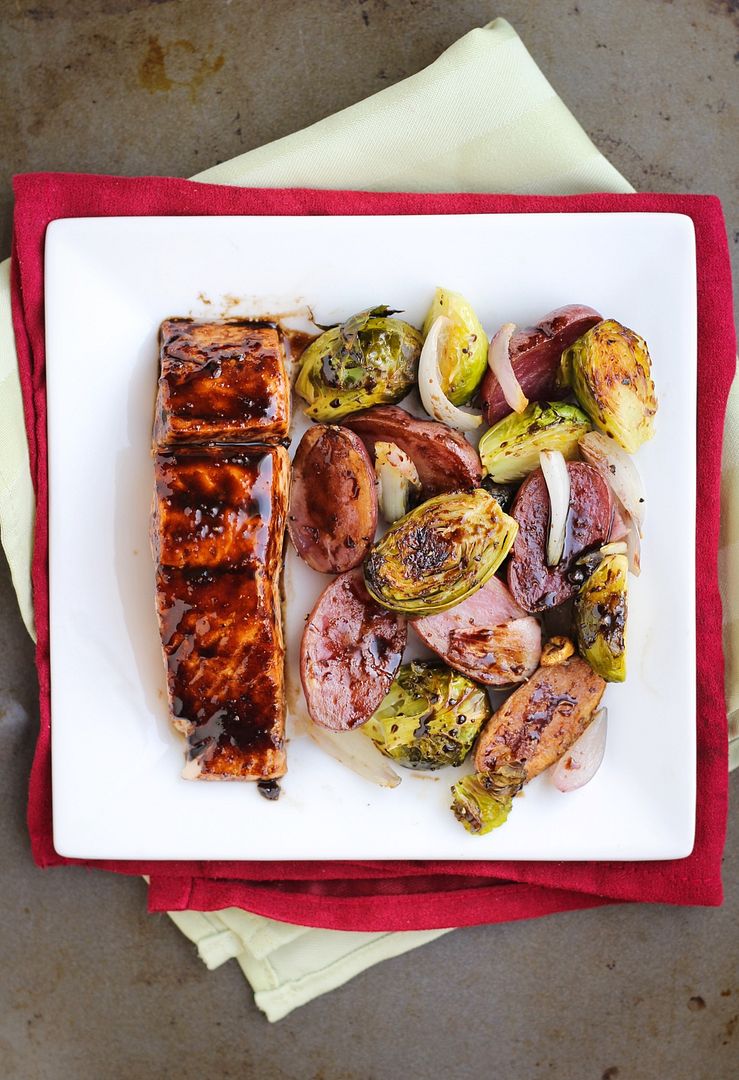
I can also enjoy a meal like this any time of year - roasted salmon, vegetables, and potatoes all tossed in an easy homemade glaze. There's nothing revolutionary about this dish and you've likely seen or made a version of it once or several times before, but it's a great recipe to have in your collection because it's simple, healthful, flavourful, and satisfying!
Maple Balsamic Roasted Salmon, Brussels Sprouts, and Potatoes

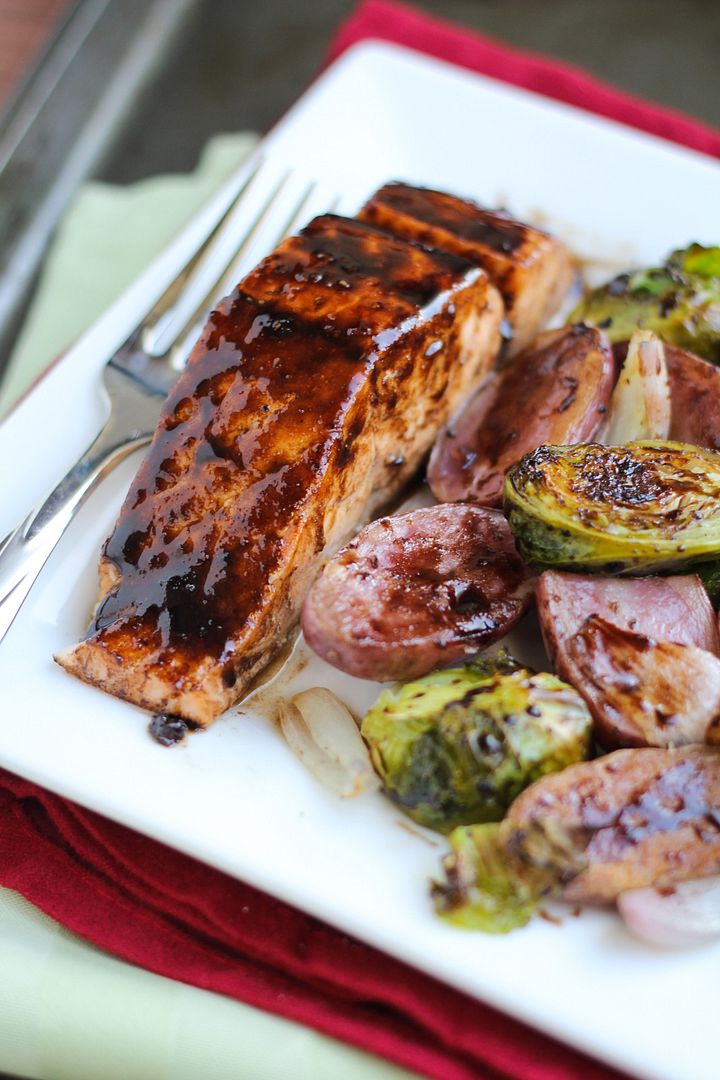
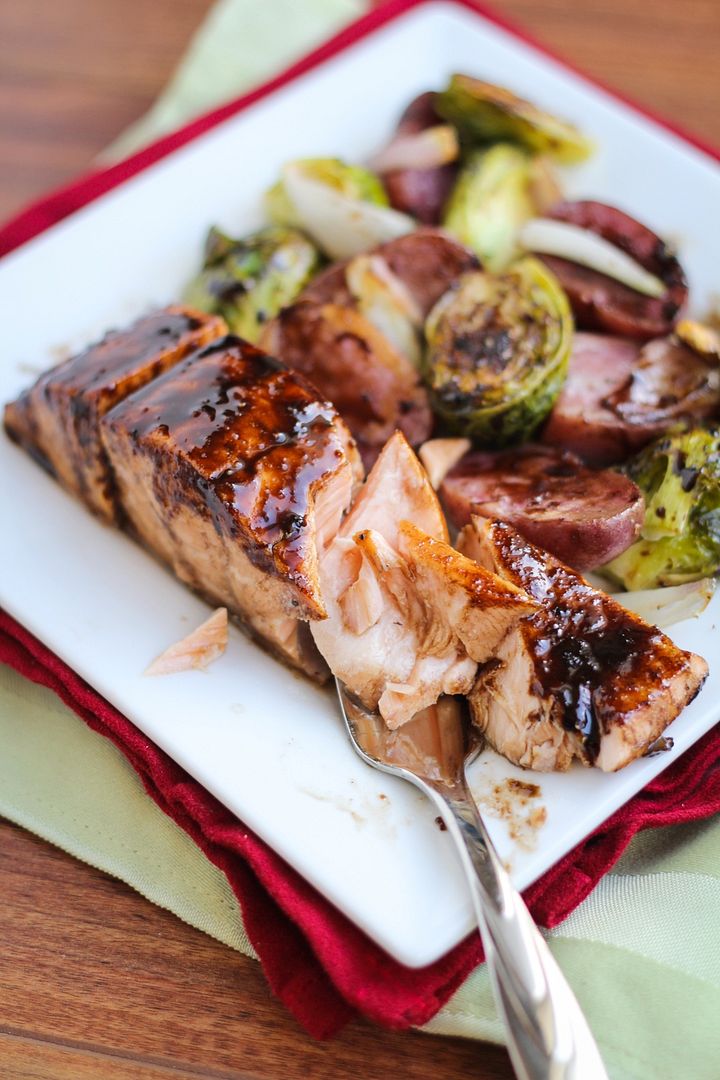
I love adding a glaze to salmon because that little extra step makes such a difference in flavour; I usually use whatever ingredients I have on hand but that often includes maple syrup. I also love tossing roasted brussels sprouts and potatoes in balsamic vinegar and eating them just like that. So I decided to combine those flavours together with a maple balsamic glaze that I brushed heavily on the salmon and lightly on some roasted brussels sprouts, potatoes, and shallots on the side.

I don't often like coordinating main dishes with side dishes because it involves too much work but everything about this dish flows easily together, doesn't take long or dirty too many dishes, and most importantly tastes so good you'll want to add it into your meal rotation no matter the time of year!
Maple Balsamic Roasted Salmon, Brussels Sprouts, and Potatoes

Maple Balsamic Roasted Salmon, Brussels Sprouts, & Potatoes

Serves 4

Inspired by Real Simple but recipe is my own

Ingredients:

For the roasted veggies:
1 lb brussels sprouts, stems trimmed and outer leaves removed, halved
1 lb baby potatoes or fingerling potatoes, halved
3-4 shallots, peeled and chopped
3-4 cloves of garlic, chopped
1-2 tablespoons olive oil

For the glaze:
1 teaspoon olive oil
1 clove garlic, minced
1/4 cup balsamic vinegar
2 tablespoons pure maple syrup
1 tablespoon Dijon mustard
~1/4 teaspoon each salt and pepper

1 lb or 4 fillets of salmon

Directions:

Preheat oven to 425°F.

Toss brussels sprouts, potatoes, shallots, and garlic with olive oil. Season with salt and pepper and spread in a single layer on a foil-lined baking sheet.  Roast in preheated oven for 20-25 minutes.

Meanwhile, prepare glaze by heating 1 teaspoon olive oil or a light drizzle in a small saucepan over medium heat. Add garlic and cook for about 30 seconds. Add balsamic vinegar, maple syrup, Dijon, salt, and pepper. Let simmer, stirring often, and watching closely, until slightly thickened. This could take around 5 minutes. I don’t reduce the glaze until it’s completely thick; I remove it from the heat when it’s thickened but still pourable.

Remove vegetables from oven and toss.  Brush glaze over salmon fillets (you won’t use all the glaze) and place on the same or a separate foil-lined pan, skin side down.  Return salmon and vegetables to oven and roast for another 10-12 minutes or until salmon and vegetables are cooked through.  Brush remaining glaze over salmon and roasted veggies.  Season with salt and pepper if desired.

September 25, 2014

Vegan Pumpkin Pie

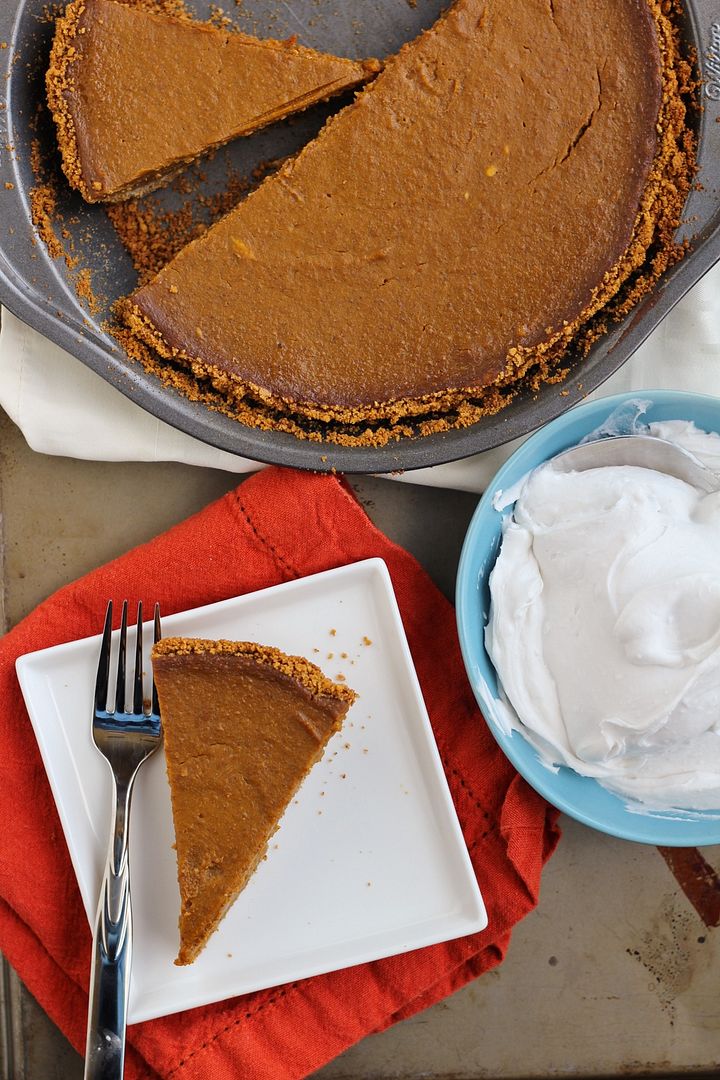
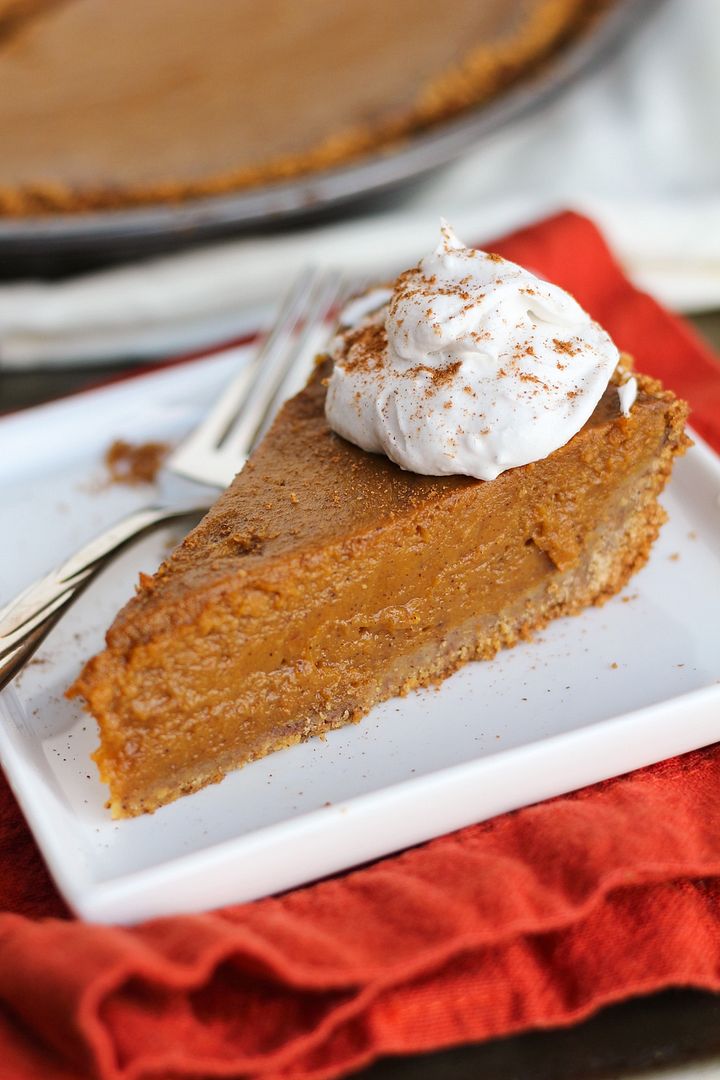
Healthy vegan pumpkin pie

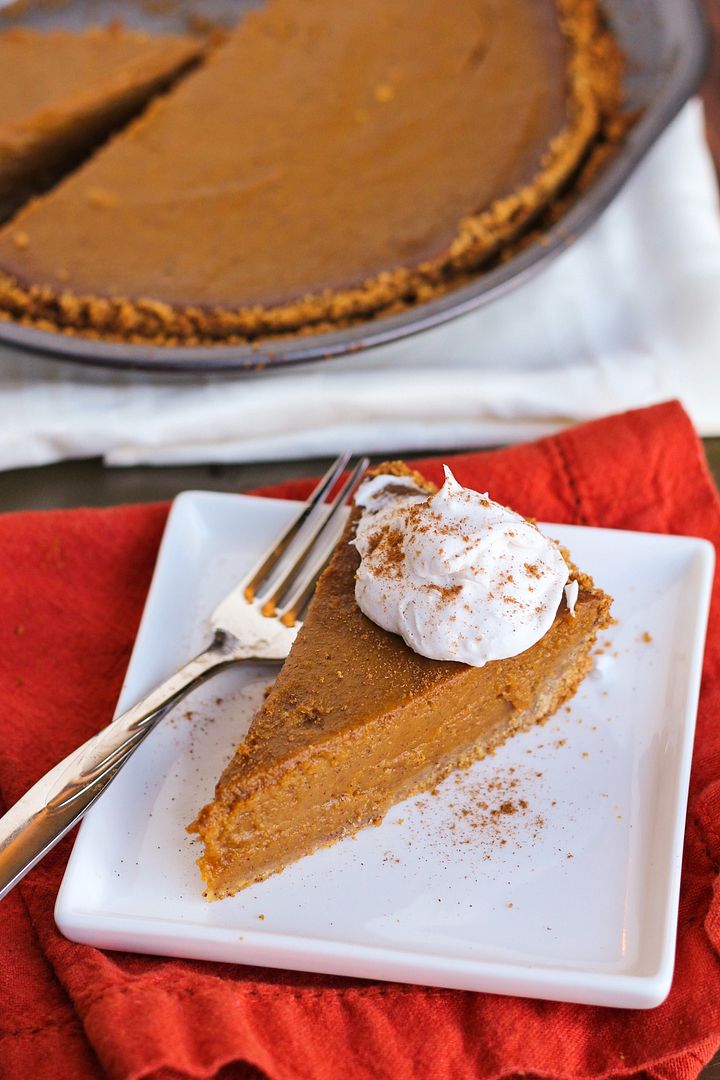
Pumpkin pie is my (and a lot of people's, I'm sure) favourite type of pie, and the type I have the least self-control around because it's so easy to just take a little slice from the fridge, and then one more little slice, and suddenly you've eaten a whole pie just like that.  Ryan has been wanting to buy a pumpkin pie for weeks now but I told him that since it would just be the two of us eating it (and I intend on eating much more pumpkin pie in the coming months!) I wanted to try making a healthy pie that we wouldn't feel guilty about eating!

Healthy vegan pumpkin pie

This pumpkin pie is pretty healthy and also happens to be vegan.  The crust is made from low-fat graham crackers mixed with a bit of coconut oil, so the crust alone has a lot less "bad" fats than a typical butter or shortening-packed pie crust.  (Not that I have anything wrong with eating the occasional piece of traditional pie, but like I said, I wanted to make a healthier version!)  I could have made a healthier crust with nuts and dates but I wanted to keep this as easy and inexpensive as possible since we wanted it to be more of an every day dessert pie.

The filling is made up of pumpkin puree, unsweetened almond milk, no eggs, a reduced amount of brown sugar and some pure maple syrup for sweetening, cornstarch to help everything set, and of course the usual pumpkin spices.

Healthy vegan pumpkin pie

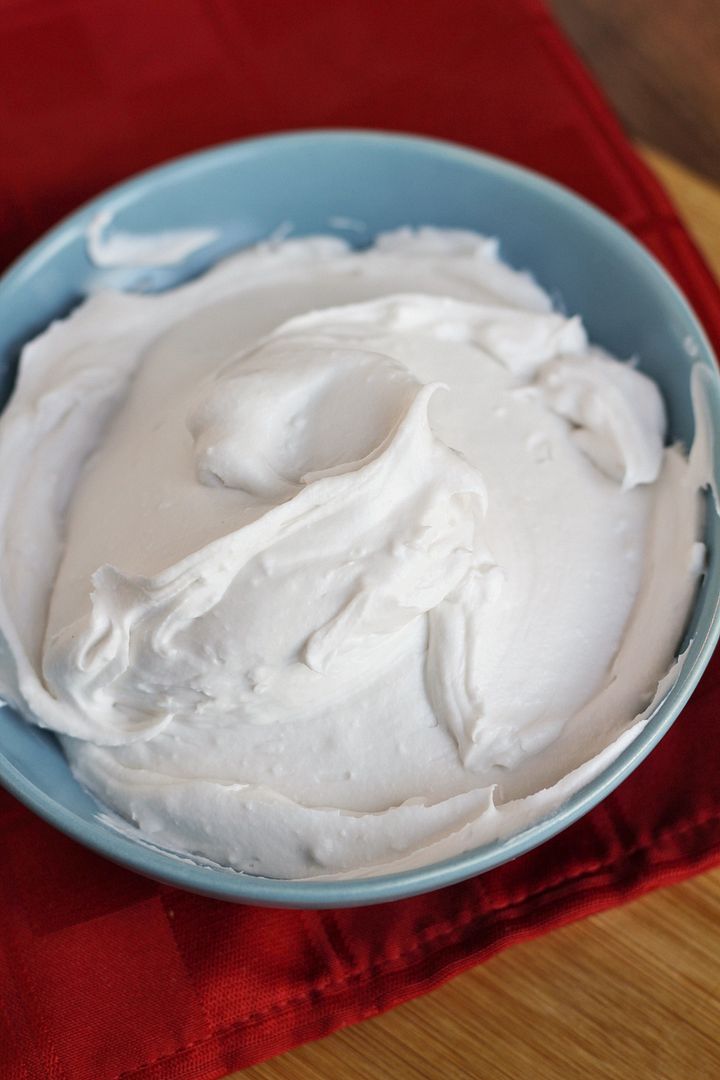
For a topping, I made a batch of coconut whipped cream, which is a great vegan alternative to traditional whipped cream!  To make it, you basically put a can of coconut milk in the fridge for a while so that the cream separates from the liquid, then you scoop out the coconut cream and whip it in a chilled bowl until it's fluffy.  It doesn't need much sweetener but I added a tiny bit of powdered sugar and vanilla extract to mine.  It tastes amazing and the slight coconut flavour really complements pumpkin pie!  Oh She Glows has a great tutorial for making whipped cream if you've never tried it before!

Coconut whipped cream

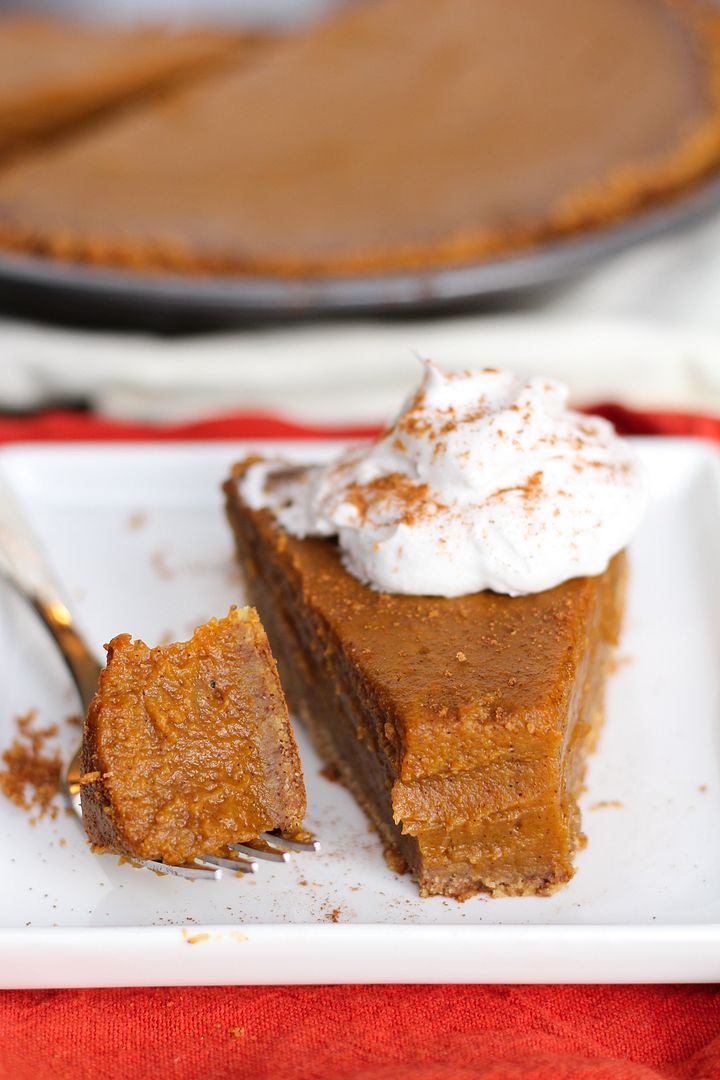
I was worried that either the taste or texture of this pie wouldn't turn out right but it turned out so much better than I'd even hoped!  It had a really nice bold pumpkin flavour from all the spices and addition of molasses (you can cut back if you don't like a lot of spice though!), the filling set perfectly and was smooth and creamy, and the crust sort of softened but stayed firm.  I won't say that it tastes exactly the same as a traditional pumpkin pie, but we both loved this and will likely be making it again soon!

With (Canadian) Thanksgiving quickly approaching, this would be a great dessert if you'll have any vegans at the table, or just want a lighter option after a big meal!

Healthy vegan pumpkin pie

Vegan Pumpkin Pie

Recipe inspired by and adapted from several sources, including Vegetarian Times, Minimalist Baker, and Oh She Glows

Makes one 9-inch pie

Ingredients:

For the Crust:
10 sheets of low-fat graham crackers (about 1.5 cups of crumbs)
1 teaspoon cinnamon
1/4 cup melted organic coconut oil

For the Filling:
2 cups canned pumpkin puree (not pumpkin pie filling)
1 cup unsweetened almond milk
3-1/2 tablespoons cornstarch
1/3 cup brown sugar
1/4 cup pure maple syrup
1 tablespoon molasses
1 teaspoon vanilla extract
1-1/2 teaspoons cinnamon
1/2 teaspoon ground ginger
1/4 teaspoon nutmeg
1/4 teaspoon sea salt

Directions:

Preheat oven to 350°F.  Lightly spray a 9” pie pan with non-stick cooking spray.

Pulse graham crackers in a food processor until they form fine crumbs. Transfer to a bowl and mix in the cinnamon with a whisk or a fork.  Add the melted coconut oil and mix together (I use a fork) until well combined.  Pour crumb mixture into the prepared pie pan and press evenly across the bottom and up the sides to form a pie crust.  Bake in preheated oven for about 7 minutes, then remove.  Leave oven on.

For the filling, mix all ingredients together in a large bowl, whisking together until just combined.  You could do the wet and dry ingredients separately if you like but I saved bowls and just mixed everything together in one.  Pour filling over the baked pie crust, return to oven, and bake for 55-60 minutes, until set. 

Remove from oven and let cool at room temperature for at least an hour, then transfer to refrigerator and let cool for 3-4 hours or overnight before slicing and serving.

Serve with coconut whipped cream, if desired.  Follow the link for instructions on making coconut whipped cream; note that your coconut milk will need to be in the fridge the day before so plan ahead!


July 22, 2014

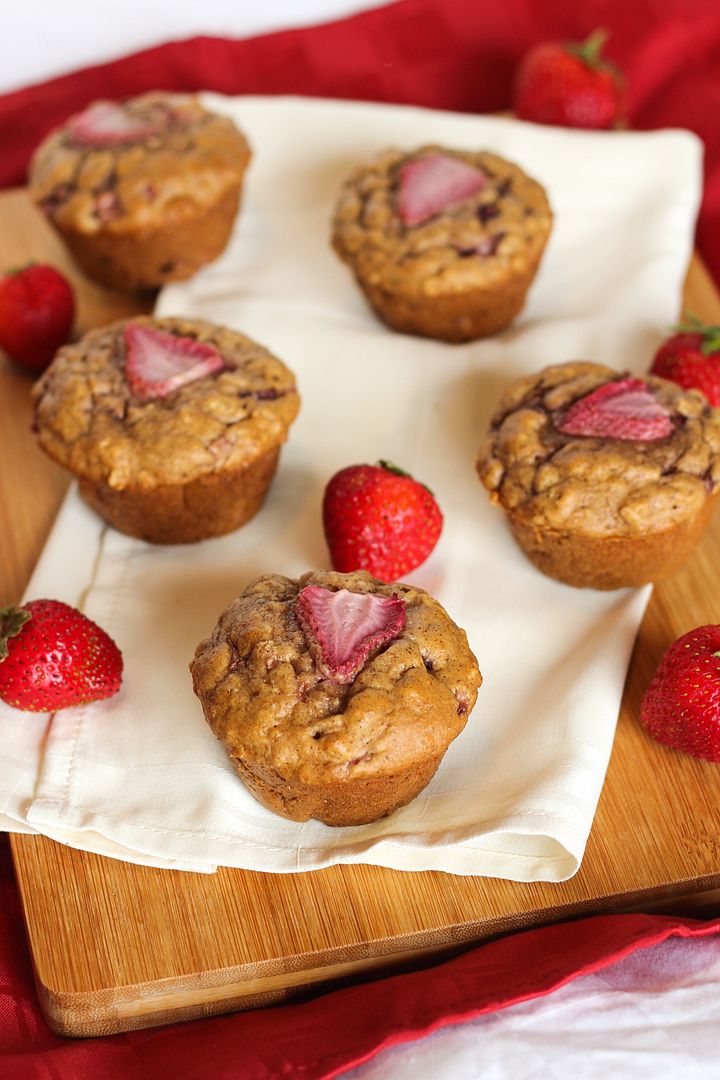
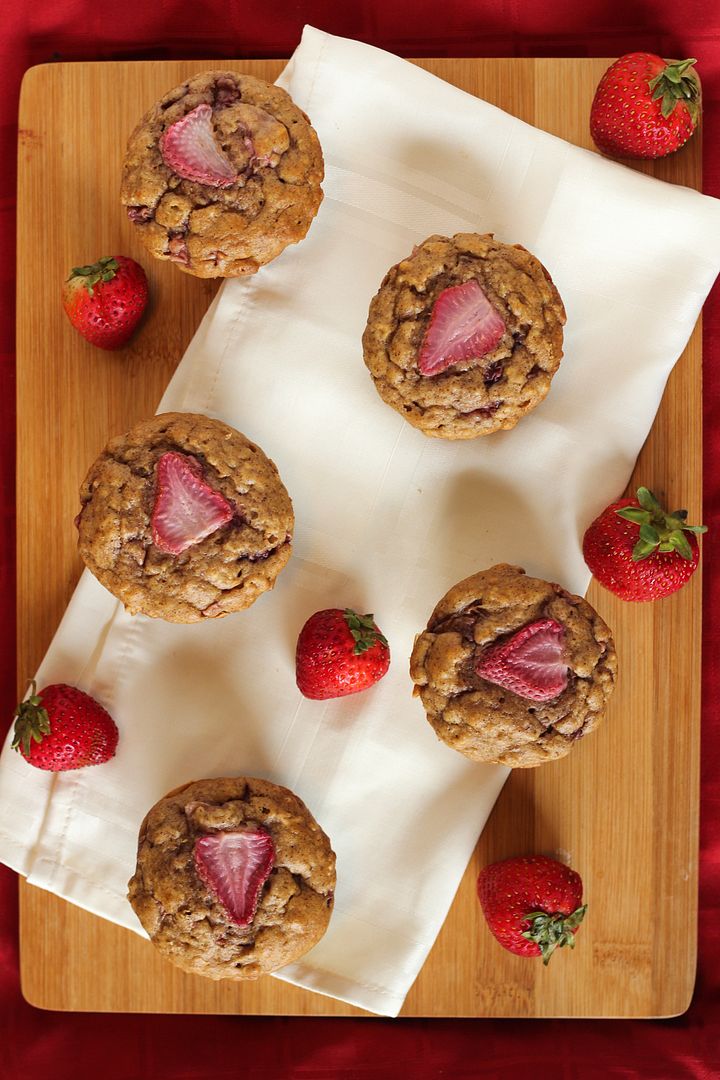
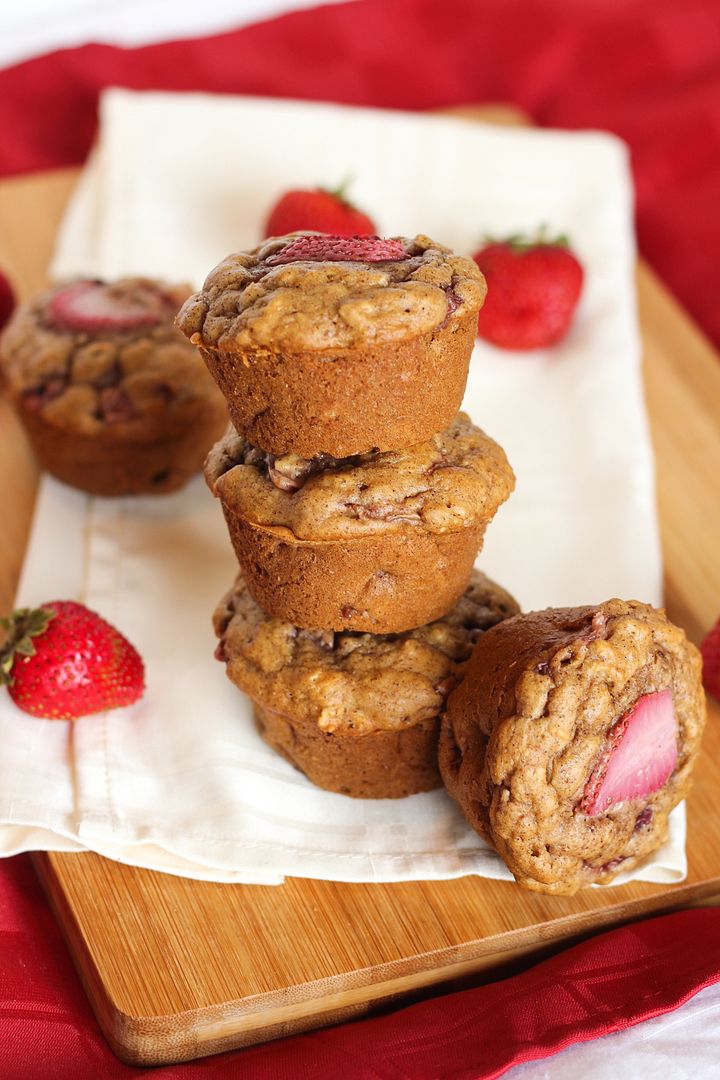
Strawberry & Peanut Butter Whole Wheat Oat Muffins

Strawberry & Peanut Butter Whole Wheat Oat Muffins

Somehow I always end up missing strawberry season because it seems to go by so quickly, so this year I was determined to bake at least one thing with strawberries. 

We don't really want a lot of desserts around right now though, so I decided to bake something on the healthier side.  And because we are only two people, I wanted something that can freeze well.  Enter muffins!

I had it in my head to make peanut butter and strawberry muffins, which surprisingly I could find almost no recipes for, so I decided to make up my own.  Peanut butter and jam goes together, so why not pb and fresh strawberries!

Strawberry & Peanut Butter Whole Wheat Oat Muffins

Because I wanted these to be on the healthier side, I used all whole wheat flour combined with oats, only a bit of pure maple syrup for sweetener instead of sugar, natural peanut butter, unsweetened almond milk, only a tablespoon of oil, and fresh strawberries instead of jam.

While they're not exactly low-fat because of the peanut butter, and not vegan because I included an egg (I haven't really had success with eggless baked goods in the past and don't have any problems personally with an egg being included), I still consider them a wholesome snack that is perfect for afternoon cravings as they satisfy hunger pretty well!

Strawberry & Peanut Butter Whole Wheat Oat Muffins

These were photographed over a day after making them, so the strawberries I had placed on top aren't looking so hot, but I assure you that these still turned out great!

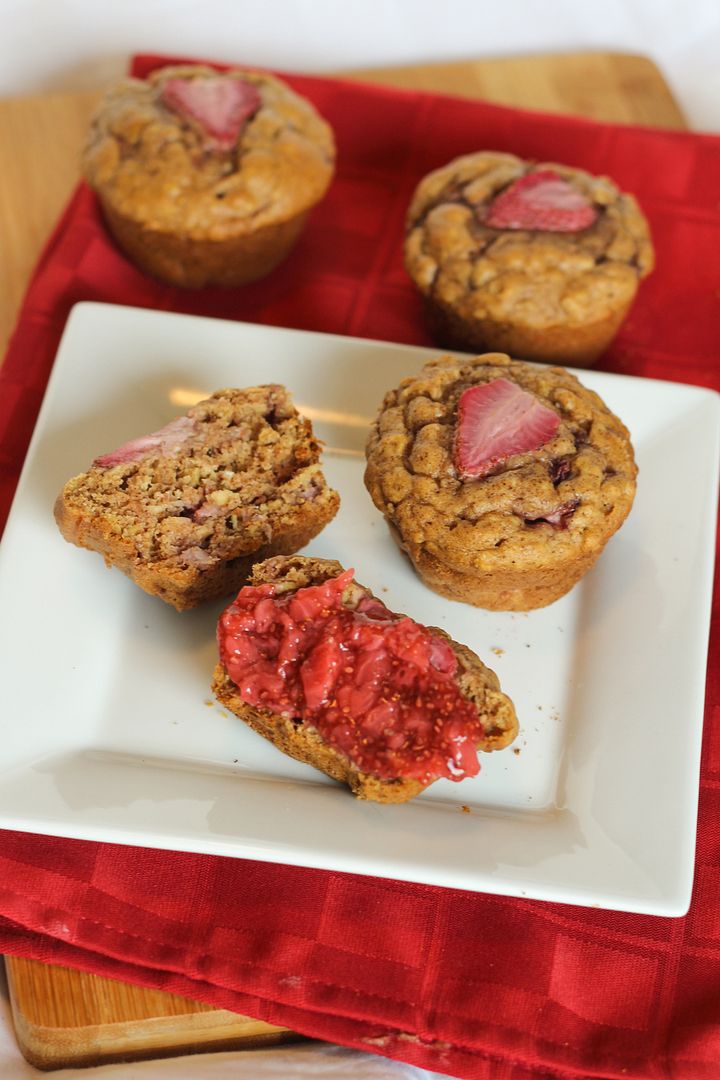
I also love slathering these in chia jam for more strawberry goodness.  If you've never made chia jam before, I encourage you to give it a try!  It's super easy and quick to make and so much better for you than regular jam.  I used the jam recipe from these strawberry oat squares by Oh She Glows, another strawberry recipe I'll have to try soon before the season is over!

Strawberry & Peanut Butter Whole Wheat Oat Muffins


Strawberry & Peanut Butter Whole Wheat Oat Muffins

Makes 12 muffins

Ingredients:

1-1/4 cups whole wheat flour
3/4 cups rolled oats
1 teaspoon baking soda
1 teaspoon baking powder
1 teaspoon cinnamon
1/4 teaspoon salt
1 large egg, lightly beaten
1 cup unsweetened vanilla almond milk
1/2 cup natural peanut butter, melted slightly to mix in better
1/4 cup pure maple syrup (or I used 2 T maple syrup + 2 T honey)
1 teaspoon vanilla extract
1 tablespoon extra virgin olive oil
1 cup diced fresh strawberries
12 slices strawberries for the tops, if desired

Directions:

Preheat oven to 350°F.  Spray a regular 12-cup muffin tin with non-stick cooking spray.

Whisk the dry ingredients (flour through salt) together in a medium bowl.  In a separate bowl, mix the wet ingredients until just blended (egg through oil).  Add the wet ingredients along with the diced strawberries to the dry ingredients and fold together until just combined.

Divide batter evenly among the 12 muffin cups.  If desired, add a strawberry slice to the top of each muffin.  Bake muffins in preheated oven for 18-20 minutes or until toothpick inserted in middle of a muffin comes out clean.  Let cool for a couple minutes in the pan then remove to a wire rack to cool completely.

June 19, 2014

(Healthy) Strawberry & Chocolate Chia Pudding

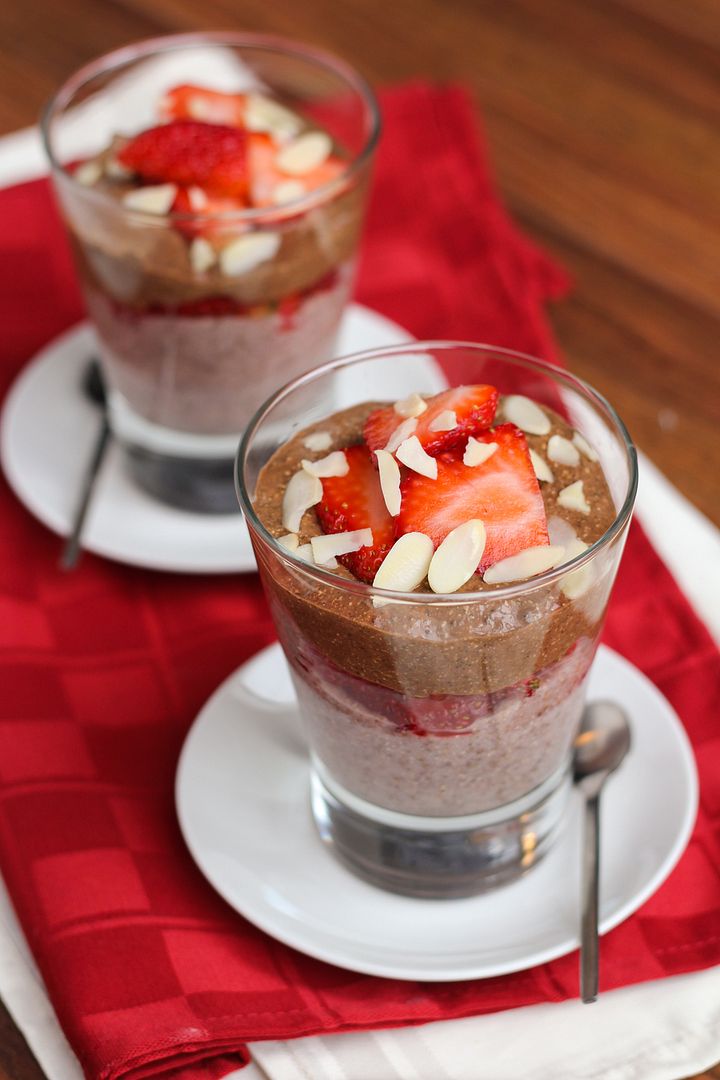
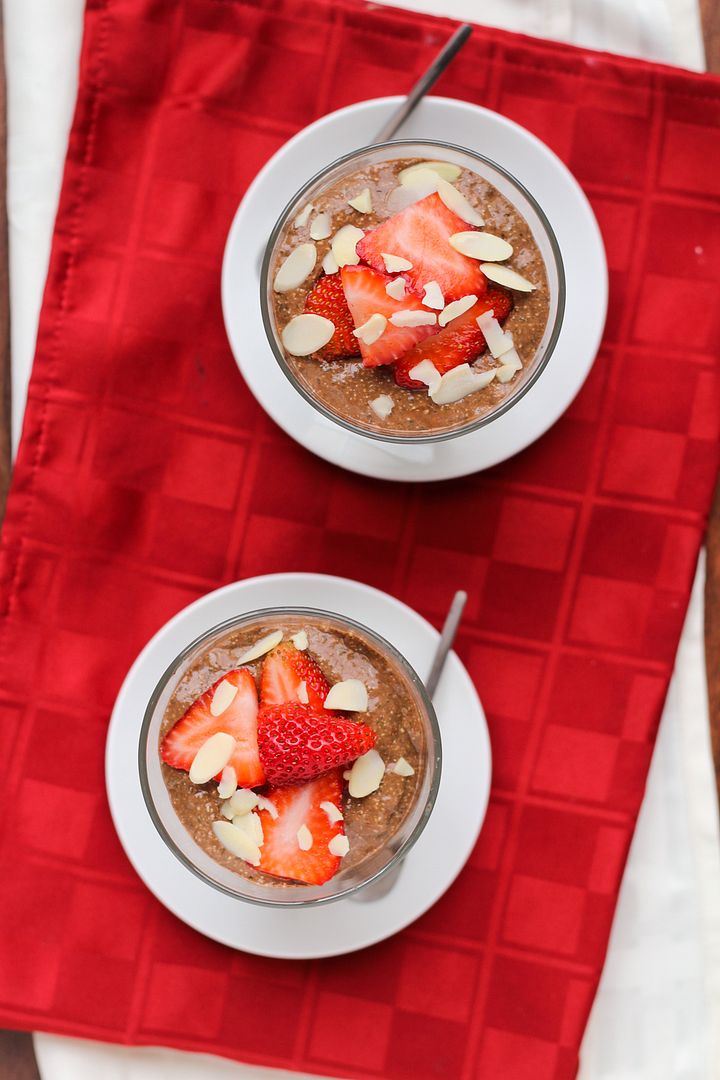
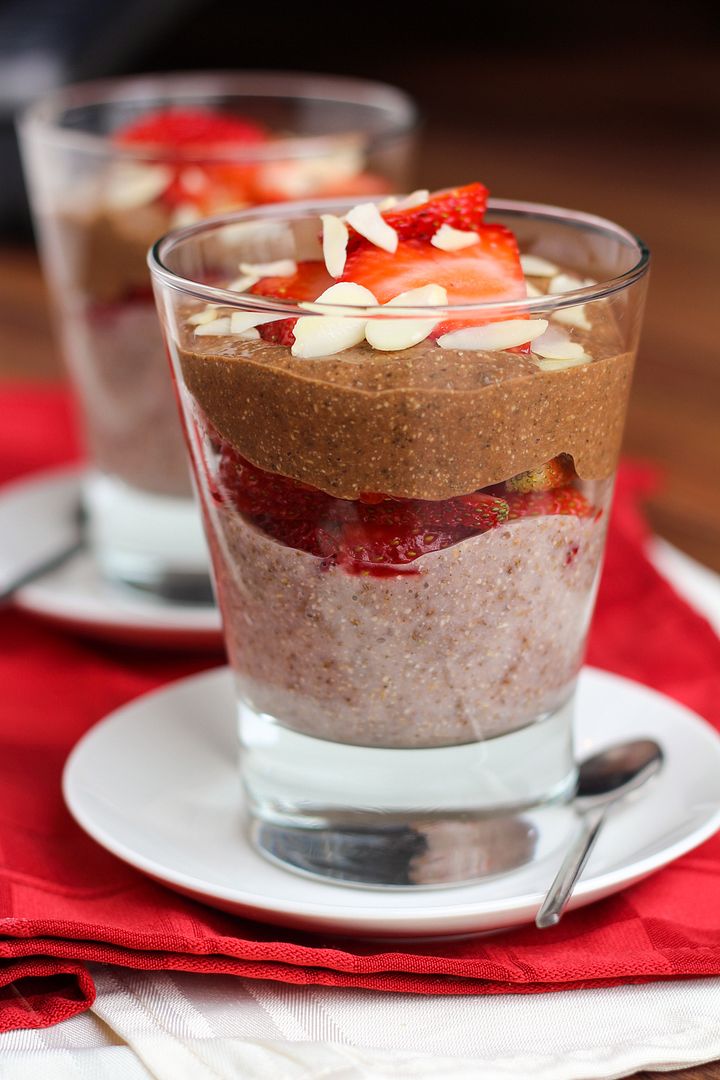
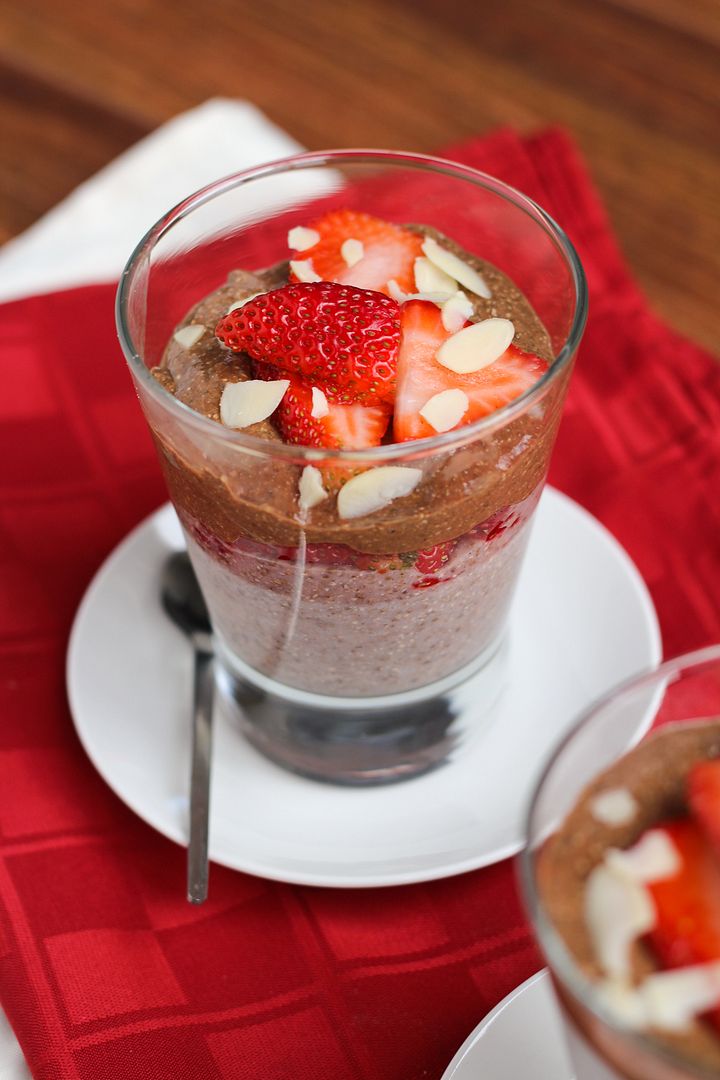
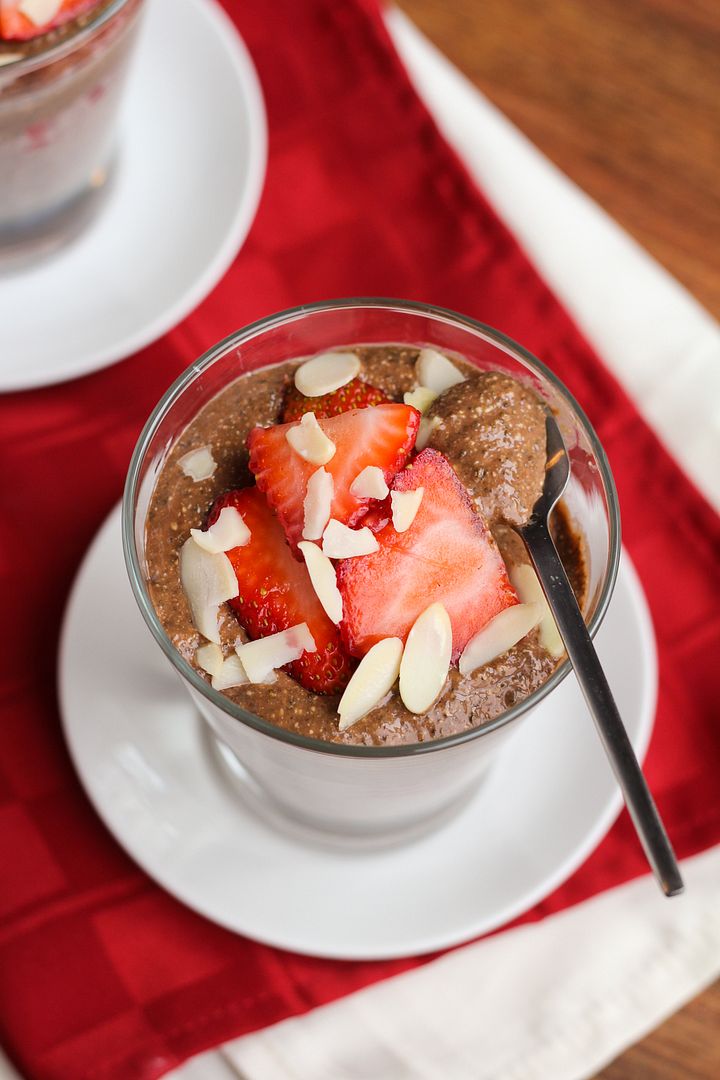
Healthy Strawberry and Chocolate Chia Pudding

I've been wanting to try chia pudding for so long now - I think I've had this mango coconut chia pudding bookmarked for two years - but for some reason I've never gotten around to it.  Lately I've been craving dessert much more, likely because the days feel longer, I've been staying up later, and thus need more food to sustain me, so I've been trying to find healthy desserts that still satisfy a craving.  So when I saw Dietitian Debbie's beautiful layered chocolate and strawberry chia pudding recently I decided to give it a try!

Healthy Strawberry and Chocolate Chia Pudding

I feel like chia seeds are everywhere lately, but if you haven't heard of this little superfood before, it's basically a tiny seed that's packed with nutrition, including lots of fiber, omega-3 fatty acids, calcium, other vitamins, minerals, and antioxidantst, and even protein!

And because they can absorb somewhere around 10-12 times their weight (I've seen various numbers floating around) and take on a sort of gel-like consistency when they do so, they're great for making healthy pudding (though of course, you can use them in many other ways, too)!

Healthy Strawberry and Chocolate Chia Pudding

The version I came up with is different than the original idea, but this pudding is still really easy to make.  Both the chocolate and strawberry portions contain unsweetened vanilla almond milk, chia seeds, and pure maple syrup for sweetener, then the chocolate version has added cocoa powder while the strawberry version contains fresh strawberries and a little vanilla extract.

I also used Oh My Veggies' idea to blend the chia pudding after to give it a smoother texture, but you can leave out this step if you like.  I topped mine with more strawberries and sliced almonds for crunch, but you could use chocolate chips, coconut flakes, or anything else you like!

Healthy Strawberry and Chocolate Chia Pudding

The only difficult part about this recipe is waiting for the pudding to set.  It's best to leave it overnight, but otherwise plan for at least 4-6 hours to let the chia seeds work their magic and turn this into pudding!

This makes a perfect light summer treat that satisfies a dessert craving but leaves you feeling good, and it would also totally be appropriate for breakfast!  Ryan was skeptical about the whole idea but after trying it, he said he could eat it every day, so I'd say it was a big success!

Healthy Strawberry and Chocolate Chia Pudding

Strawberry & Chocolate Chia Pudding

Note: The idea for this recipe was inspired by Dietitian Debbie; ingredient amounts were adapted from All Recipes

Serves 4 (servings are on the smaller side)

Ingredients:

For the Strawberry Layer:
1 cup unsweetened vanilla almond milk (or your choice of milk)
8oz (half a package) fresh strawberries, chopped
1/4 cup chia seeds
2 tablespoons pure maple syrup
1/2 teaspoon vanilla extract

For the Chocolate Layer:
1-1/4 cups unsweetened vanilla almond milk (or your choice of milk)
1/4 cup chia seeds
2 tablespoons pure maple syrup
2 tablespoons cocoa powder

For Topping:
8oz sliced strawberries
Optional: Slivered almonds, chocolate chips, coconut flakes (I used almonds)

Directions:

To prepare strawberry pudding, blend almond milk and strawberries in a blender until smooth.  Transfer to a bowl or container and stir in chia seeds, maple syrup, and vanilla until well combined.  Cover and keep in refrigerator overnight or until set, at least 4 hours.

To prepare chocolate pudding, stir together the almond milk, chia seeds, maple syrup, and cocoa powder, and also store in the fridge along with the strawberry pudding.

When ready, the mixtures should have a more gel-like consistency.  If you like you can serve the pudding as is, but if you want a smoother consistency where you won’t notice the chia seeds as much, transfer each mixture to the blender separately (cleaning in between) and puree until smooth.

To prepare pudding, layer chocolate and strawberry puddings in glasses or bowls with sliced strawberries and almonds in between each layer and on top.  If you like you could also top with chocolate chips and/or coconut flakes and an extra drizzle of maple syrup or honey of it’s not sweet enough for your tastes.

December 17, 2013

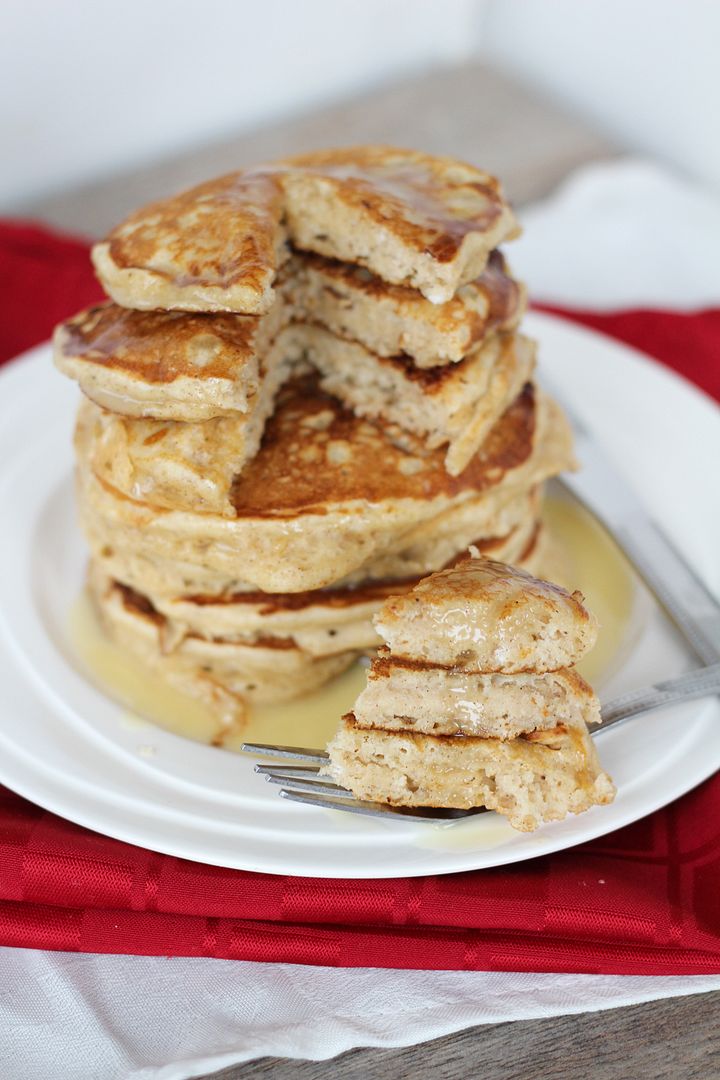
Eggnog Pancakes with Eggnog Glaze

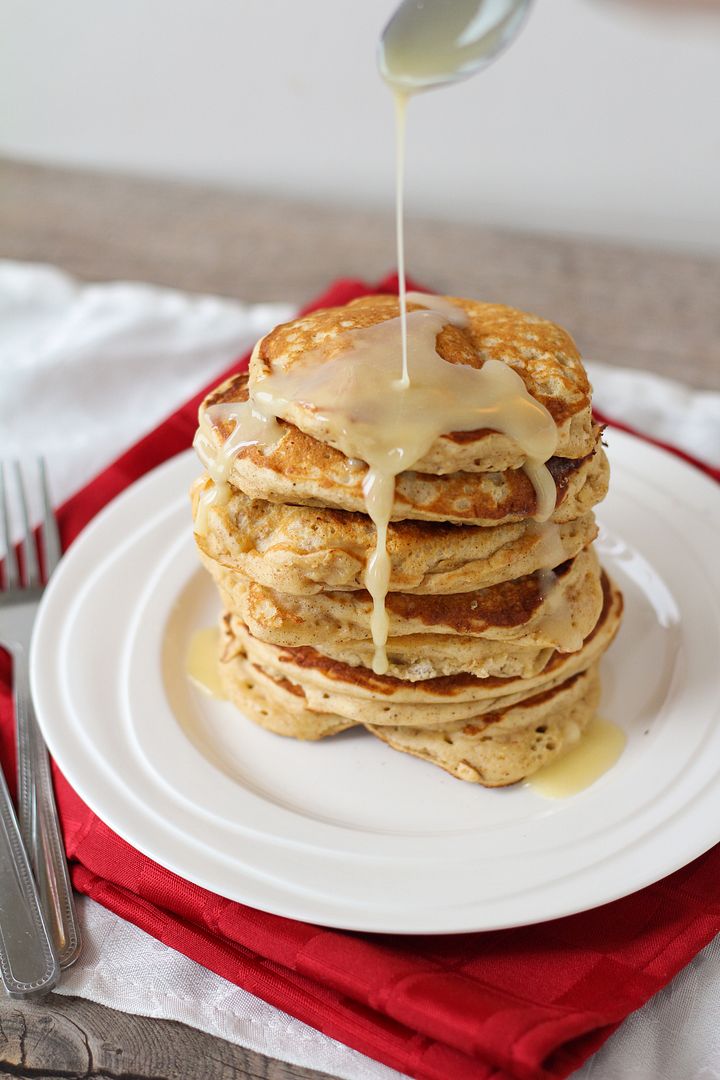
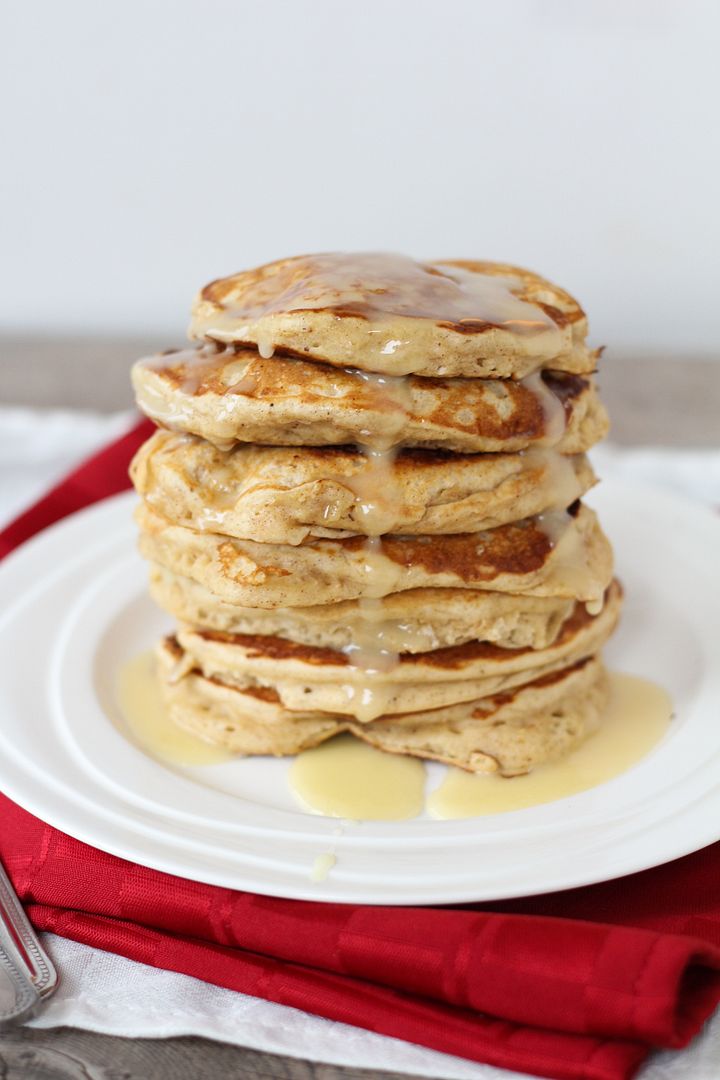
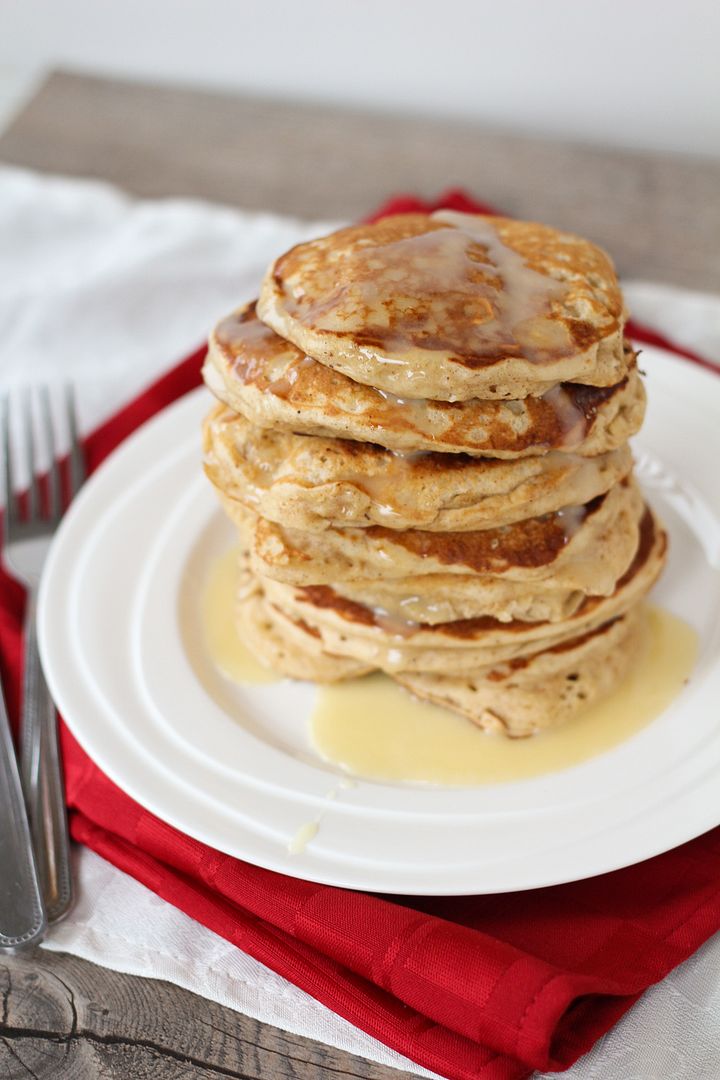
Eggnog Pancakes with Eggnog Glaze

I can't believe Christmas is basically a week away and I haven't posted a single festive recipe on here yet.  I've been more focused on trying to get all my Christmas shopping done lately as I've had an extra hard time coming up with gift ideas this year and as it's looking now, I likely won't finish shopping until Christmas Eve.  Every year I tell myself I'm going to be more organized with everything Christmas-related but every year I end up with a TON of stuff to do last minute.  It's kind of part of the holiday rush and excitement though, and at least I usually get good deals by leaving my shopping so late!

Eggnog Pancakes with Eggnog Glaze

I do regret not being more organized with holiday recipes though.  I had a lot of ideas floating around my head in November but so far I've mainly just been consuming treats that involve eggnog and Kahlua or Baileys, which you don't really need a recipe for!  Other than those soft molasses cookies I told you about earlier, these pancakes are the only other festive thing I've made this year.  And while I'm disappointed I haven't been doing more cooking/baking, I'm pretty happy that the one thing I made turned out so well!

Eggnog Pancakes with Eggnog Glaze

These pancakes are light and fluffy with eggnog in the batter and a pinch of spices to give them a subtle eggnog flavour, but the glaze is what really kicks up the eggnog flavour so you're certain you're eating a festive (and slightly decadent, but not over-the-top) breakfast and not just regular pancakes.  So don't skip it!  

I already can't wait to make these again for breakfast this weekend, and to hopefully squeeze in some holiday baking before then!

Eggnog Pancakes with Eggnog Glaze

Eggnog Pancakes with Eggnog Glaze

Recipe drew inspiration from several similar recipes, including Forkful of Comfort, Savory Simple, and SkinnyTaste

Serves about 4-6 (makes 16-18 pancakes)

Ingredients:

For the Pancakes:
2 cups all-purpose flour
4 teaspoons baking powder
1/2 teaspoon salt
1/2 teaspoon nutmeg
1 teaspoon cinnamon
2 large eggs, lightly beaten
2 cups eggnog (I used low-fat eggnog)
2 tablespoons vegetable or canola oil
2 teaspoons vanilla extract (or substitute half rum extract if desired)

For the Glaze:*
1/2 cup icing sugar
2 tablespoons eggnog
1 tablespoon maple syrup
1/2 teaspoon rum extract

Directions:

First, prepare the pancake batter.  Whisk all the dry ingredients (flour, baking powder, salt, nutmeg, and cinnamon) in a large bowl.  In a separate medium bowl, whisk together the wet ingredients (eggs, eggnog, oil, and vanilla extract).  Add the wet ingredients to the dry ingredients and fold together with a spatula until just combined (batter will be lumpy).

Heat a large non-stick skillet or griddle to medium heat and spray with non-stick cooking spray if necessary.  Pour pancake batter by 1/4 cup-fulls onto the pan.  Let cook until bubbles begin to form and pancake is browned on one side, a couple of minutes, then flip and cook until both sides are evenly browned.

While cooking pancakes, prepare the glaze by whisking all ingredients together in a small bowl.

Serve pancakes warm with a small amount of eggnog glaze on top.
*Note: The amount of glaze should be just enough for a small amount for each serving.  The glaze is quite sweet so you shouldn’t want too much, but feel free to double the amounts for the glaze if you like.

November 08, 2013

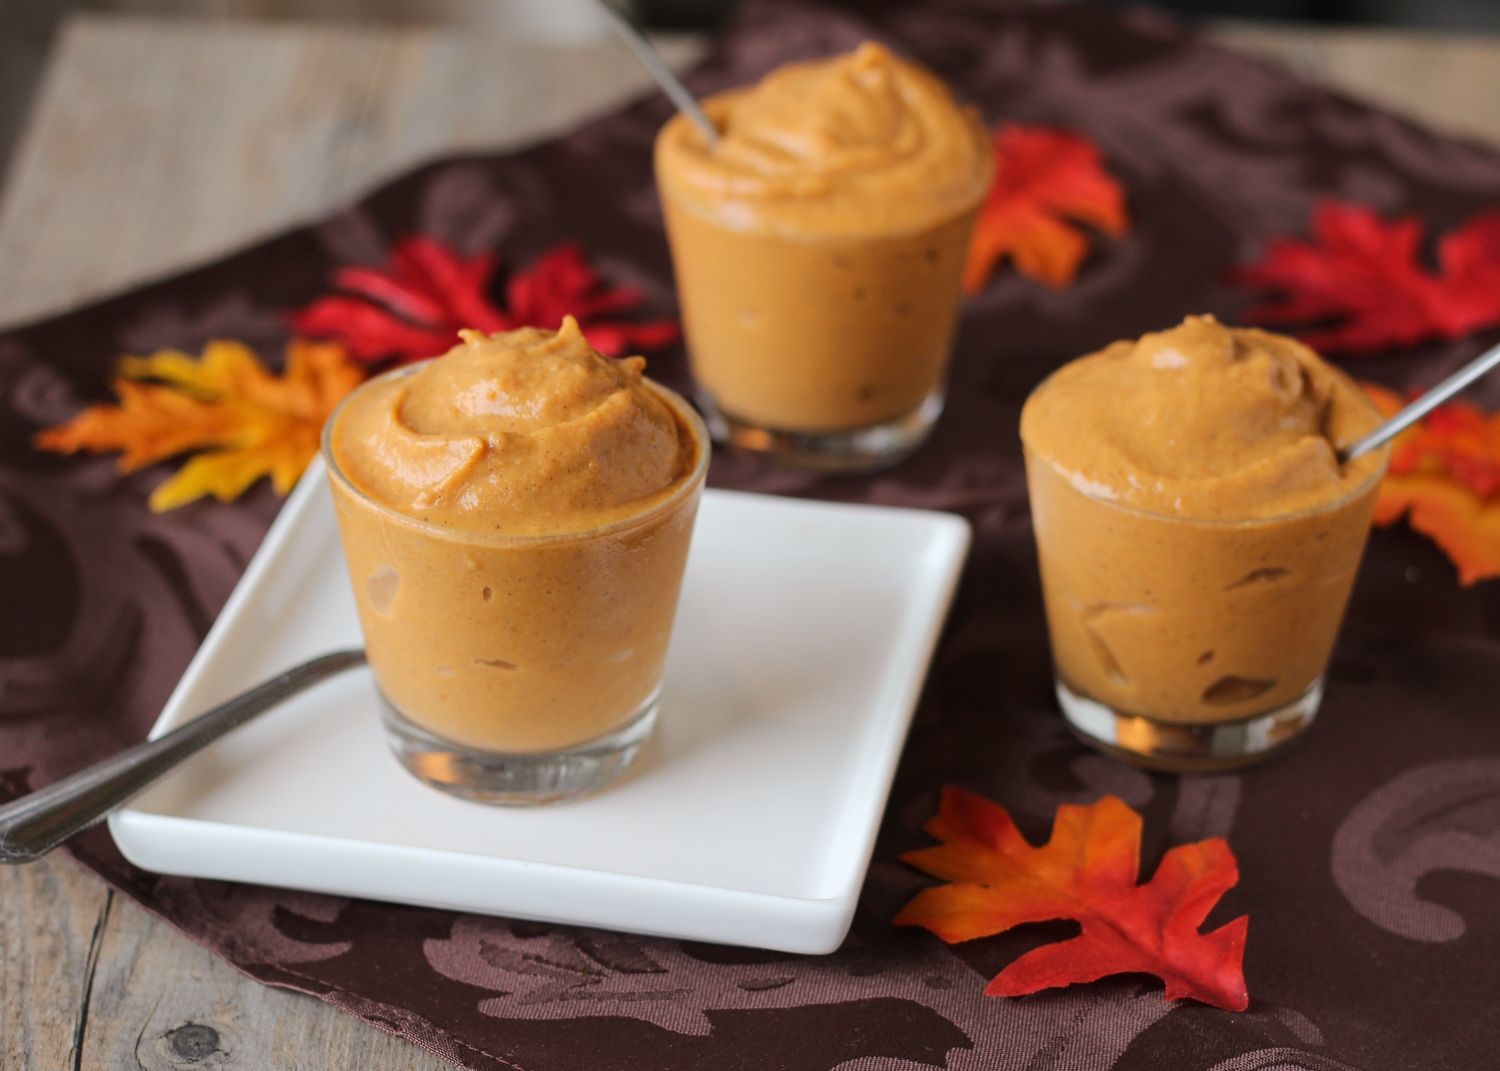
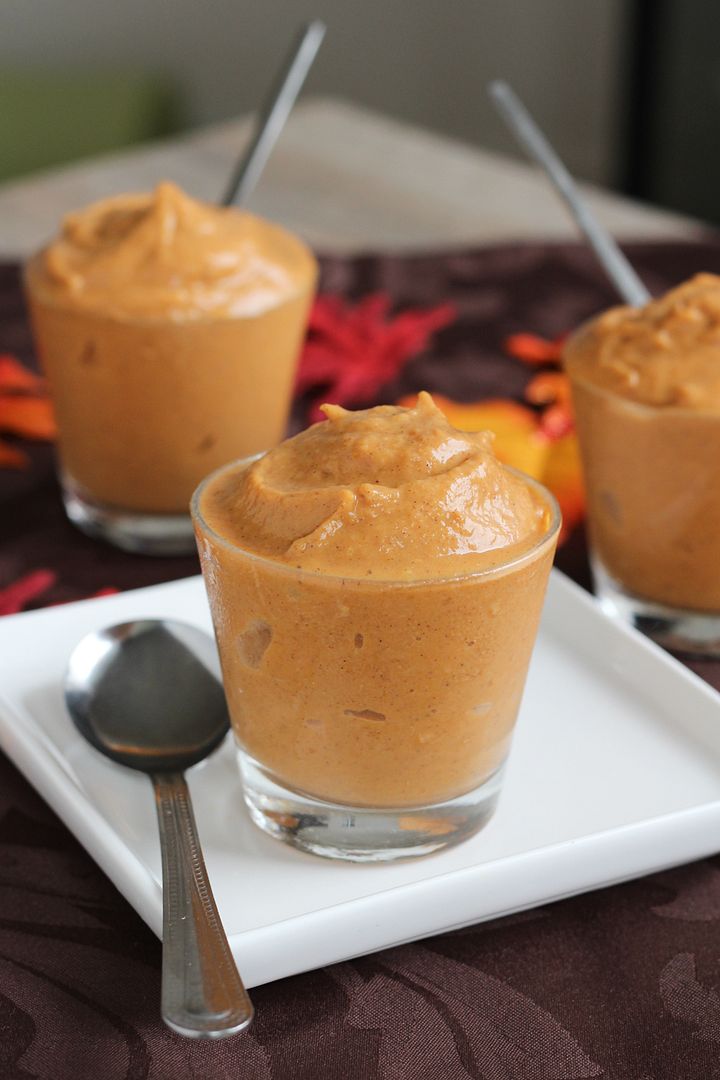
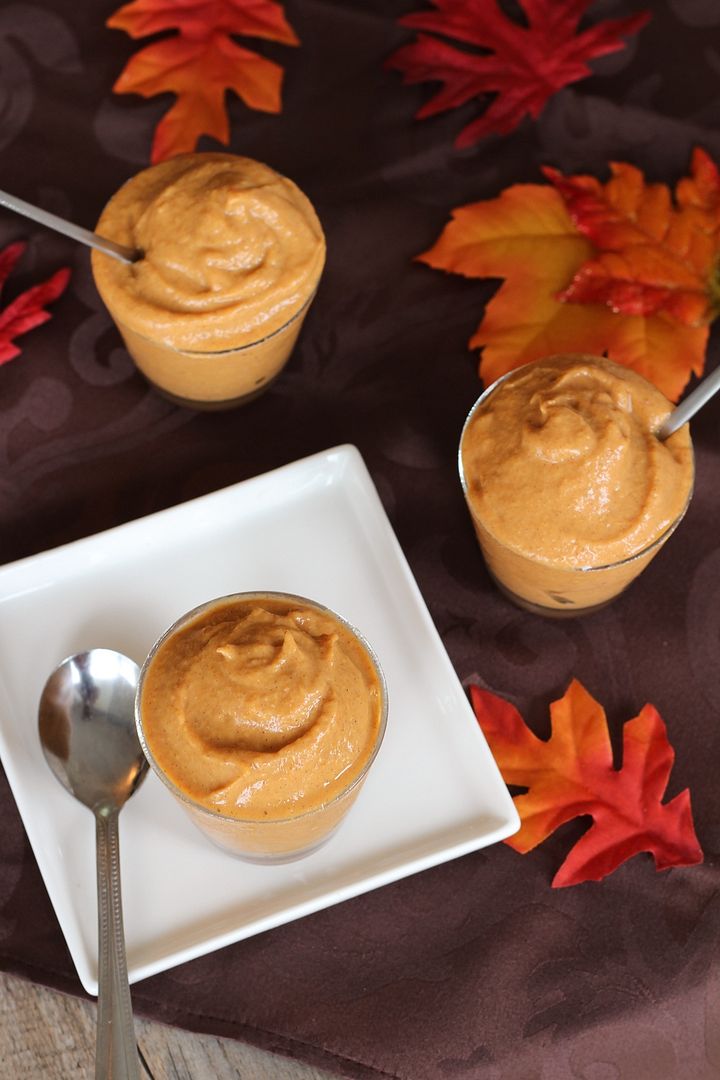
Healthy Pumpkin Mousse

Healthy Pumpkin Tofu Mousse

It seems like everyone has already moved on from pumpkin flavoured everything to gingerbread everything, myself included – I love Starbucks gingerbread lattes even more than pumpkin spice lattes and now that they have a molasses drizzle on them I can’t resist getting one whenever I go near a Starbucks! 

And now that there’s starting to be a little snow in the air and on the ground, it’s hard to resist getting in the holiday spirit already. I thought it was a little early still but the Santa Claus parade in my hometown is tomorrow, so I guess not!

Healthy Pumpkin Tofu Mousse

I was just reading on Averie Cooks yesterday (in her post for these amazing looking gingerbread molasses chocolate chip bars) how bloggers so predictably go from pumpkin to gingerbread to peppermint every year, which is so true.  But part of what makes people go crazy for these flavours is how briefly we get to use them each year, so we have to make the most of them while we can!

Hopefully not everyone is ready to completely abandon pumpkin yet though, as I still have one more pumpkin recipe to share!

Healthy Pumpkin Tofu Mousse

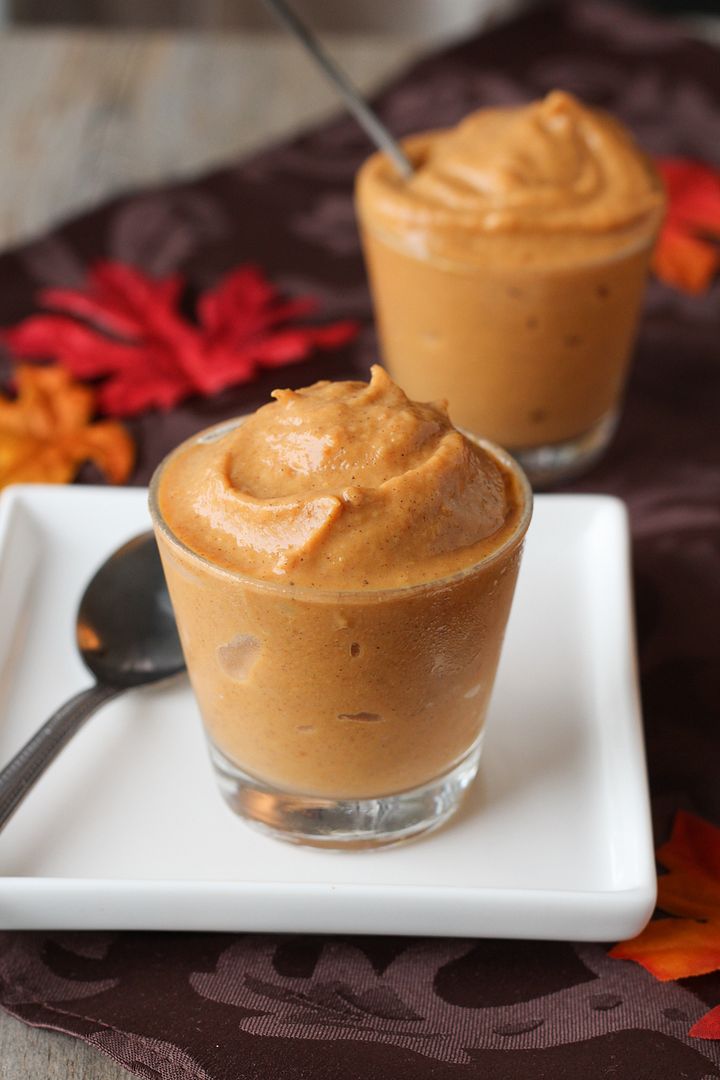
Pumpkin tofu mousse is probably not anything new to a lot of you, but this was the first time I’d tried it and it was so much better than I’d expected that I’ve already made it a few times this year! It’s basically like pumpkin pie in mousse/pudding form with the added benefit of being pretty healthy!  It's actually not as fluffy as regular mousse, but it's lighter than pudding so I wasn't sure what to call it - feel free to call it whatever you like!

This mousse or pudding or whatever you want to call it is super easy to make – just blend together some pumpkin puree, silken tofu (you won’t taste it at all but it adds protein and makes everything light and fluffy!), a bit of pure maple syrup for sweetness, and some vanilla and pumpkin pie spices. I also added a little Greek yogurt to mine for a little extra flavour and thickness, but if you prefer to keep this vegan you could leave it out.

Hope you have room for a little more pumpkin in you, but if not, I will probably be moving on to holiday flavours pretty soon!

Healthy Pumpkin Tofu Mousse


Pumpkin Tofu "Mousse"

Adapted from several sources, including The Smart Kitchen and Baked In

Makes around 4 small servings (but serving size for something like this can vary)

Ingredients:

8oz silken tofu (usually about half a package), drained of all excess water (do your best to get as much water out as you can)
1 3/4 cup pumpkin puree (not pumpkin pie filling) – or one 15oz can
1/4 cup plain or vanilla low fat Greek yogurt
1/2 teaspoon vanilla extract
1/4 cup + 2 tablespoons pure maple syrup
1/2 teaspoon cinnamon
1/4 teaspoon ground ginger
1/4 teaspoon nutmeg
1/8 teaspoon cloves
1/8 teaspoon salt

Directions:

Add tofu and pumpkin to the large bowl of a food processor and process until smooth.  Add all remaining ingredients (leave the 2 tablespoons of maple syrup out for now), and process until well combined.  Taste and add as much of the remaining 2 tablespoons of maple syrup as desired to reach desired level of sweetness.  If desired, you could replace some of the maple syrup with brown sugar.  Adjust any other spices as needed and according to preference.

Refrigerate for at least 1-2 hours before serving.  Keep refrigerated.  Water from the tofu may separate after a couple of days, just drain it or stir it back in before serving.

October 02, 2013

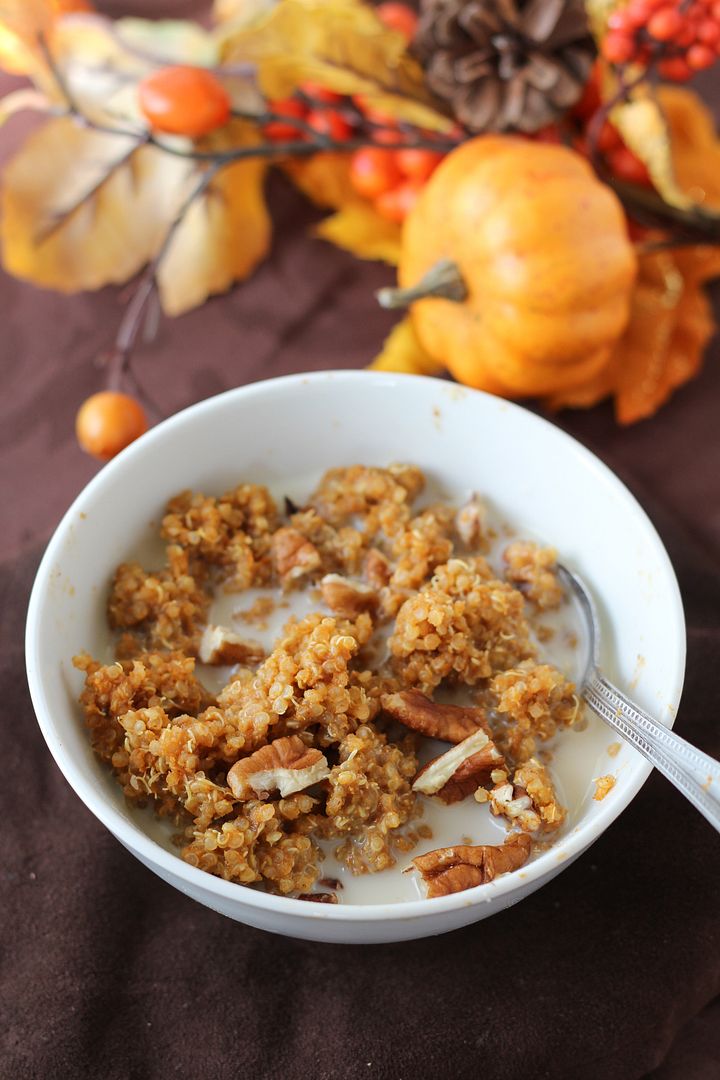
Pumpkin Spice Breakfast Quinoa

Pumpkin Spice Breakfast Quinoa

Happy October!

I can’t believe it’s already October – I have absolutely no idea where September went (or the whole year, for that matter). I’m hoping this month goes a lot slower because fall is always over so quickly here and there are too many things to enjoy before they’re gone, like the beautiful red and gold leaves on the trees, sunny weather with crisp air, being able to wear light jackets and boots before the parka and heavy boots come out for what feels like forever, and of course, pumpkin spice everything!

Pumpkin Spice Breakfast Quinoa

This is the first pumpkin recipe I’ve made this fall and I know I’ll be making it several more times before the season’s over!

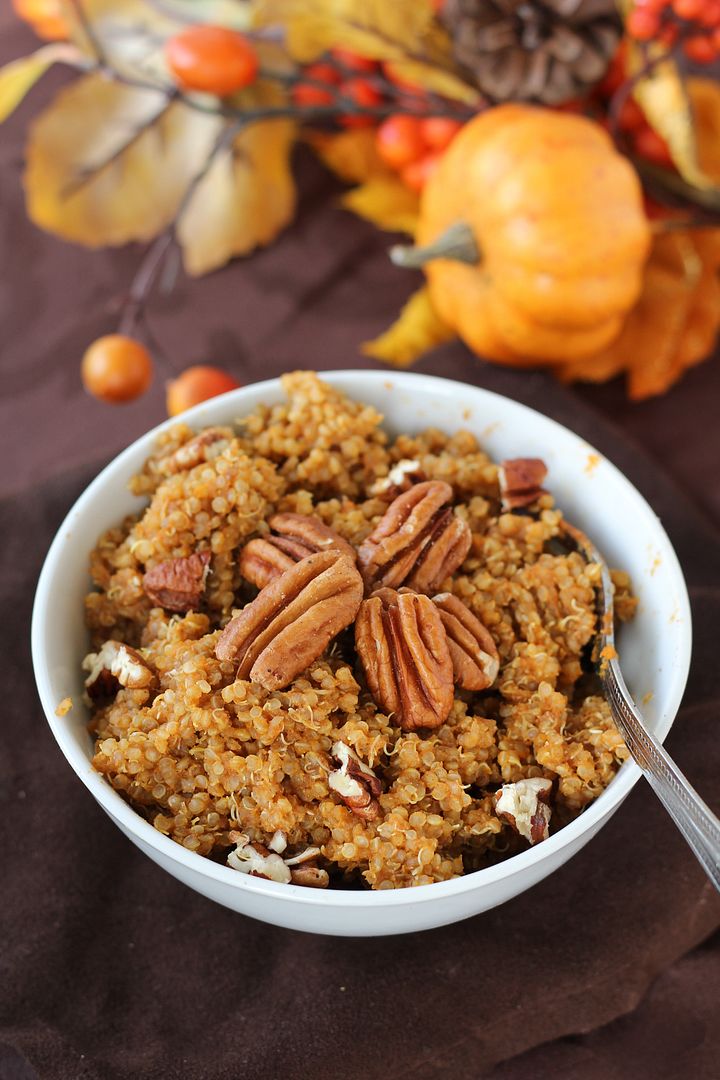
I love pumpkin oatmeal, but replacing oats with quinoa retains the comforting porridge-like texture while adding lots of protein to give you energy to start your day! And because quinoa can be left alone while it cooks, it’s still easy to make this on a weekday morning while you’re getting ready for work or school.

Pumpkin Spice Breakfast Quinoa

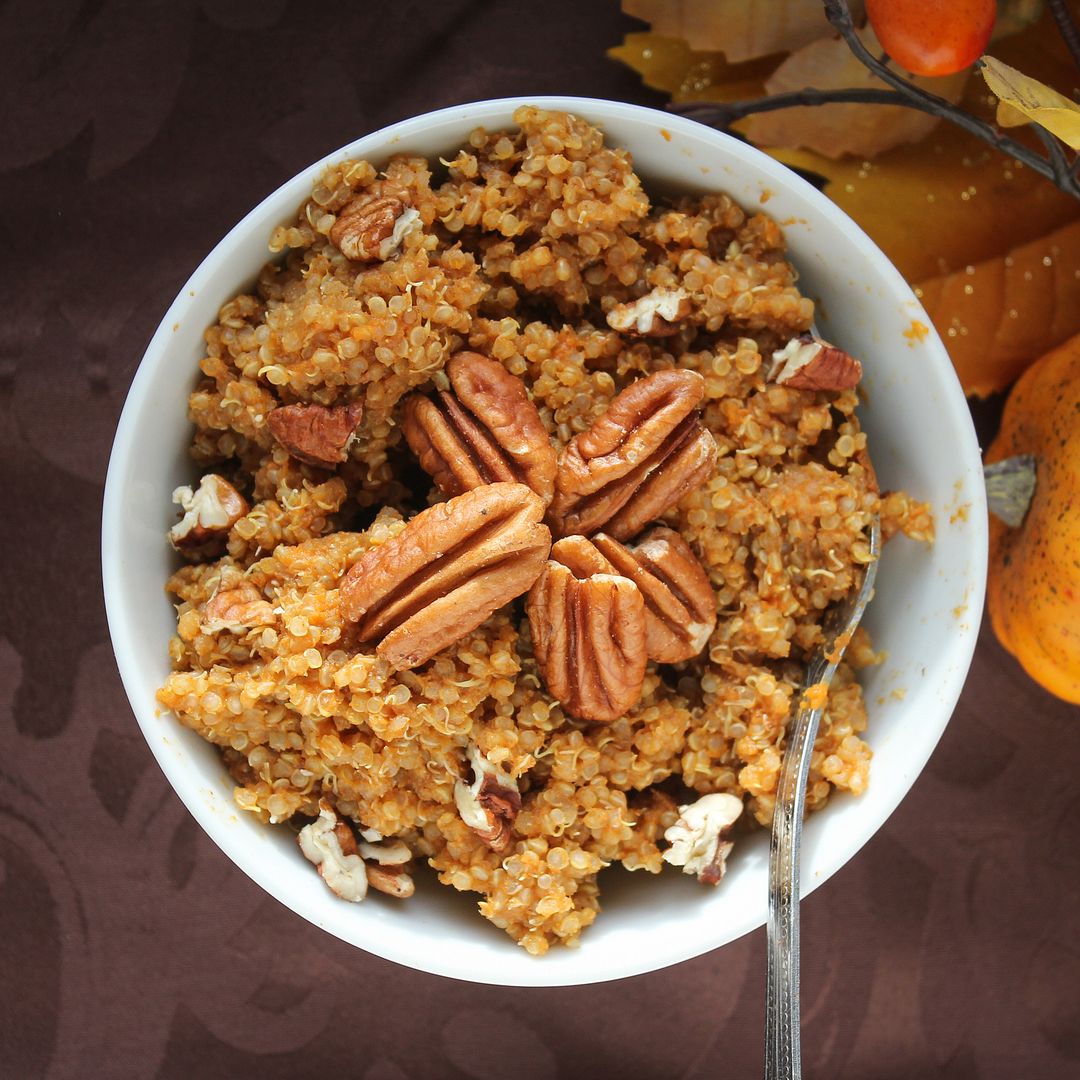
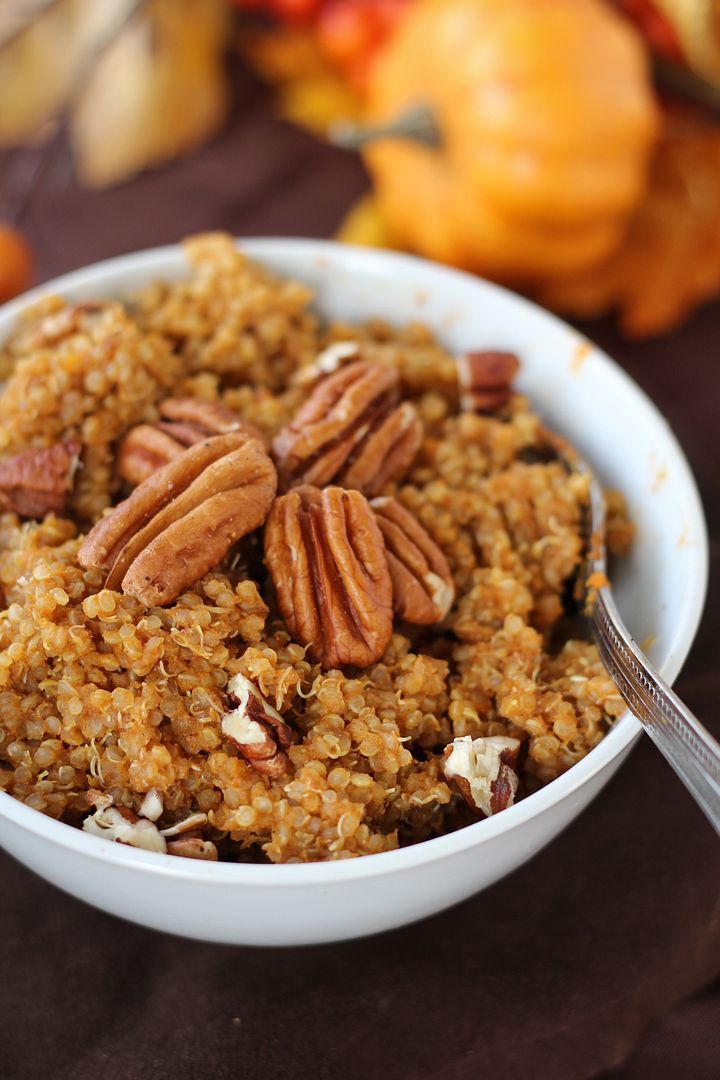
All you need to do to turn plain quinoa into this cozy pumpkin breakfast quinoa is replace some of the cooking water with milk, then stir in some pumpkin, vanilla, spices, a little maple syrup for sweetness, and top with some pecans for crunch.

If you usually add milk to your oatmeal, you can do the same with this breakfast quinoa too – your choice! And if you want this to be even more of a treat, feel free to throw in a spoonful of chocolate chips!

Pumpkin Spice Breakfast Quinoa

Pumpkin Spice Breakfast Quinoa

Adapted from several sources, including a recipe by Two Peas and their Pod seen on Make and Takes

Makes 2 servings

Ingredients:

1/2 cup milk – I used almond milk but any milk will work
1/2 cup water
1/2 cup uncooked quinoa, rinsed and drained
1/4 cup + 2 tablespoons pumpkin puree
2 tablespoons pure maple syrup
1/2 teaspoon vanilla extract
1 teaspoon pumpkin pie spice
Pinch of salt
2-4 tablespoons chopped pecans

Directions:

Bring milk and water to a boil in a small to medium sized saucepan.  Add quinoa, cover, reduce heat to simmer, and let cook 15 minutes.  Remove from heat and let stand 5 minutes.  Uncover and fluff with a fork, then stir in the pumpkin, maple syrup, vanilla, pumpkin pie spice, and salt.  Taste and adjust any amounts to your liking (i.e. add more sweetness or spices).  Divide into two bowls (add milk if desired) and top with desired amount of pecans.

July 16, 2013

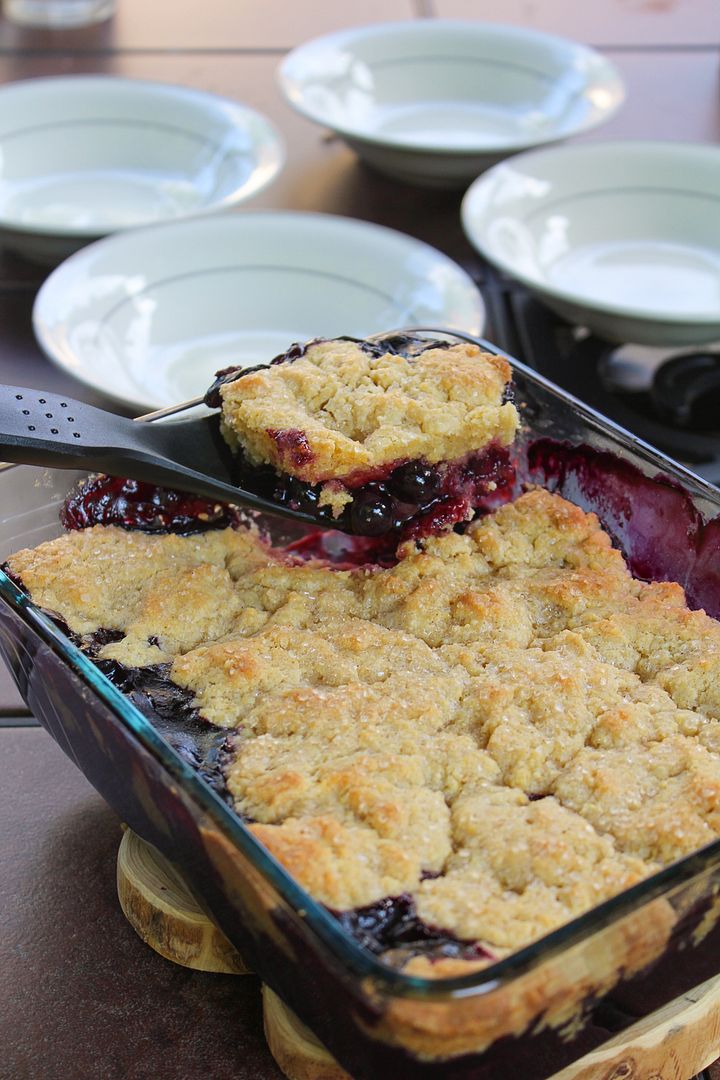
Blueberry Maple Cornmeal Cobbler

Blueberry Maple Cornmeal Cobbler

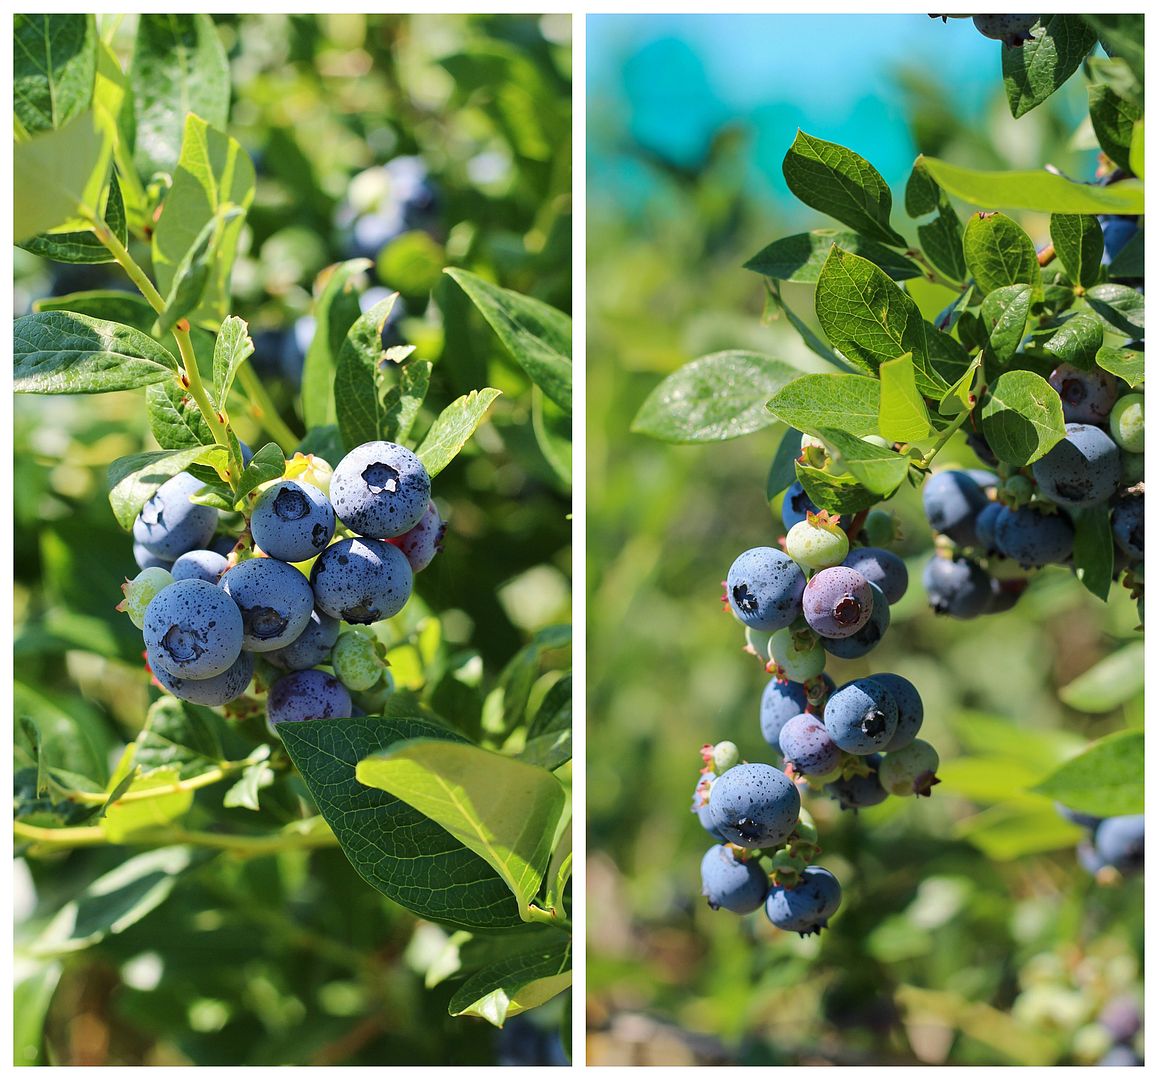
This past weekend, my family got together to do some cherry and blueberry picking, which was my first time berry picking in years (when you don't have a car, berry fields are kind of inaccessible).  Fortunately, blueberries and cherries are probably the easiest things to pick - no prickly thorns to watch out for and no crouching down getting your shorts covered in berry stains.  It was crazy hot out, but it was pretty nice ending up with bags full of fresh berries with fairly minimal work involved.

Blueberry picking in Ontario

Of course, I now have a ton of blueberries to eat, but that's not going to be much of a problem for me because they're one of my favourite berries to eat on their own.  If you like your blueberries more in dessert form (or if you just love blueberries in any form), this is the dessert for you!

I love crisps and cobblers because they're such the perfect summertime dessert - they can be thrown together quickly and with minimal dishes, there's only one dish in the oven to worry about, they highlight summer berries, and they're a fairly light tasting way to end a meal out in your backyard on a summer evening.

Blueberry Maple Cornmeal Cobbler

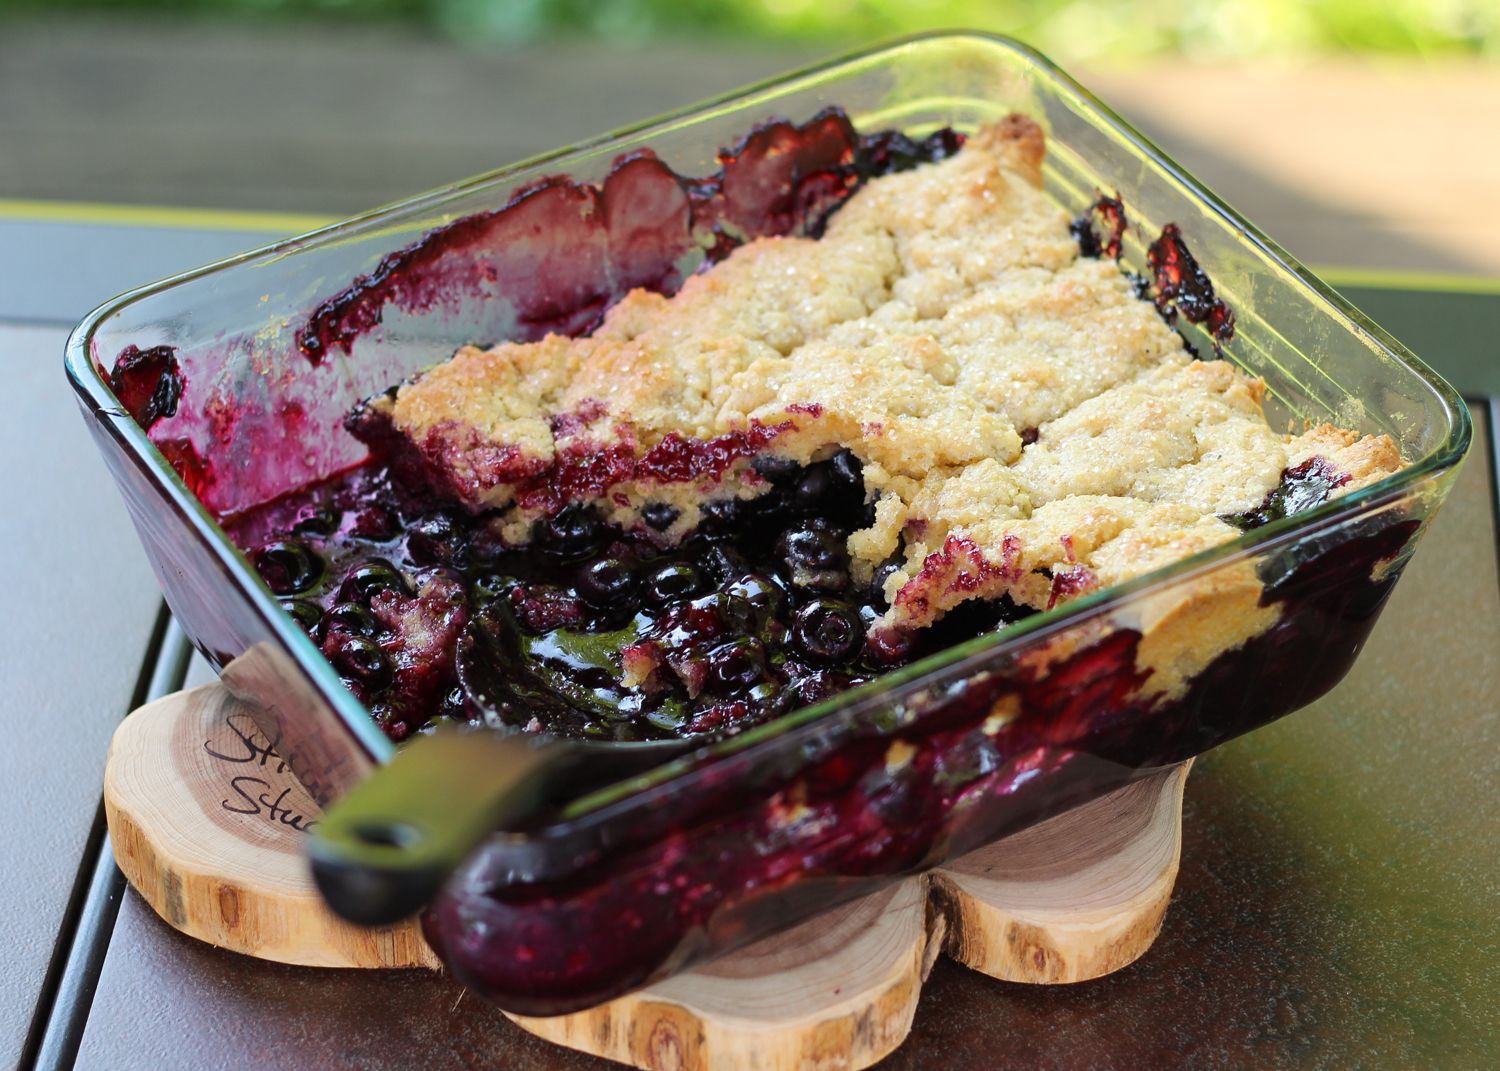
Which is exactly how we enjoyed this blueberry maple cornmeal cobbler on Saturday night.

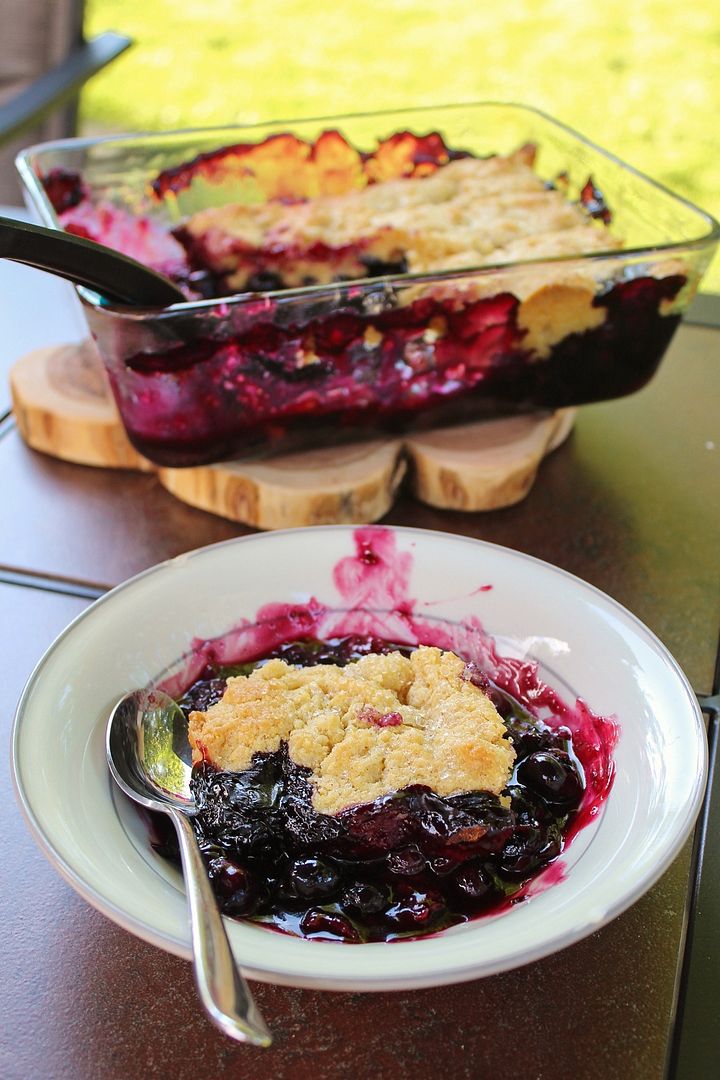
And because I made this for my family to enjoy, I didn't style and photograph it the way I normally would for a blog post, making sure I have optimal lighting, accessorizing with napkins, and cleaning up the sides of my bowl from berry stains.  Instead, what you see is exactly what we saw before we all devoured our servings. 

Blueberry Maple Cornmeal Cobbler

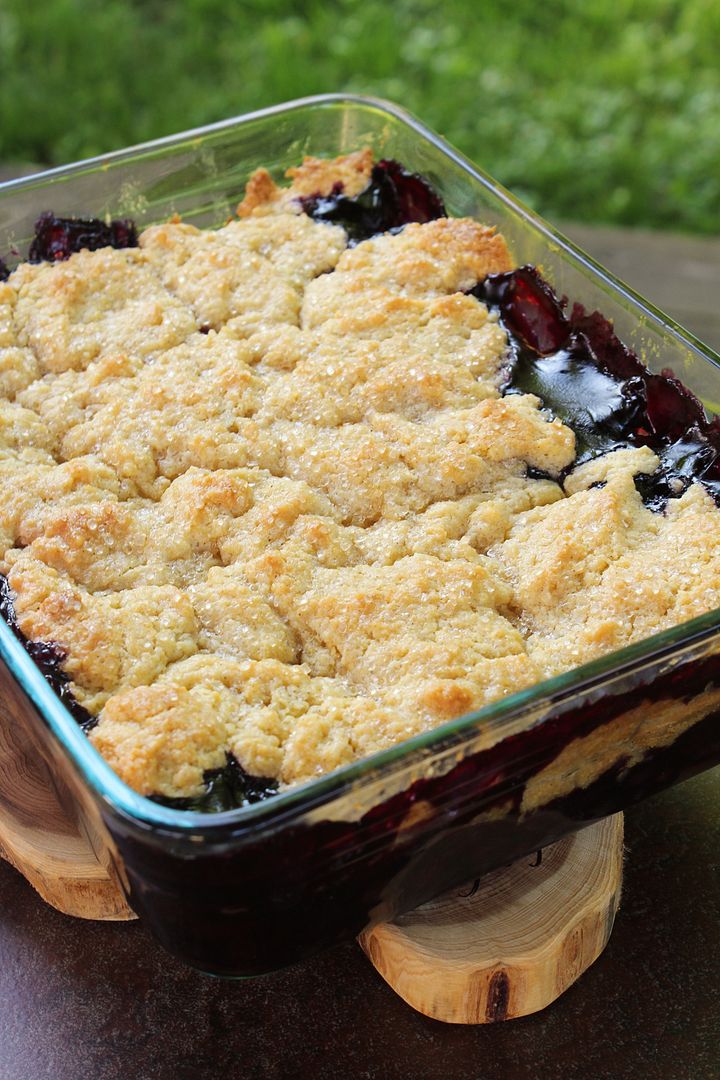
The only difference you may see in your own version is that your biscuit topping will probably be a bit puffier because unlike me, you probably know how to follow recipe directions.  I realized only 15 minutes after I had put the cobbler in the oven that I completely forgot to add baking powder to the biscuit dough.  I had a minor little meltdown thinking it would turn out to be a disaster, but luckily, it still turned out wonderfully!

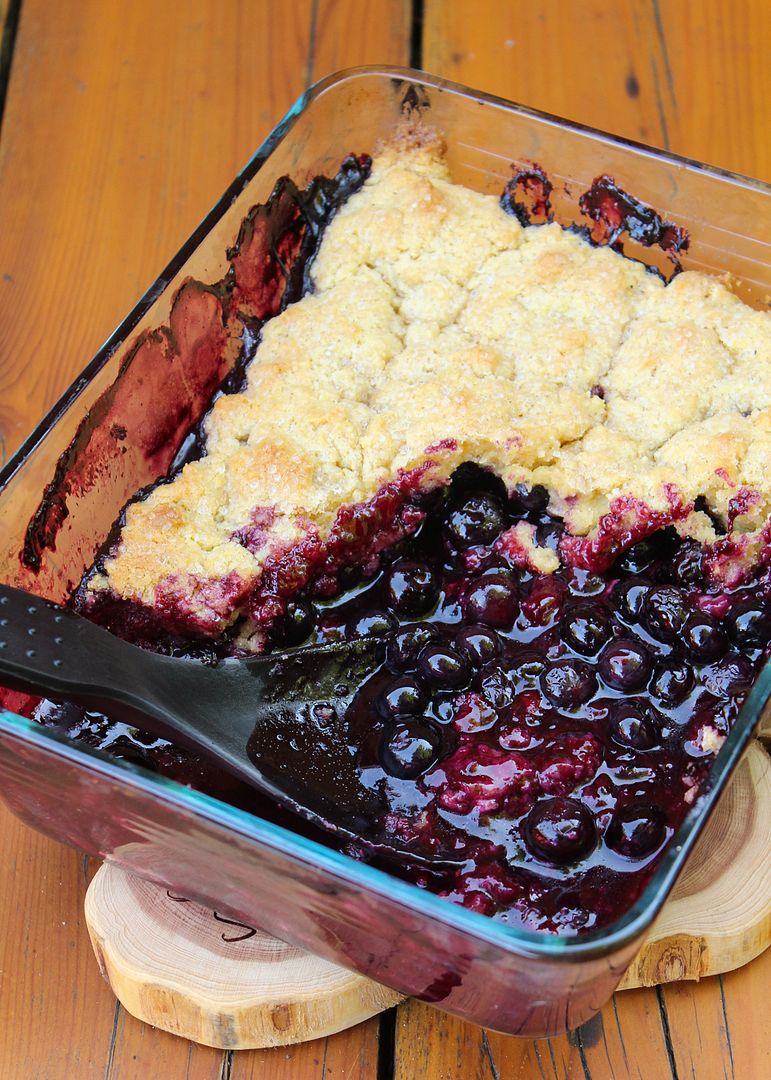
I had reduced the amount of sugar in the blueberry filling and added pure maple syrup (plus some cinnamon) for flavour, and I loved the hint of maple in the sweet, warm berries.  I also loved the crunch of cornmeal in the topping that paired so well with the blueberries, along with the crunch from the turbinado sugar on top that also added a lovely sparkle to the dish!  The original recipe called for forming biscuits and placing those on top, but I just dropped my dough across more evenly so every piece could have some of the delicious cornmeal biscuit dough with it!

Blueberry Maple Cornmeal Cobbler

The only thing missing from the servings pictured was vanilla ice cream - I didn't think to add it when I first served it but it would have been the perfect addition to cool down and cut the sweetness of the filling a bit.  My sister tried some of the leftovers with ice cream and assured me that it was the way to go - so make sure to serve this with ice cream (and don't forget the baking powder)!

Blueberry Maple Cornmeal Cobbler

Blueberry Maple Cornmeal Cobbler

Adapted from a recipe in Rustic Fruit Desserts

Serves 6-8

Ingredients:

1 teaspoon unsalted butter at room temperature, for greasing the baking dish

Filling:
3 dry pints (2 pounds) fresh blueberries
1/2 cup sugar
3 tablespoons cornstarch
1/4 teaspoon salt
1 teaspoon cinnamon
2 tablespoons fresh lemon juice
1/4 cup pure maple syrup

Biscuit Topping:
1-1/4 cups all-purpose flour
1/2 cup fine cornmeal
2 tablespoons sugar
1 teaspoon baking powder
1/2 teaspoon salt
1/2 teaspoon cinnamon
1/2 cup cold unsalted butter, cubed
1 cup cold heavy cream
1 tablespoon turbinado sugar

Directions:

Preheat oven to 375°F.  Butter a 2 or 3 quart glass baking dish.

To make the filling, wash and drain the blueberries and place in a large bowl.  In a small bowl, whisk together the sugar, cornstarch, salt, and cinnamon.  Toss with blueberries to coat.  Pour in the lemon juice and maple syrup and stir to combine.  Transfer to the prepared dish, using a flexible spatula to scrape down the bowl and get all the juices.

To make the biscuit topping, whisk together the flour, cornmeal, sugar, baking powder, salt, and cinnamon in a large bowl.  Add the butter and use a pastry cutter or your fingers to cut in the butter until the mixture reaches the texture of large crumbs. Pour in the cream and stir just until the mixture comes together (it will be wet).

Drop the dough by large pieces on top of the blueberries, leaving some gaps.  Sprinkle turbinado sugar on top.  Transfer to preheated oven and bake for 45 minutes, or until biscuits are golden and filling is bubbling in the middle.  Serve warm, but let servings sit for a few minutes before eating as the filling will be very hot!  Serving with ice cream will help with this too (and is highly recommended).  Leftovers will keep for a few days at room temperature, covered with a tea towel.
December 21, 2012

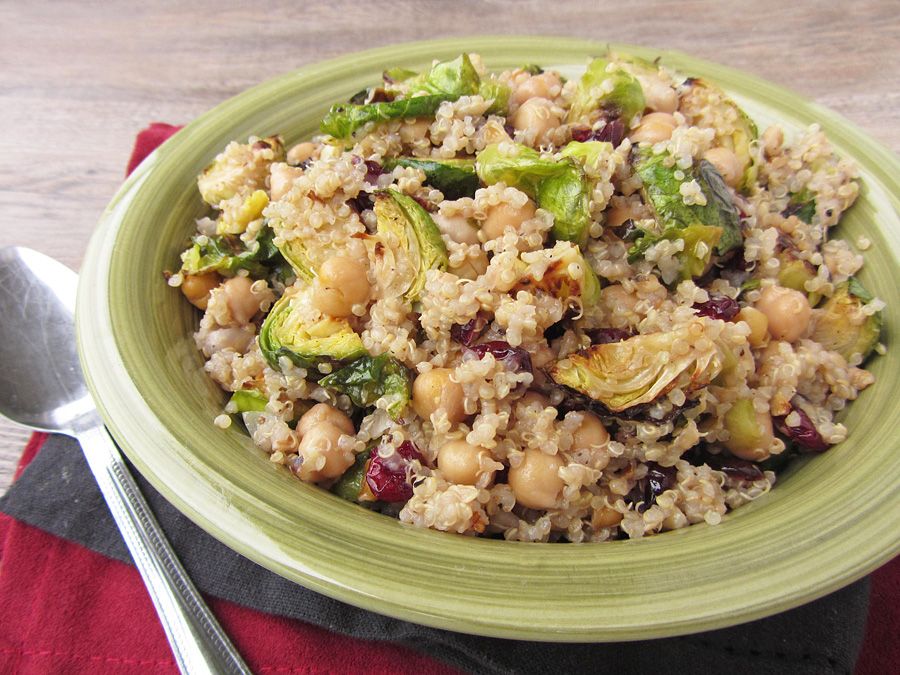
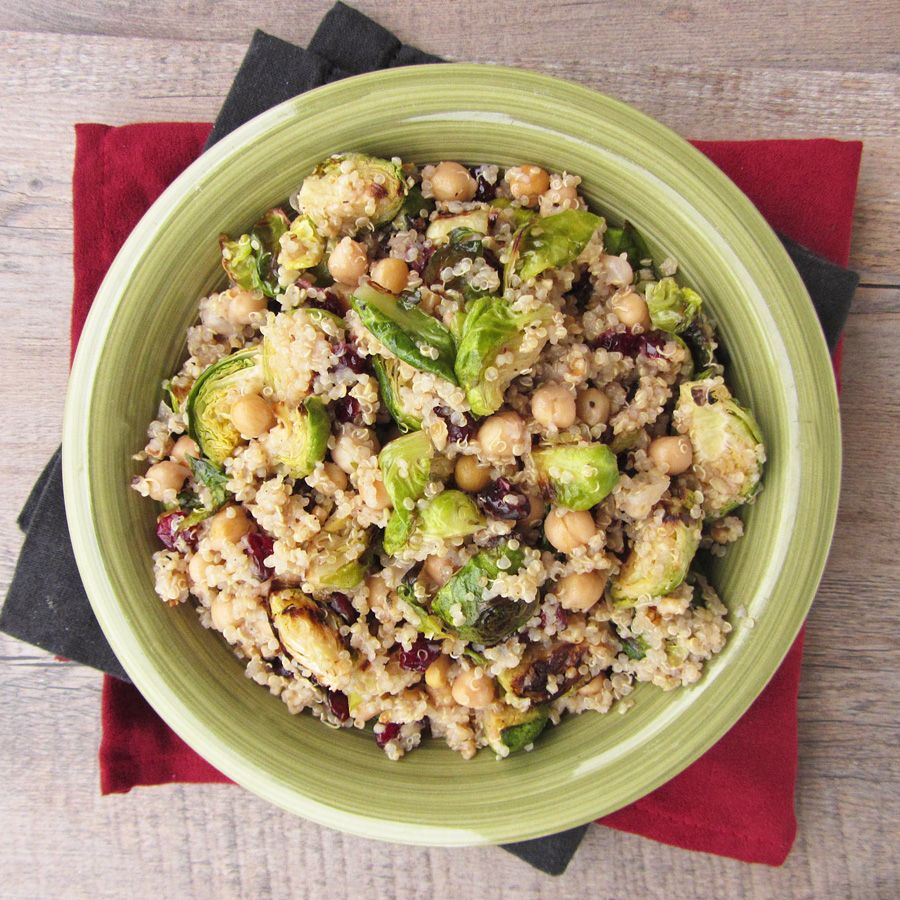
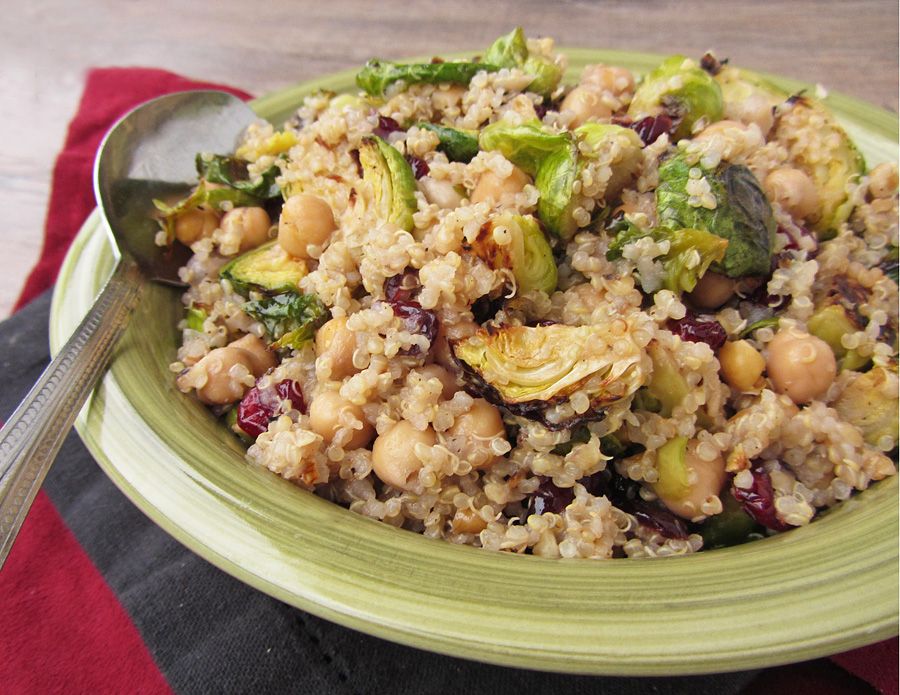
Warm Quinoa Salad with Brussels Sprouts, Chickpeas & Cranberries

Warm Quinoa Salad with Brussels Sprouts, Chickpeas & Cranberries

I’m guessing that a lot of people are busy today either running around doing last minute shopping for the holidays, staring at the clock waiting for work to be over and holidays to start, or working more than ever during the busy retail season, so I’ll try to keep today’s post short and to the point!

This warm quinoa salad has lots of roasted brussels sprouts, some toasted walnuts for crunch, dried cranberries for sweetness, and chickpeas for added protein (although quinoa is a complete protein itself), all tossed in a light balsamic dressing. It’s healthy and light but still pretty filling and satisfying. I’ve been enjoying it as a nutritious meal in between holiday indulgences, but it would also make a great dish to serve at a big holiday meal – it’s both vegan and gluten-free, so it’s perfect if you’re looking for something that everyone at the table can enjoy! And I didn’t think of this until after but it would look even more festive with some pomegranate seeds thrown in there!

Warm Quinoa Salad with Brussels Sprouts, Chickpeas & Cranberries


If brussels sprouts aren’t your thing, you could try this sweet potato and kale quinoa salad I made around this time last year – I know I’ll be making big batches of both of these over the next couple weeks!

Hope you all have a great weekend!

Warm Quinoa Salad with Brussels Sprouts, Chickpeas & Cranberries

Warm Quinoa Salad with Brussels Sprouts, Chickpeas & Cranberries

Adapted from Vegetarian Times, October 2012

Serves 3-4 as a main dish

Ingredients:

1-1/4 pounds brussels sprouts, trimmed and quartered
1 tablespoon olive oil
Salt and Pepper
1-1/2 cups water
3/4 cup uncooked quinoa
2/3 cup chopped walnuts, toasted
1/2 cup dried cranberries
1-1/2 cups chickpeas, drained and rinsed

For the Dressing:
2 tablespoons white balsamic vinegar
1 tablespoon pure maple syrup
1 tablespoon olive oil
1/4 teaspoon each salt and pepper

Directions:

Preheat oven to 475°F.  Toss brussels sprouts with olive oil and season with salt and pepper.  Spread on a foil-lined baking sheet and roast in preheated oven for 20-25 minutes, until browned and tender, tossing once.
Meanwhile, bring water to a boil in a medium saucepan.  Add quinoa, cover, reduce heat to simmer and let simmer 15 minutes.  Remove from heat and let sit 5 minutes, covered, then fluff with a fork.
Prepare the dressing by whisking together the balsamic vinegar, maple syrup, oil, salt, and pepper in a small bowl.  Taste and adjust any amounts to your liking.  Note that this makes a small amount (just enough) of dressing because I don’t like to add too much to my quinoa, but if you like more dressing you can double the ingredients and use as much as you like.

Mix together the quinoa, brussels sprouts, walnuts, cranberries, and chickpeas.  Drizzle the dressing overtop and toss.  Serve warm.

November 06, 2012

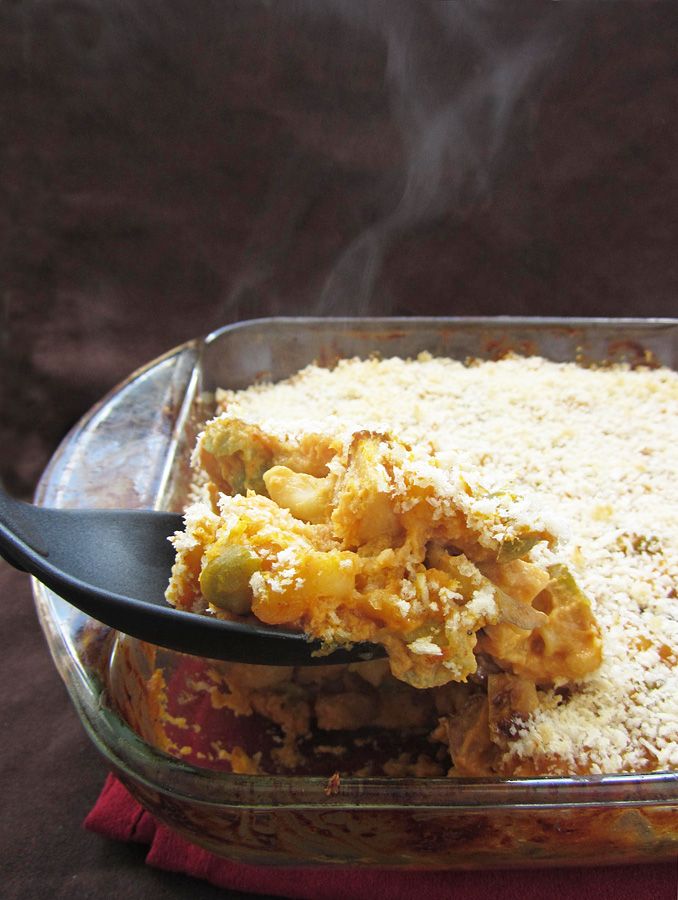
Pumpkin Mac & Cheese with Apples and Caramelized Onions

Pumpkin Mac & Cheese with Apples and Caramelized Onions

Now that I’ve seen my first official snowfall of the season and have broken out my winter hat and gloves, all I can think about are warm and cozy meals, and when it comes to comfort food, it doesn’t get much better than mac and cheese!

But as you’ve probably guessed from the title, this is no ordinary mac and cheese! And even though it might sound a little weird, I promise that it works!

Pumpkin Mac & Cheese with Apples and Caramelized Onions

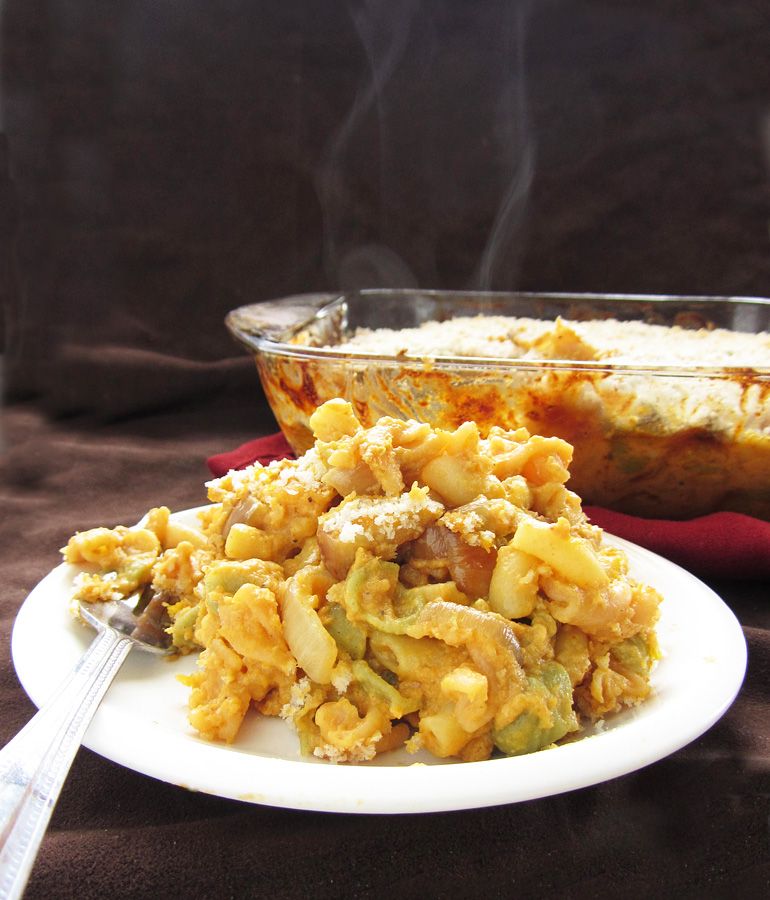
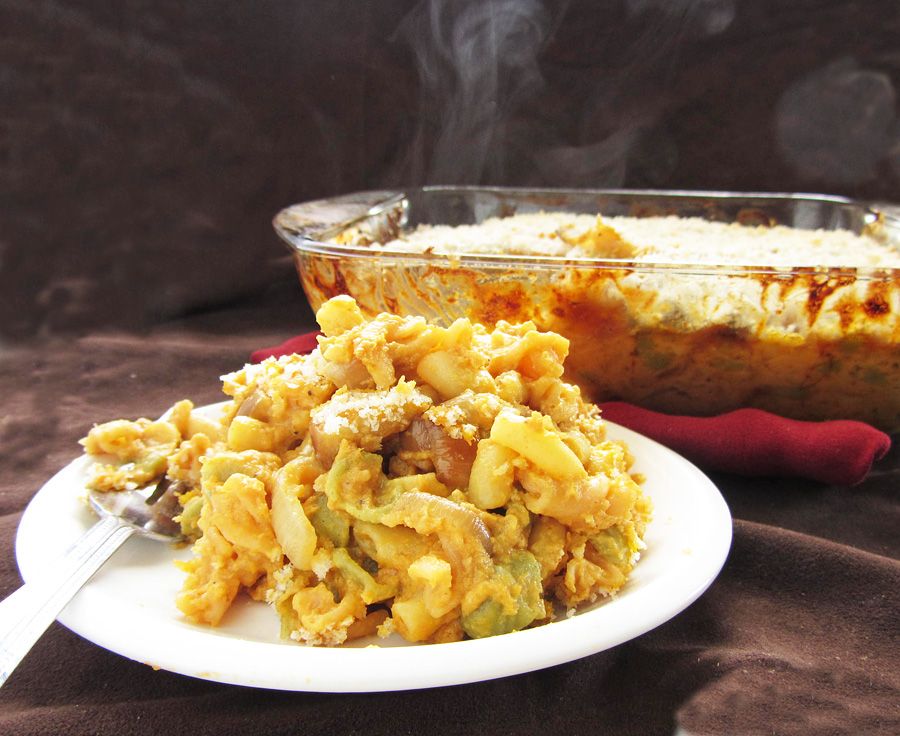
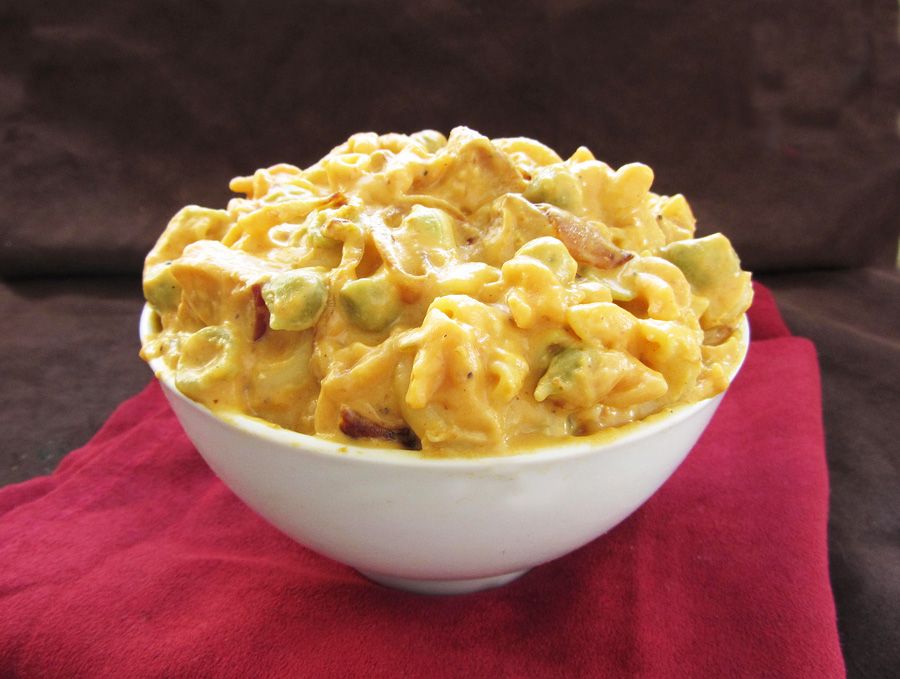
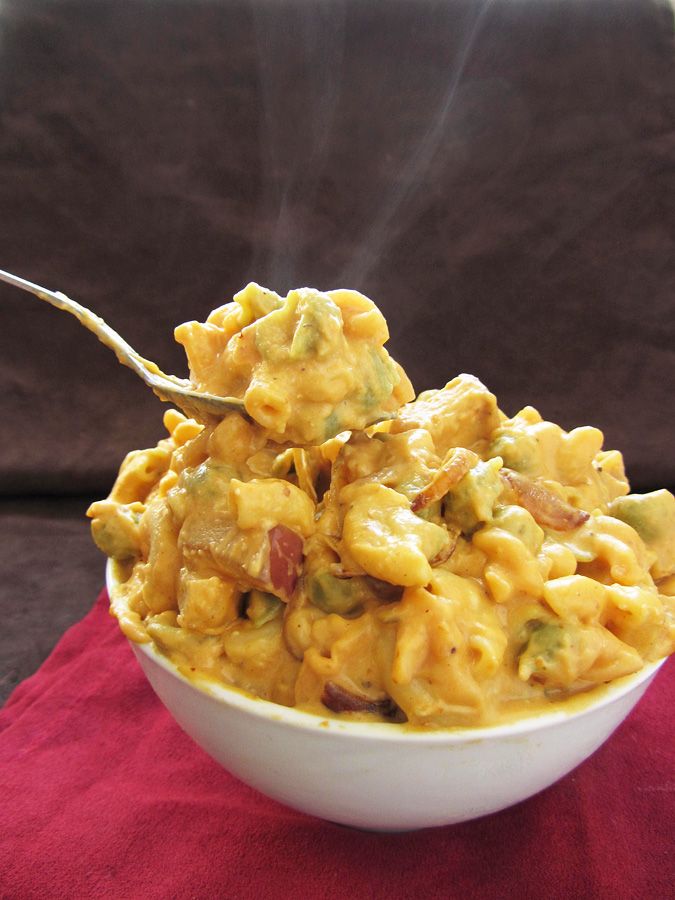
This mac and cheese has a ton of flavour going on – there’s pumpkin puree, pumpkin beer, sautéed apples, caramelized onions, and smoked applewood cheddar cheese – and it all works together so well!

I can never decide if I prefer stovetop or baked mac and cheese, so I tried this both ways. I stopped after cooking it on the stovetop and dug in to test it out. You'll probably want to do the same thing because it’s so hard to resist at this point, and I certainly wouldn't blame you!

Pumpkin Mac & Cheese with Apples and Caramelized Onions

Or you could keep going; sprinkle some breadcrumbs on top and throw it in the oven so you get a crunchy topping with cheesy goodness underneath - it really just depends on how you like your mac and cheese. I loved it both ways!

Pumpkin Mac & Cheese with Apples and Caramelized Onions

I loved that the dash of maple syrup and addition of apples added a touch of sweetness to cut the richness of the cheese, but there wasn’t an apple in every bite so it was like a fun surprise every time you ate one! I also like the smokiness that the applewood smoked cheddar added, but if you don’t like smoky cheeses (my sister complained about the smell every time I heated it up), you could just use a regular sharp cheddar cheese, or I think gruyere would work well too!

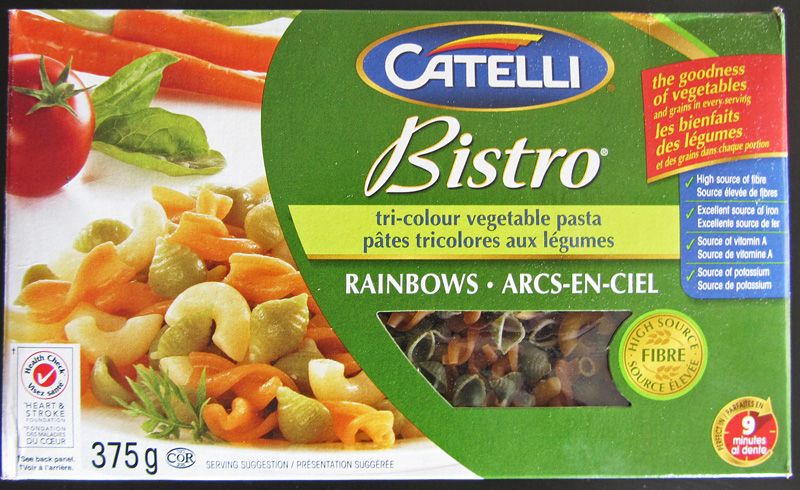
You’re probably wondering why there are strange green things in my pasta, but that’s just because I used this tri-colour vegetable pasta:

vegetable pasta

I realize this isn’t exactly a healthy meal, but with the vegetable pasta instead of regular pasta, the addition of pumpkin, apples, and onions, and using low fat milk, I like to think that it’s at least better for you than a lot of other mac and cheese recipes.

And I certainly had no problem finishing this whole dish by myself (though not all at once, of course!)

Pumpkin Mac & Cheese with Apples and Caramelized Onions

Pumpkin Mac & Cheese with Apples and Caramelized Onions

Adapted from Her Campus, who adapted from Rachel Ray

Serves 4-6

Ingredients:

8oz dry macaroni pasta (I used tri-colour vegetable pasta)
1 tablespoon olive oil
1 large onion, thinly sliced
1 apple, diced (I used Red Delicious)
2 tablespoons unsalted butter
1-1/2 tablespoons all-purpose flour
1/2 cup pumpkin beer
1 tablespoon pure maple syrup
1/2 cup evaporated 2% milk (regular 2% milk would work too)
1/2 teaspoon mustard powder
1/4 teaspoon nutmeg
Salt and pepper
1 cup pumpkin puree
1-1/4 cups grated sharp cheddar cheese (I used applewood smoked cheddar and I used 1-1/2 cups to use it up)
~1/4 cup panko bread crumbs, optional

Directions:

Preheat oven to 350°F.

Cook pasta in a large pot of salted boiling water, according to package directions.  Drain and set aside.
Meanwhile, heat olive oil in a large skillet over medium heat.  Add onions, stir to coat with oil, and let cook, stirring occasionally, about ten minutes.  Season with salt and pepper.  Let cook another 5 minutes or so and then add the chopped apples.  Continue to cook apples and onions, stirring occasionally, for an additional 15 minutes or so, until onions are caramelized and apples are softened and golden brown.  Set aside.

About ten minutes before your onions and apples are done cooking, you can start the roux.  Add butter to a medium saucepan and let melt over medium heat.  Add flour to the melted butter and whisk continuously for about a minute. Raise heat a bit and add the beer.  Reduce until almost evaporated and mixture is quite thick, then whisk in the maple syrup and milk.  Season with mustard powder, nutmeg, and salt and pepper.  Let cook until thick enough to coat the back of a spoon.  Whisk in the pumpkin then whisk in the grated cheese until incorporated.

Stir together the pasta, cheese sauce, onions, and apples.  At this point, you can serve the mac and cheese as is for a stovetop version, or you can bake it.  If you choose to bake it, spread it into an 8x8 glass baking dish and sprinkle breadcrumbs on top.  Bake in preheated oven for about 30 minutes, let cool slightly, then serve.

October 05, 2011

Thanksgiving Week Day 4 - Pumpkin, Cranberry & Goat Cheese Salad

pumpkin cranberry goat cheese salad
The next component of my Thanksgiving Week recipes is the salad. This often seems to be the least exciting part of the meal, and I usually find myself skipping the salad because I don’t want to waste precious room in my stomach on boring greens when there are so many other delicious dishes to choose from. With that in mind, I wanted to choose a recipe that people would really want to make space for – both on their plates and in their stomachs! So when I came across a recipe for a pumpkin salad with maple vinaigrette in my favourite Cooking Light book (Cooking through the Seasons), I knew it would be a success.

I made quite a few changes to the recipe, drawing some inspiration from a similar Whole Living recipe, and adding in some ingredients that I thought would go well in this salad. The end result was fantastic! The roasted pumpkin, cranberries, and goat cheese all complemented each other really nicely and the addition of the maple vinaigrette just made this salad scream of Fall and Thanksgiving.

This was my first time roasting a pie pumpkin, since I usually stick to the canned stuff. If you’ve never bought one, they might also be called sugar pumpkins or sweet pumpkins, and they’re much smaller than the pumpkins you carve for Halloween. Just look for the cutest little pumpkins in the store and those should be them :) Pie pumpkins are usually cut in half then roasted whole when they’re being used for pie filling, but for this recipe you want to have cubes of pumpkin, so you’ll have to cut it up before roasting. They can be a little hard to cut through, and you’ll have to use a large sharp knife, so just be careful when you’re doing this!
It’s a little difficult to write ingredient amounts for a salad because they are so adaptable to your own taste, and I only tested an individual serving when I made this. I did my best with the amounts below, but just use your eyes as a guide and adjust any of the amounts based on what you think is appropriate. As long as you get the key ingredients in there, this is sure to be a salad that people will make room for this Thanksgiving!

And for another unique salad idea, be sure to check out the warm brussel sprouts toss recipe over at Vanilla & Spice for Day 4 of her Thanksgiving Week!

pumpkin cranberry goat cheese salad
Pumpkin, Cranberry, and Goat Cheese Salad with Maple Vinaigrette

Adapted from Cooking Light and Whole Living

Serves 4-7

Ingredients:

1 pie pumpkin (also known as a sugar pumpkin or sweet pumpkin)
1 tablespoon olive oil
Salt and pepper
1 (5-6 oz) container mixed greens
1/4 cup roasted pepitas (pumpkin seeds) – I bought these, but you could roast your own using the seeds of the pumpkin
1/2 to 1 cup dried cranberries
~5 oz goat cheese, crumbled

For the dressing:
2 tablespoons plus 1 teaspoon pure maple syrup
2 tablespoons red wine vinegar
1 tablespoon olive oil
1/4 teaspoon salt
1/8 teaspoon pepper

Directions:

Preheat oven to 450°F. Slice the pumpkin in half using a sharp knife (if it’s too difficult to cut through, try microwaving the pumpkin briefly to soften it up – just be sure to cut a few slits through the skin first to let moisture seep out). Scoop out the flesh and seeds with an ice cream scoop. Peel off the skin and cut the flesh into bite sized chunks. Toss chunks with olive oil and season with salt and pepper, then roast on a baking sheet until tender, about 30 minutes.
Meanwhile, whisk together the dressing ingredients in a small bowl.

Assemble the salad by mixing together desired amounts of mixed greens, roasted pumpkin, pepitas, cranberries, and goat cheese, then toss with desired amount of dressing.

-------------------------------------------------------------------------------------------------------------------------------
For other Thanksgiving salad ideas, check out these links:


-------------------------------------------------------------------------------------------------------------------------------

Ingredient Index

Related Posts Plugin for WordPress, Blogger...