Showing posts with label bread. Show all posts

October 08, 2013

Pear, Blue Cheese, & Caramelized Onion Panini

Pear, Blue Cheese, & Caramelized Onion Panini

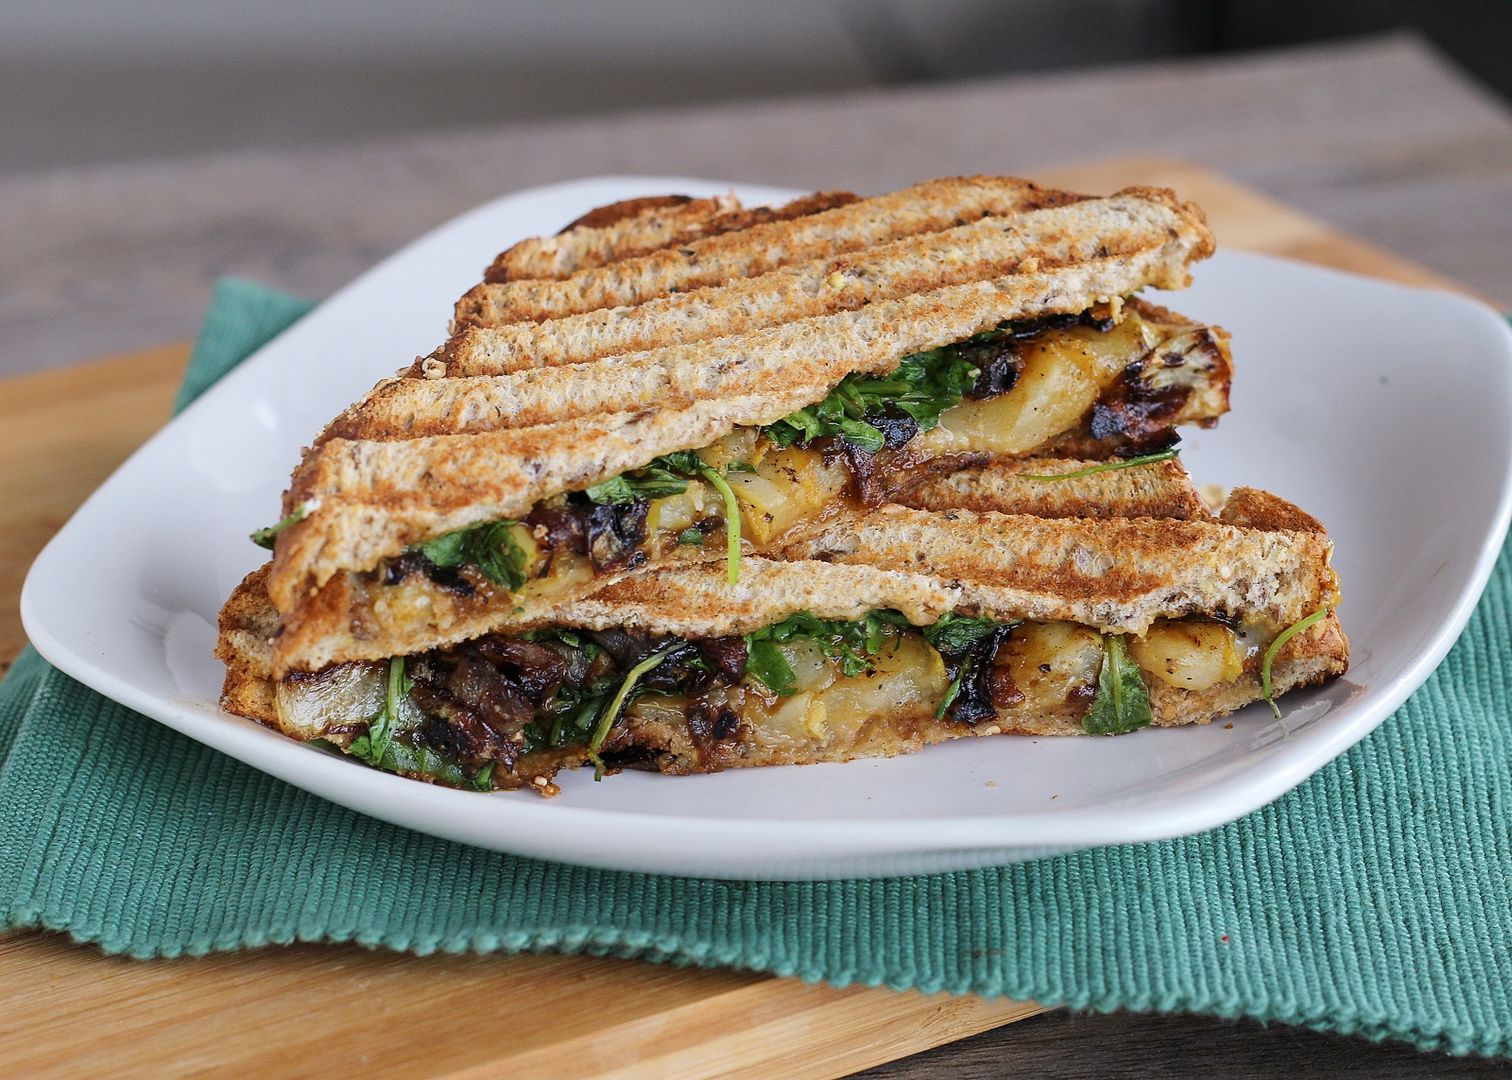
I know I just posted a panini recipe fairly recently, but this new panini was so good that I had to share it with you guys immediately!

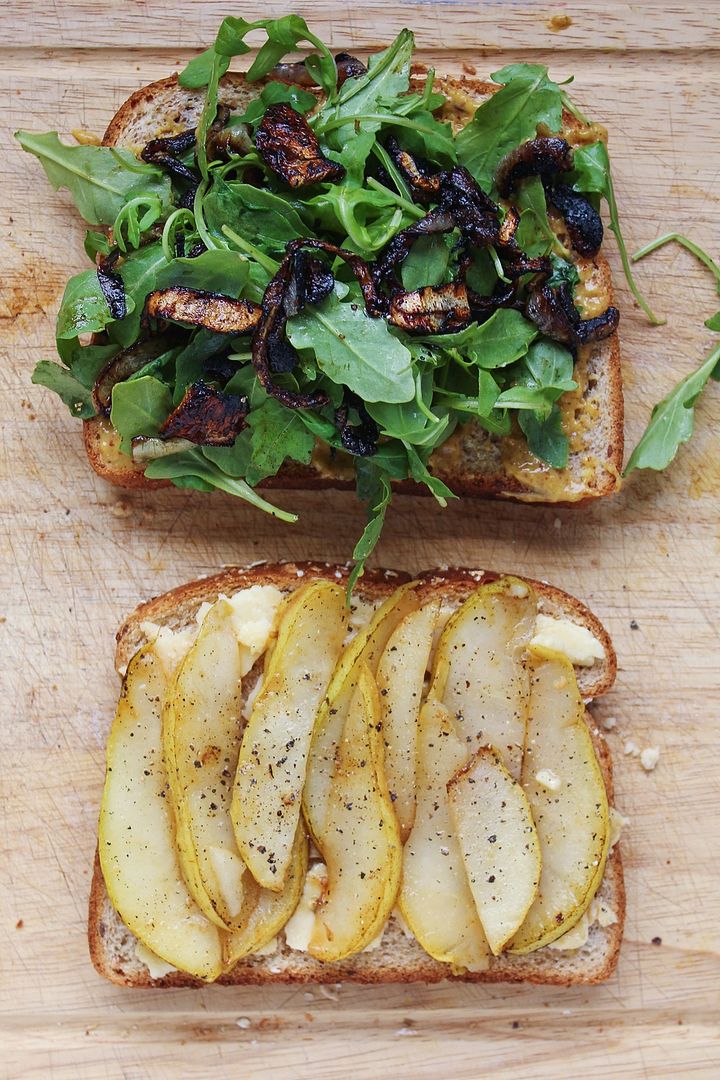
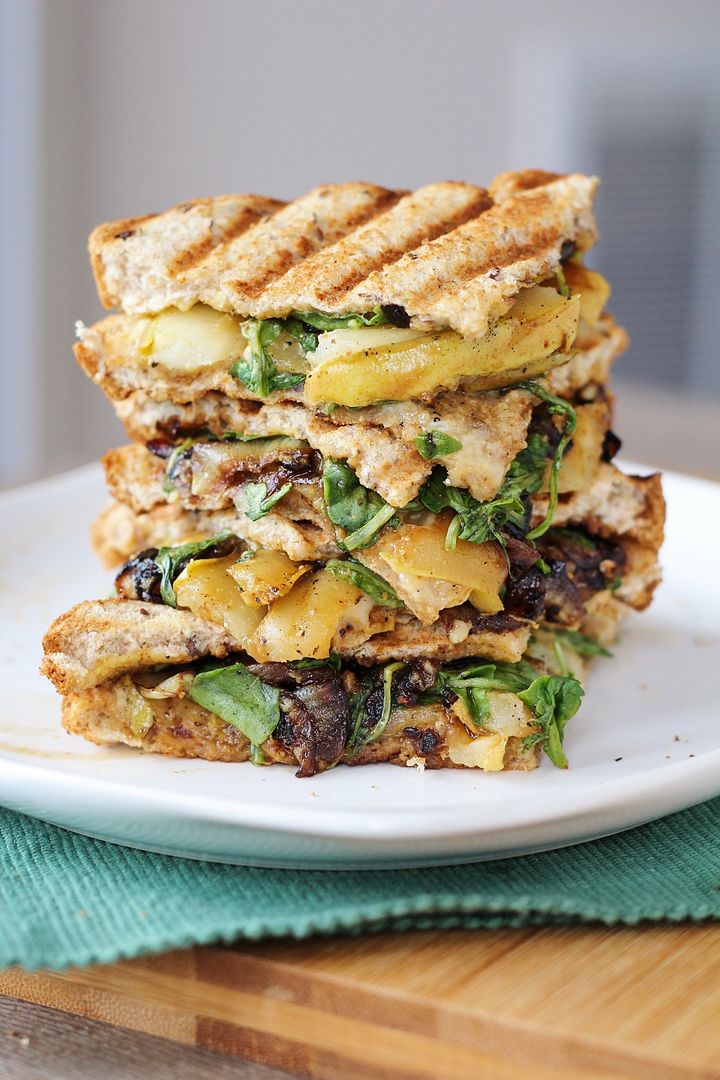
I also know that these pictures are extremely similar to the last set, but there are only so many ways you can photograph a sandwich. The one thing I don’t like about paninis is that because everything gets pressed together, whatever's between the bread is almost impossible to show in photos (and what parts you can see look indistinguishable).  But I love making and eating paninis, so you’ll have to use your imagination a little to see through those pieces of bread to the deliciousness that’s in between them!  Here's a little help - this is what was inside my sandwich before I pressed it together:
Pear, Blue Cheese, & Caramelized Onion Panini

I wanted to make an autumn-ish panini with one of my favourite flavour combinations – pears or apples with blue cheese and caramelized onions.  I’ve used at least a couple of these ingredients together in the past, like in these apple, caramelized onion, and blue cheese naan pizzas, apple turkey burgers with caramelized onions and brie, and roasted potatoes and green beans with caramelized onions and blue cheese – there’s something about caramelized onions and blue cheese together that I just can't get enough of.  

Add in some juicy, lightly sautéed pears, some peppery arugula and spicy honey Dijon, press it together until it's warm and melty, and you have what may be my new favourite sandwich!
Pear, Blue Cheese, & Caramelized Onion Panini

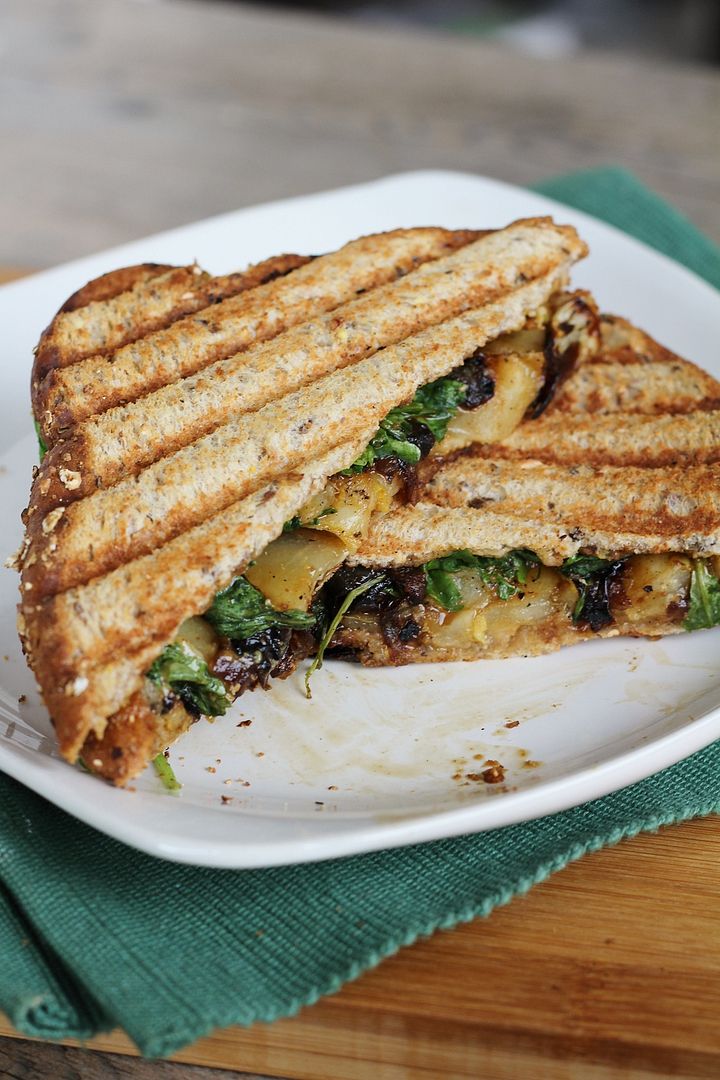
And before someone points it out, yes I’m aware that the onions as pictured above are much more on the burnt side than the caramelized side – I swear I do know how to caramelize onions, but I only had a tiny onion to work with that had been open in the fridge plus I was in a big rush when I made this.  Too thin slices + too high heat = burnt onions.  Try not to make the same mistake I did, but if you’re really in a hurry, you could leave them out and this panini would still be delicious; I recommend making time to add them in though - caramelized onions make everything better!  Plus they can always be made ahead of time and stored in the fridge to add to all sorts of things!

I’ve also been on a big blue cheese kick lately, adding it to anything I can think of, but I know a lot of you don’t like blue cheese (though I cannot understand why!), so you could substitute something like brie or gruyere instead if you like.  Your sandwich will have a different flavour profile, but will still be amazing and even more melty!
Pear, Blue Cheese, & Caramelized Onion Panini

Pear, Blue Cheese, Caramelized Onion, & Arugula Panini

Adapted from Clean Eating

Makes 1 sandwich

Ingredients:

1/2 tablespoon olive oil
1/2 medium-large yellow or red onion, thinly sliced
Salt & Pepper
1 teaspoon balsamic vinegar (optional)
1/2 ripe pear, cored and thinly sliced
2 slices whole grain bread
2 teaspoons honey Dijon mustard
1/2 oz blue cheese, sliced thinly
Handful of baby arugula

Directions:

Heat oil in a medium to large skillet over medium heat.  Add onions, stir to coat with oil, and season with salt and pepper.  Let cook over medium-low heat, stirring occasionally, until onions are soft and caramelized, about 25-30 minutes.  I like to add a splash of balsamic vinegar in the last few minutes of cooking to deglaze the pan and add some flavour to the onions, but this step is optional.

Remove onions from pan, and add sliced pear.  Cook over medium heat for around 3 minutes, until softened and slightly golden coloured.  Remove from heat.

Spread mustard on one slice of bread, top with arugula, onions, pears, and blue cheese, and the other piece of bread.  Heat in a panini press, or if you don’t have one, heat the sandwich on a griddle pan (or skillet) with a heavy pot on top of the sandwich to press it into the skillet (I put a can inside the pot to weigh it down), then flip and repeat on the other side.  Serve warm.

September 17, 2013

Turkey, Avocado, & Goat Cheese Panini

Turkey, Avocado, & Goat Cheese Panini

Back in the good ol’ days when my mom used to make my lunch for me to bring to school, turkey sandwiches were a staple. They usually consisted of oven roasted deli turkey meat, a little mayo, lettuce, cucumber, and cheese on a bun, and I loved them so much that they continued to be a lunch staple when I first moved out and had to start making lunch for myself.

Turkey, Avocado, & Goat Cheese Panini

(Side note: I have the best mom who made lunches for her daughters far longer than we deserved to have them made for us – thanks mom!)

Turkey, Avocado, & Goat Cheese Panini

Nowadays, I like to leave myself the minimum amount of time necessary to get ready in the morning (thus maximizing sleep-time), which means there is not a lot of time to prepare a lunch.  Leftovers are key for me – I usually make big batches of dinner so I can put it in containers in the fridge and then all I have to do in the morning is grab-and-go.  And if I have no leftovers, peanut butter and jam is usually the default.

Turkey, Avocado, & Goat Cheese Panini

(Side note: How will I ever be able to prepare lunches for children in the future if I can’t even make lunch for myself, not to mention getting them ready for school – I have a lot of admiration for parents/caregivers!)

Turkey, Avocado, & Goat Cheese Panini

This means that I’d forgotten how much I love turkey sandwiches until recently, when I bought a delicious turkey, avocado, and goat cheese sandwich from a bakery for lunch. At about $7 though, I knew I could make a much cheaper version at home, so I got right to it!

Turkey, Avocado, & Goat Cheese Panini

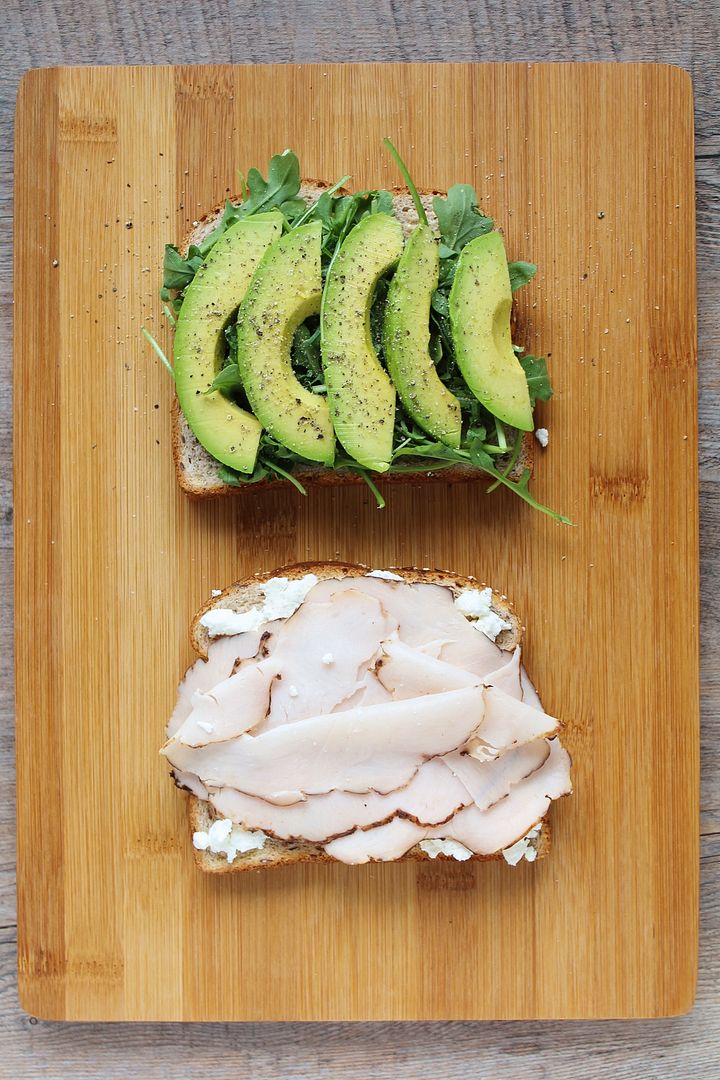
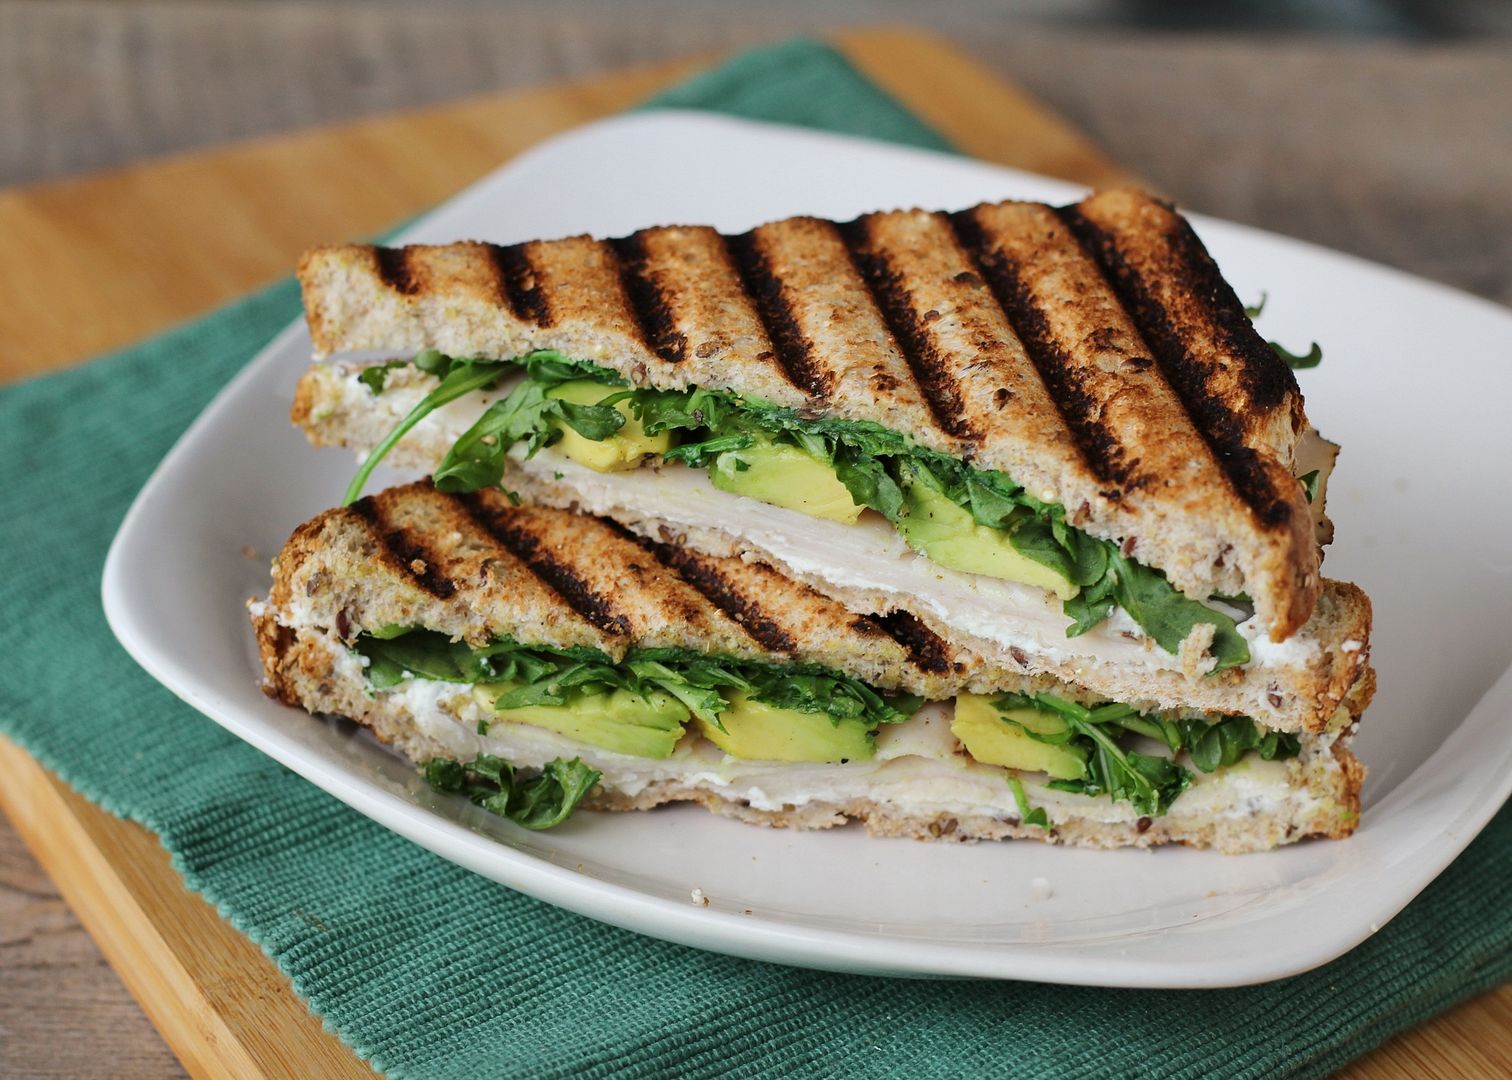
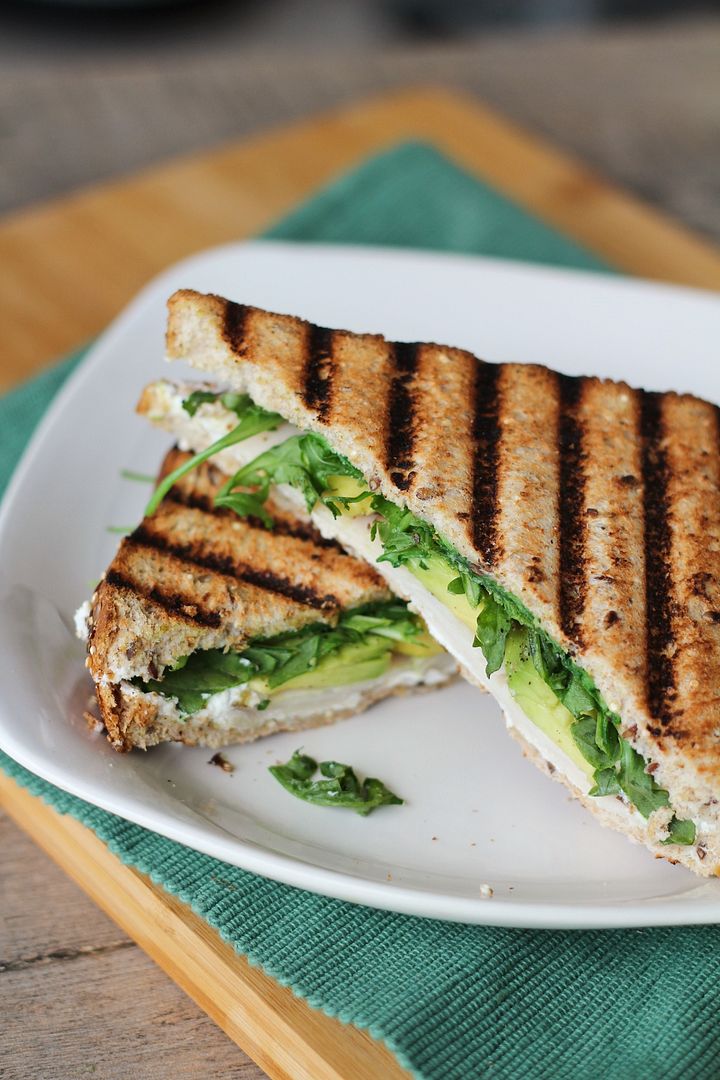
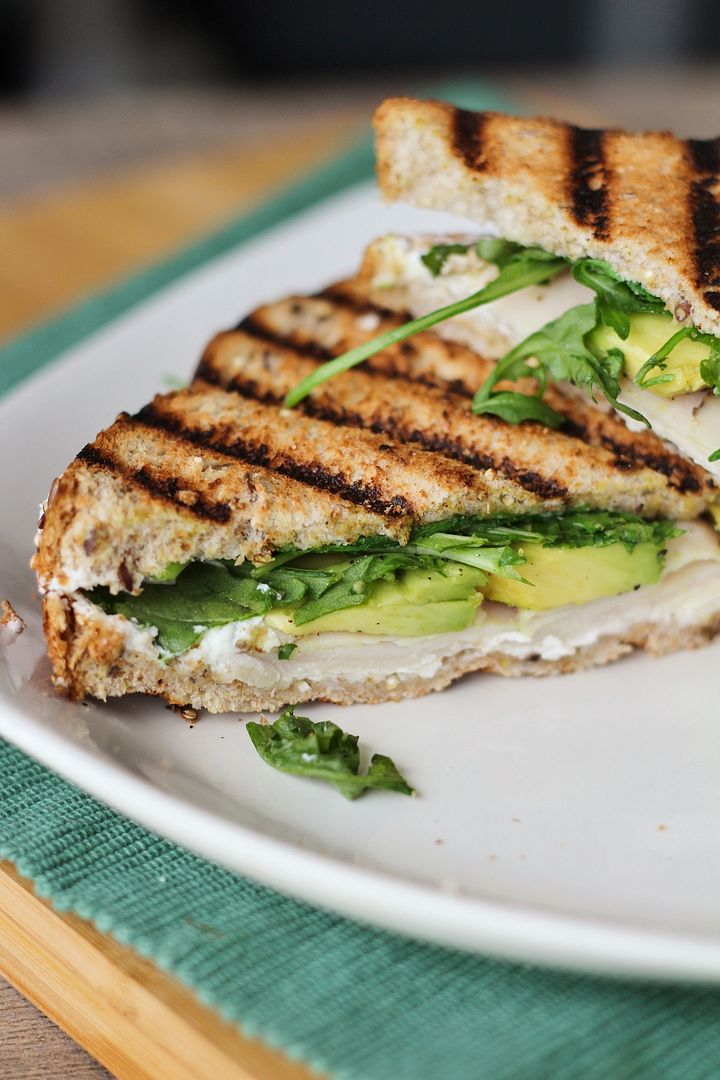
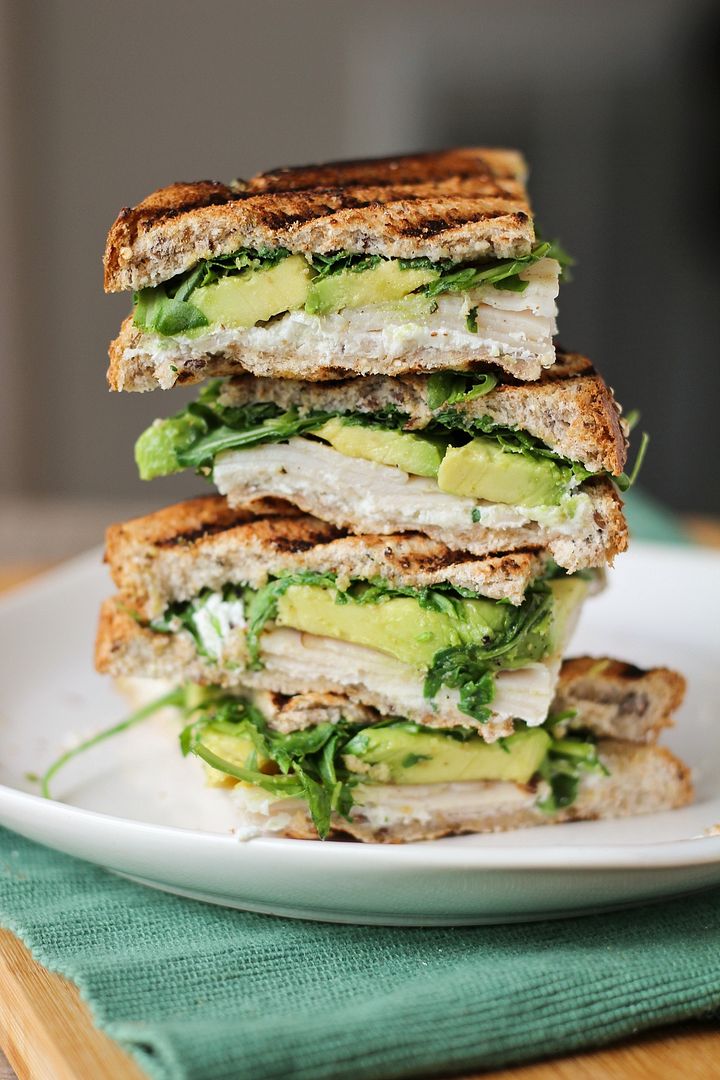
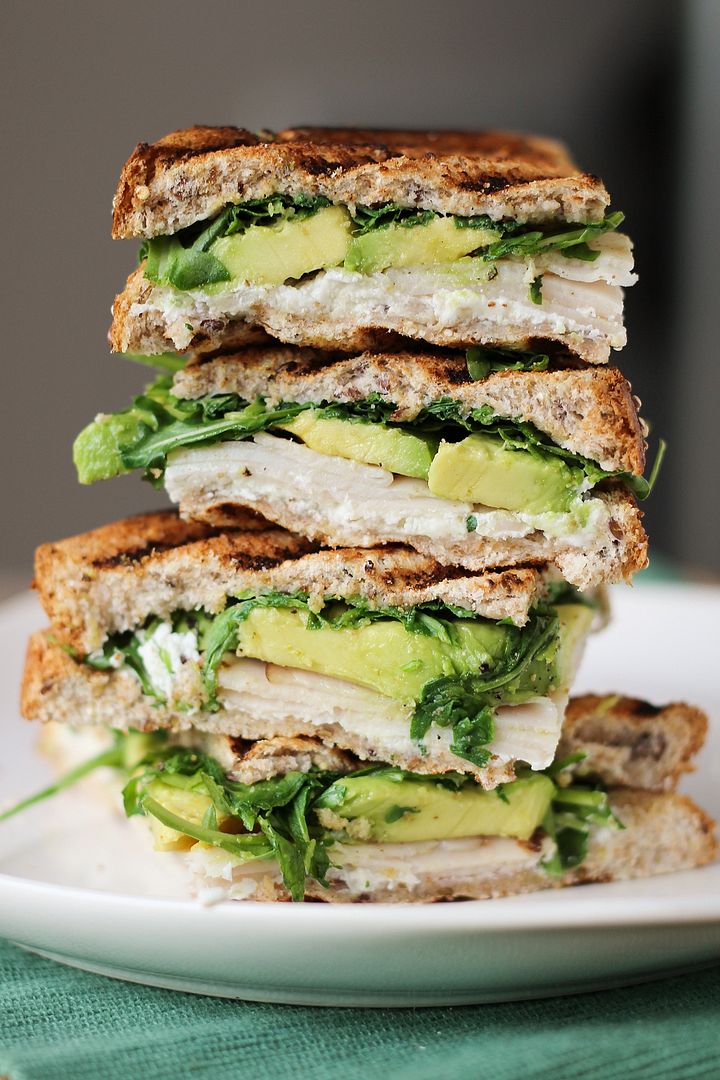
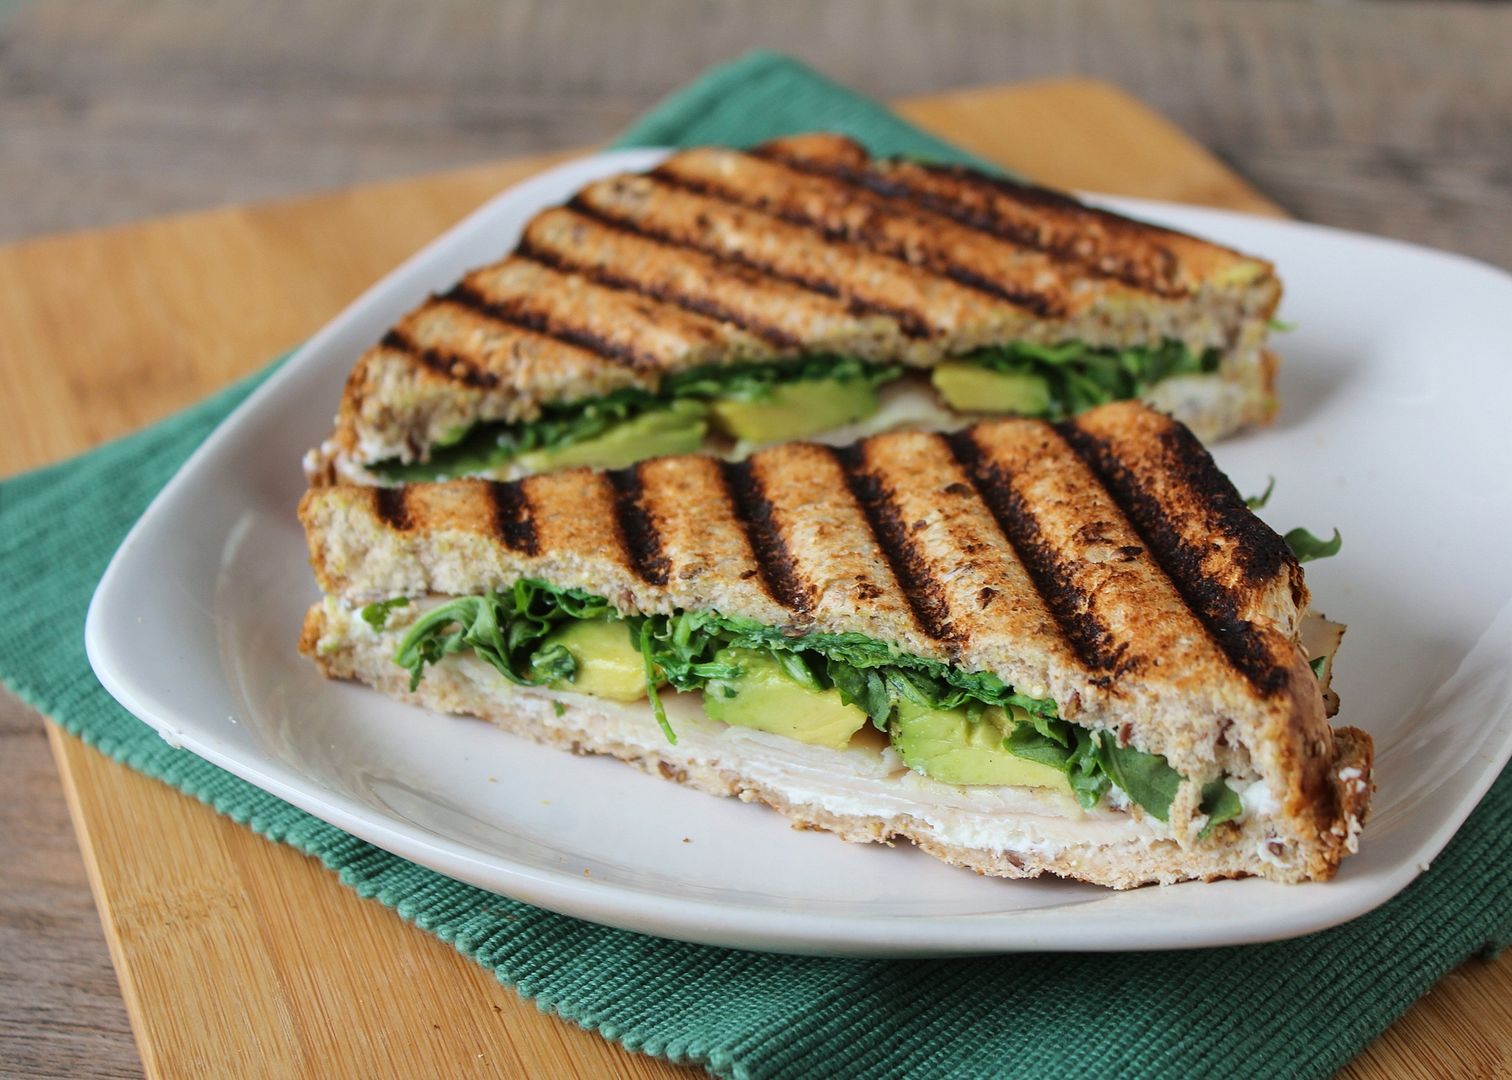
Pressed between those warm slices of whole grain bread is a combination of sliced oven-roasted turkey meat, creamy ripe avocado, a handful of peppery arugula, and a spread of tangy goat cheese. The combination of ingredients makes for a memorable sandwich that’s slightly more refined than my school days version, but is still super simple to make.  

After all this talk about making lunch in the mornings, I admit that I made this particular sandwich on a weekend (so I could have time to photograph it in the light), so I was able to make it into a panini and eat it warm.  But if you're making this in the morning (unless you have a panini maker or stove at work, in which case I'm very jealous of you), you can use the same ingredients on regular bread and it will still be delicious.  I recommend trying it as a panini too though - there's no competing with a warm pressed sandwich!

Turkey, Avocado, & Goat Cheese Panini

Turkey, Avocado, Goat Cheese, & Arugula Panini

Makes 1 sandwich

Ingredients:

2 slices of whole grain bread (I like Country Harvest flax & quinoa bread)
1 handful arugula
Half a ripe avocado, sliced
Salt & pepper
3 slices of oven-roasted deli turkey meat (more or less depending on preferences)
1-2 tablespoons goat cheese

Directions:

Layer arugula and avocado on one slice of bread and season generously with salt and pepper.  Spread goat cheese on other slice of bread and top with turkey meat.  Use desired amounts of all ingredients according to your own tastes and the size of your bread – the amounts listed in the ingredients are all suggestions.  Close your sandwich and heat in a Panini press.  If you don’t have a Panini press, you can do what I do: heat the sandwich on a griddle pan (or skillet) with a heavy pot on top of the sandwich to press it into the skillet (I put a can inside the pot to weigh it down), then flip and repeat on the other side.  Serve warm.
March 18, 2013

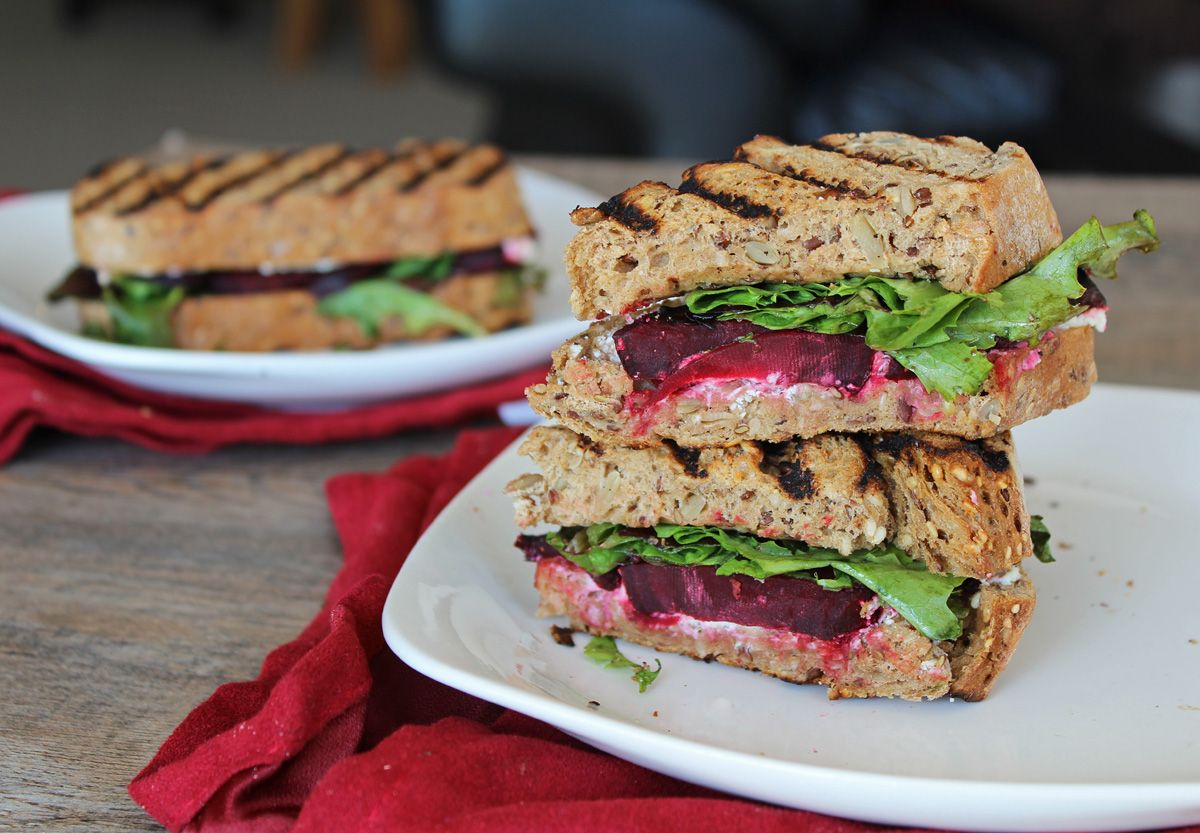
Roasted Beet, Arugula, & Honeyed Goat Cheese Panini

Roasted Beet, Arugula, & Honeyed Goat Cheese Panini

This will be a quick (or quickly written) post as I'll soon be jumping on a flight back home from Boston!  I attended a conference here this past week (which is the reason for the lack of posts lately, sorry!) and also had a day to explore the city for the first time, which I absolutely loved.  So many beautiful streets and neighbourhoods, lots of history and amazing buildings, friendly people, and great food!  I was lucky to be here on St. Patrick's Day too, and though I didn't participate in the festivities myself (except for a delicious Harpoon IPA or two in my room), it was fun to see all the people covered in green out celebrating!

Roasted Beet, Arugula, & Honeyed Goat Cheese Panini

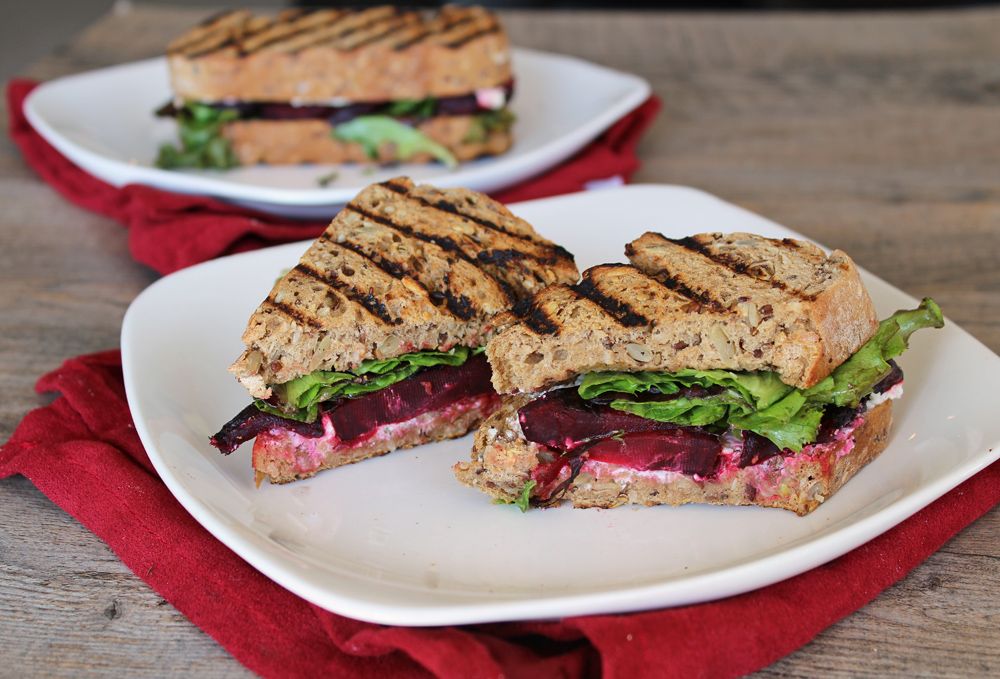
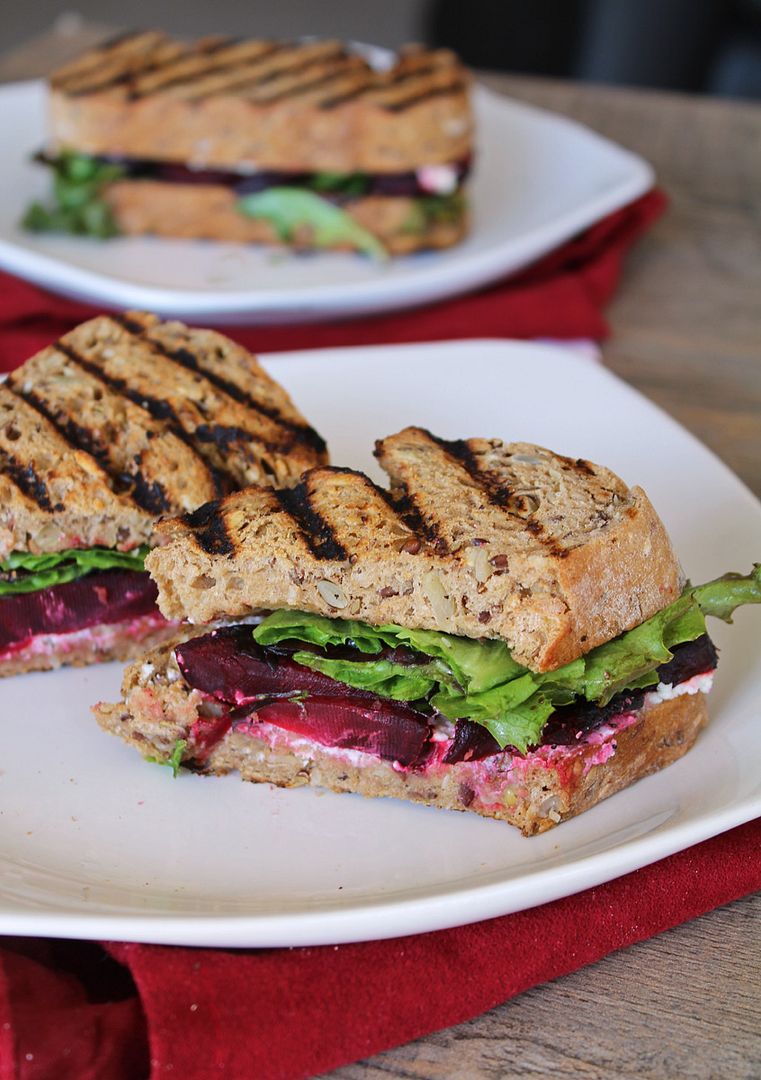
In the interest of keeping this short, there's not much I need to tell you about this sandwich except that it's one of my favourite things!  Beets and goat cheese together are always a winning combination, but combine them with arugula (or greens if you can't find arugula, like myself) in a warm pressed sandwich and they're even better.

You've probably seen a few of these sandwiches around the web before, but what makes this one different is the addition of honey to the goat cheese and dressing the greens with balsamic dressing before putting them in the sandwich - both very small changes that improve the flavour of the sandwich significantly.  

Roasted Beet, Arugula, & Honeyed Goat Cheese Panini

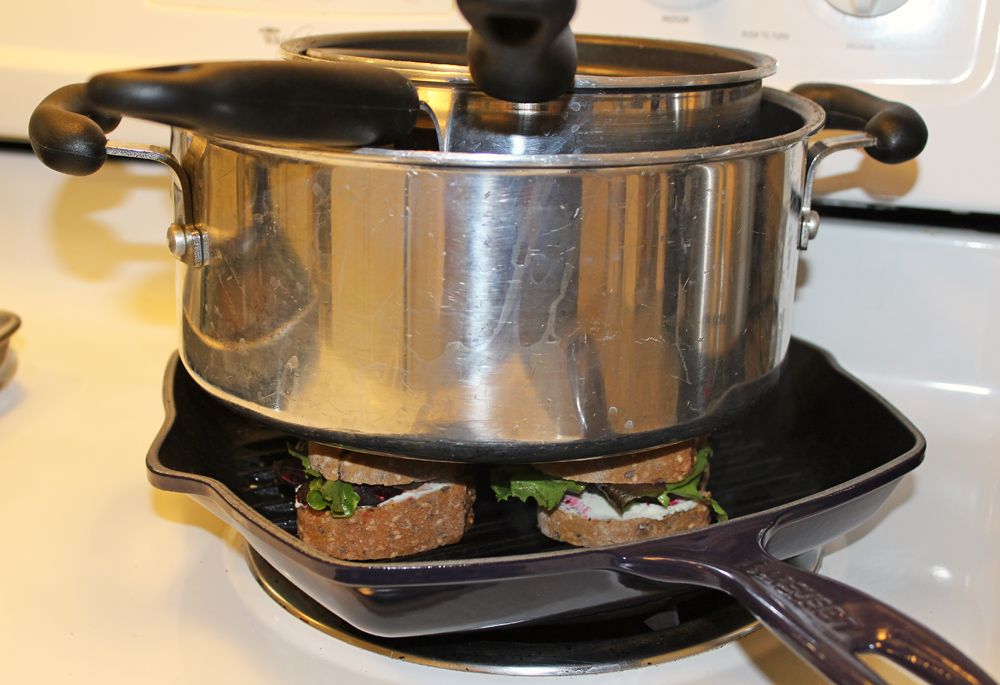
Oh and one more thing I wanted to share!  If you don't have a panini press, you can still make paninis!  I don't have a press either, but you can replicate its effects by pressing your sandwich on a skillet using a heavy pot.  If you don't have a heavy pot, stack several pots together to increase the weight, as in the picture below (please ignore my filthy pots, that's what happens when you live in a hard water city).  Just be sure to flip your sandwich halfway through so it gets heated on both sides.  I used a griddle pan which added lovely smokey grill marks, but a regular pan would work just fine too.

Hope you all had a safe and happy St. Patrick's Day and have a great week ahead!


Roasted Beet, Arugula, and Honeyed Goat Cheese Panini

Makes 2 sandwiches

Ingredients:

2 medium beets
2 teaspoons olive oil
Salt and pepper
4 slices hearty bread – I used Bavarian rye
2 tablespoons goat cheese (or more, depending on size of bread)
1/2-1 teaspoon honey or agave
2 handfuls arugula or field greens
1 teaspoon balsamic vinegar
1/2 teaspoon extra virgin olive oil
Salt and pepper

Directions:

Preheat oven to 400°F.  Drizzle beets with olive oil and wrap in aluminum foil.  Roast on a baking sheet for about 1 hour, until tender.  When cool enough to handle, peel off the skins and slice into thin rounds, about ¼” thick.  Season with salt and pepper.

If you don’t have time to roast the beets that long, you can take a shortcut method:  Peel and slice the beets before roasting, drizzle slices with oil and season with salt and pepper, lay in a single layer on a foil-lined baking sheet, and roast in a 375°F oven for 20-30 minutes until tender.  However, I find that the beets do not turn out as well using this method.

Mix goat cheese and honey to taste.  Dress greens with 1 teaspoon balsamic vinegar and 1/2 teaspoon olive oil, and season with salt and pepper.  You can adjust the amount of dressing depending on the quantity of greens you’re using – use your best judgment.  Dressing the greens will give them more flavour in the sandwich.

Spread goat cheese evenly on two slices of bread.  Top with sliced roasted beets, followed by greens, and another slice of bread to form two sandwiches. 

Cook sandwiches in a panini press.  If you don’t have one, you can cook them on a grill pan or skillet over medium-high heat.  Place a heavy pot (you can place a can or smaller pots inside to make it heavier) on top of the sandwiches to press them into the hot pan.  Cook for 1-2 minutes, then flip and repeat with the remaining side.  Serve warm.

August 07, 2012

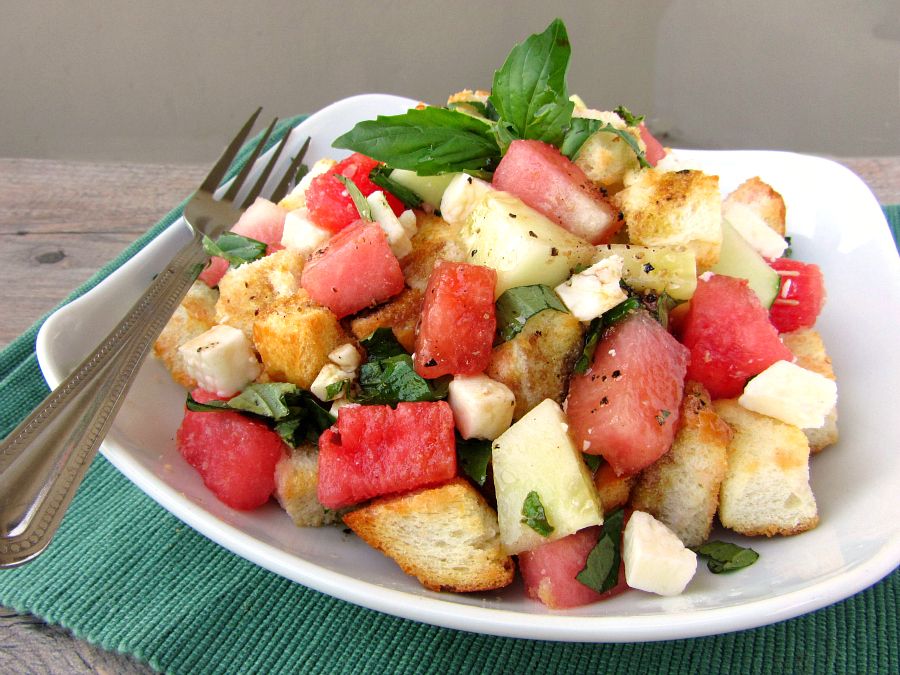
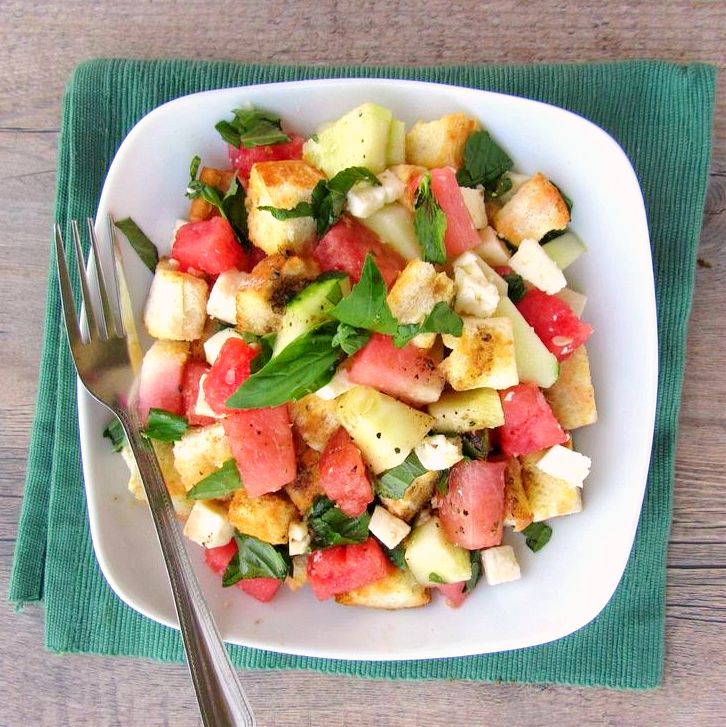
Watermelon Feta Panzanella

Watermelon Feta Panzanella

I just "returned" from a weeklong stay-cation with Ryan, hosting some wonderful guests.  It was a relaxing and fun week that involved a lot of eating out and a lot of beer drinking! And though I had a lot of delicious food and we tried a lot of amazing new beers, now that it's over I'm eager to start cooking for myself again, and am feeling like that needs to only involve fruits, vegetables, and water for at least the next week!  So meals like this light and refreshing watermelon panzanella are going to hit the spot perfectly!

Watermelon Feta Panzanella

When I originally made this, I’d envisioned a caprese-style panzanella (bread salad) with bocconcini, basil, a balsamic reduction, and watermelon instead of tomato.  It was good, but didn’t “wow” me – the mozzarella didn’t provide any flavour and the balsamic reduction made the overall dish a little too sweet.  So I tried again using feta instead of bocconcini for a more pronounced flavour that would pair well with the watermelon, adding cucumber to balance out the sweetness but keep the salad crisp and cool, and changing the balsamic reduction to a balsamic vinaigrette so it wasn’t as overpowering.

The second version was so much better and is perfect for summer!  I ate it as a main course but it would be great as a side dish, as long as it’s not going to be sitting around for a long time, as the bread can start to get soggy.  And if you’re not a watermelon fan, try this roasted summer panzanella – it's one of my sister's favourite summertime dishes and it’s what first made me love panzanellas!

Watermelon Feta Panzanella

Watermelon Feta Panzanella

Recipe created by Once Upon a Cutting Board

Serves 1 as a main course, or 3-4 as a side dish

Ingredients:

2 slices crusty bread (such as ciabatta), cut into small cubes (about 2 cups)
1 cup cubed seedless watermelon
1/2 cup chopped peeled cucumber
3 tablespoons chopped fresh basil
2-3 ounces diced feta cheese
1 tablespoon extra virgin olive oil
1 teaspoon balsamic vinegar
Salt & Pepper

Directions:

Preheat oven to 400°F.  Spray cubed bread with cooking oil (or toss with a drizzle of olive oil), spread on a baking sheet, and bake in preheated oven for about 5 minutes, until crispy (but not hard all the way through).

Combine bread with watermelon, cucumber, basil, and feta in a medium bowl.

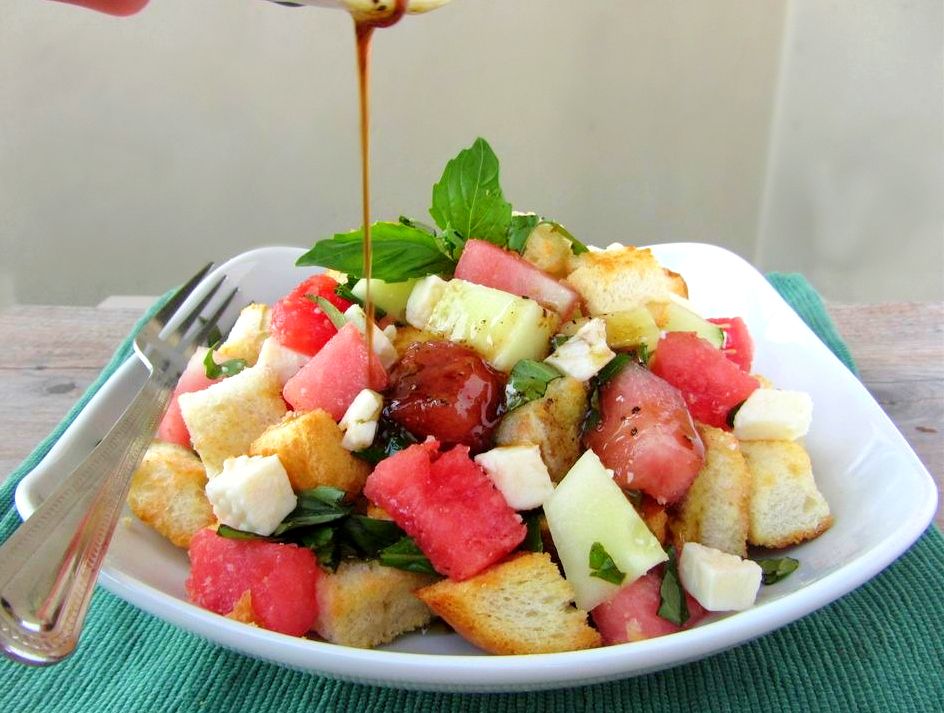
Whisk the olive oil and balsamic vinegar in a small bowl, and season with salt and pepper.  Drizzle dressing over the salad and toss to evenly coat the ingredients.  Note that this amount of dressing won’t be too noticeable in flavour, so you can use a bit more if you like, but your bread could get soggy if there is too much dressing, so I liked only a small amount.

Serve immediately so the bread does not get soggy!

Ingredient Index

Related Posts Plugin for WordPress, Blogger...