October 12, 2012

Harvest Snack Cake

Harvest Snack Cake

I probably should have posted this recipe a little closer to Thanksgiving (which was this past weekend), because it would have tied in with it with perfectly, but I just haven’t been very organized lately! 

Canadian Thanksgiving is a celebration to give thanks for “the bountiful harvest with which Canada has been blessed” (source), along with all the other good things in our lives, especially our family and friends.  I love that there is a holiday specifically dedicated to celebrating the harvest and all the amazing food we are lucky to have readily available here!
Harvest Snack Cake

I’d love to tell you that I made this cake in honour of the harvest and Thanksgiving, but I honestly didn’t make the connection until now.  Still, this harvest snack cake is a great way to celebrate fall food and flavours!

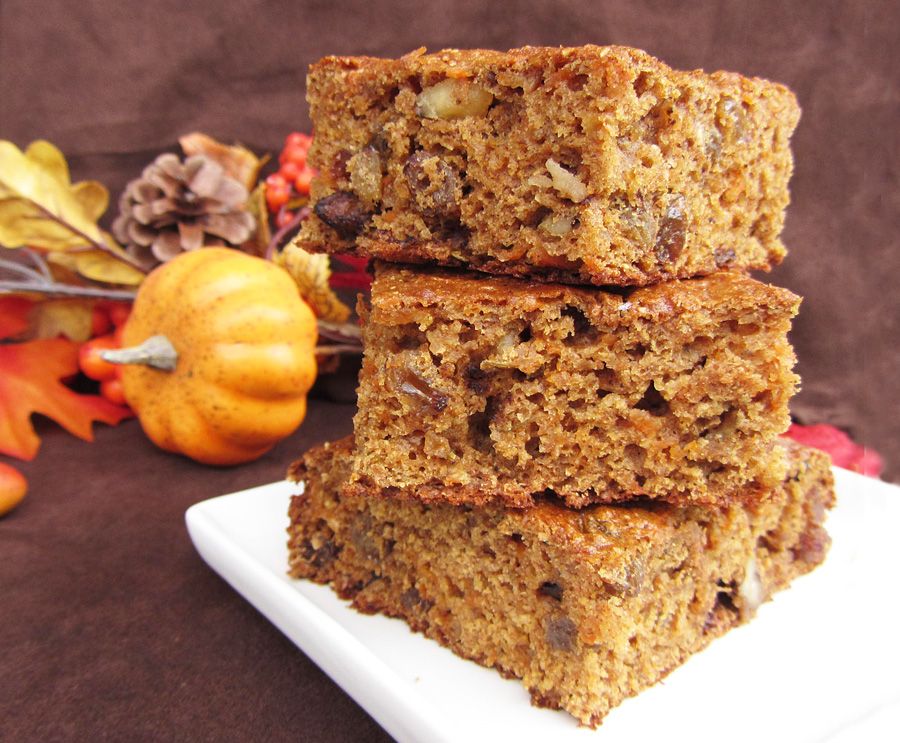
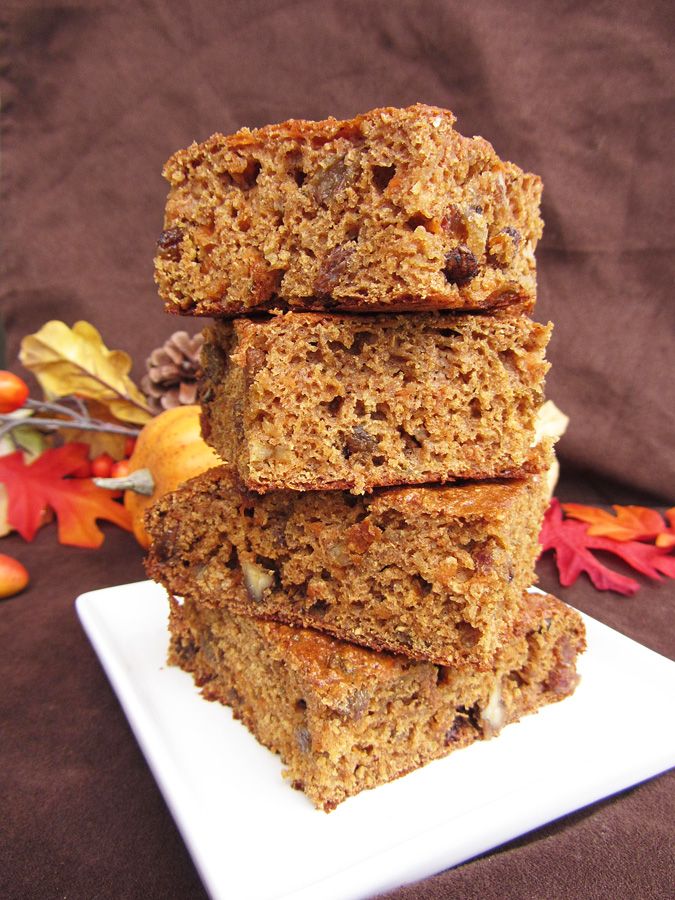
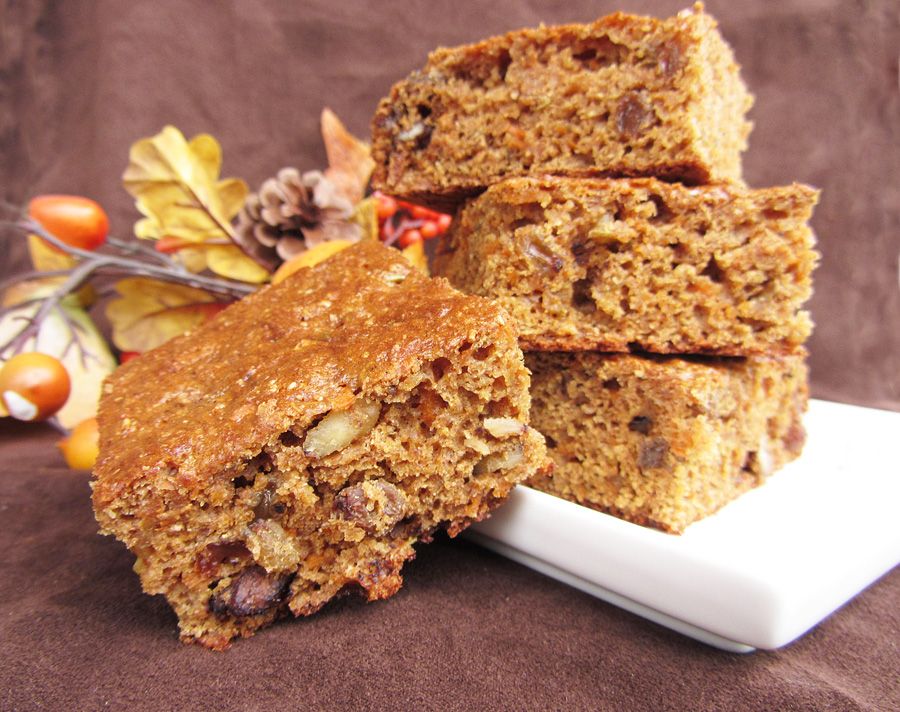
This cake is easy to make, will fill your kitchen with the smell of fall, and is full of good-for-you ingredients like carrots, apples, and walnuts.  Plus, it uses whole wheat flour and contains no butter or oil, so in my books that makes it a pretty healthy snack.  Of course, there’s still sugar in it, so I’m not putting “healthy” in the title, but I certainly don’t feel guilty about eating a piece for my snack every day!
Harvest Snack Cake

Harvest Snack Cake

Adapted from Taste of Home

Makes about 16 squares

Ingredients:

2 cups whole wheat flour
1 cup packed brown sugar
2 teaspoons baking powder
1 teaspoon cinnamon
1/2 teaspoon nutmeg
1/4 teaspoon ground ginger
2 large eggs
1/2 cup unsweetened applesauce
1 teaspoon vanilla extract
3/4 cup grated carrot
3/4 cup grated apple (about 1 large apple – if one apple doesn’t reach ¾ cup, you can increase the amount of carrots so total grated carrots + apples = 1.5 cups)
1 cup raisins
1/2 cup chopped walnuts

Directions:

Preheat oven to 350°F.  Line the bottom of a 13x9 baking pan with parchment paper and spray lightly with cooking spray.  Soak your raisins in hot water for 5-10 minutes so they won't absorb the moisture from your cake during baking (drain your raisins before using them).

Whisk together the dry ingredients (flour to ginger) in a large bowl.  In a separate medium bowl, whisk the eggs, applesauce, and vanilla.  Add the wet ingredients to the dry ingredients and fold together with a spatula until just incorporated.  Fold in the carrots, apples, raisins, and walnuts.

Spread the batter evenly into the prepared pan, and bake in preheated oven for 30-35 minutes, or until toothpick inserted in the middle comes out clean.  Cool on a wire rack.

Note: I knew I wouldn’t eat all of this in a few days, so I kept about half of the squares in the freezer and found that they froze well.

October 09, 2012

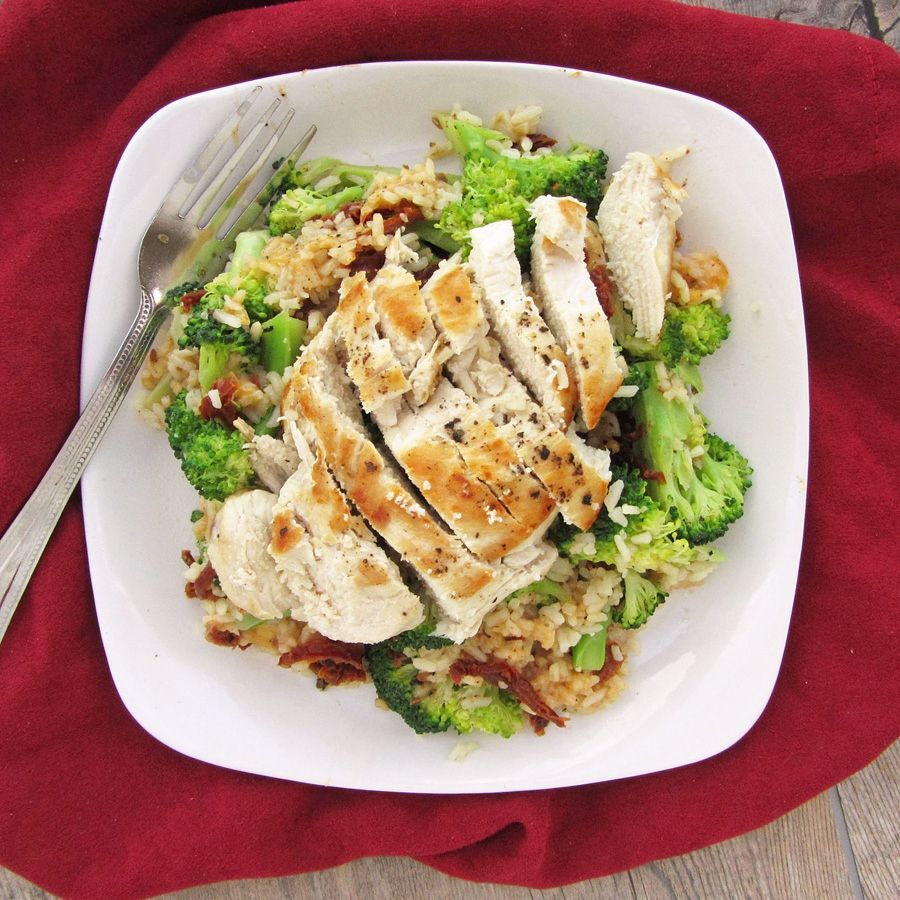
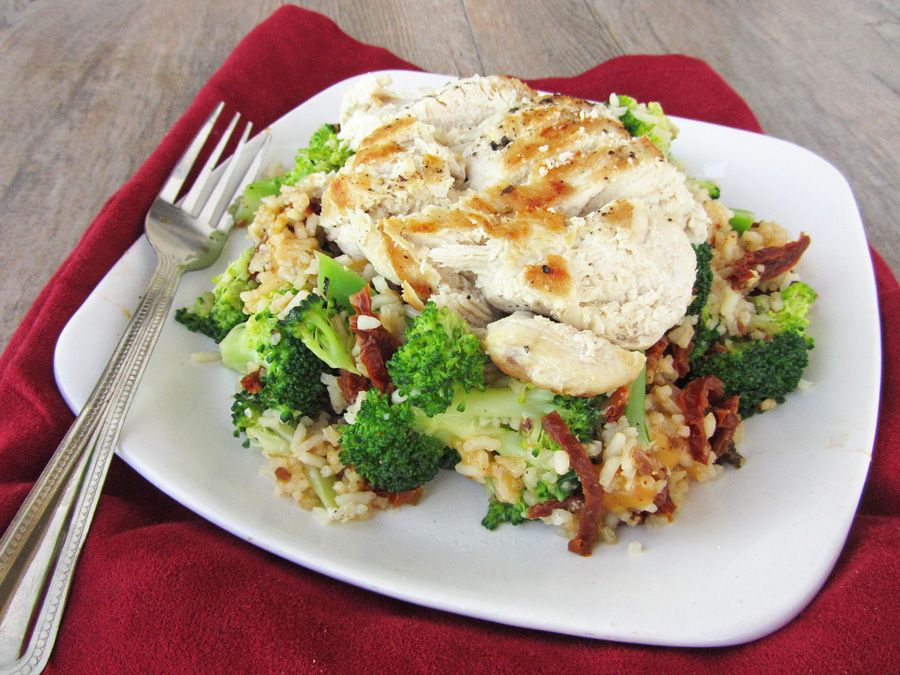
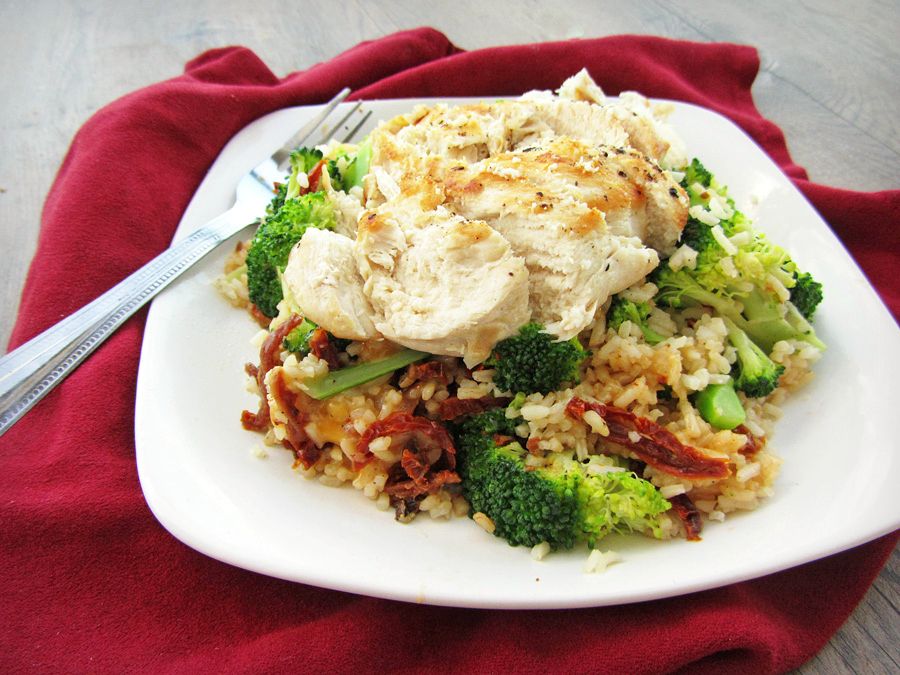
Chicken & Cheesy Rice with Broccoli and Sundried Tomatoes

Chicken and Cheesy Rice with Broccoli & Sundried Tomatoes

I hope all my Canadian readers out there had a great Thanksgiving weekend!

I enjoyed a fabulous Thanksgiving meal with my family - everyone pitched in with favourite classics like turkey and stuffing along with some new dishes like a spicy root vegetable curry.  We had four different types of dips as an appetizer; turkey with homemade gravy, stuffing, cranberry sauce, scalloped potatoes, blue cheese and walnut salad, and the curry as our main meal; followed by pumpkin pie and a pumpkin cheesecake ice cream pie for dessert!  I also contributed this apple and pear sparkling sangria and sweet potato honey dinner rolls.  I was stuffed by the end of the night but had such a great evening spending time with my family, and I still enjoyed plenty of leftovers the next day!

Chicken and Cheesy Rice with Broccoli & Sundried Tomatoes

Now it's time to get back into regular weekday meals - and there's certainly nothing wrong with that, especially when it's something like this chicken with cheesy rice, broccoli, and sundried tomatoes!

This dish doesn't use too many ingredients, doesn't dirty many dishes, is reasonably healthy, and you might even have most of the ingredients in your house already.  And of course, it's ridiculously good and so comforting!

As much as I love Thanksgiving dinner, I don't think I could handle more than two nights of it in a row; this, however, I could eat every night and still love just as much!

(Please ignore my horrendous slicing of the chicken in these pictures - the light was quickly fading outside so I was in a hurry to finish it so I could go take pictures!)

Chicken and Cheesy Rice with Broccoli & Sundried Tomatoes

Chicken and Cheesy Rice with Broccoli and Sundried Tomatoes

Adapted from Heat Oven to 350, Originally from Cooks Illustrated Best 30-Minute Meals

Serves 2-3

Ingredients:

2 boneless, skinless chicken breasts
Salt and pepper
2 teaspoons vegetable oil
1/2 large head of broccoli, chopped into florets
2 oz (about 1/2 cup loosely packed) sundried tomatoes, not packed in oil (from a bag)
3/4 cup instant enriched white rice (feel free to use brown rice if you prefer)
3/4 cup low-sodium, fat-free chicken broth
1/2 cup shredded cheddar cheese

Directions:

Trim any fat off the chicken breasts and season with salt and pepper.  Heat oil in a large nonstick skillet over medium-high heat.  Brown chicken well on one side, about 4-5 minutes, then transfer to a plate.

Meanwhile, bring water to a boil in a medium or large saucepan.  Add the broccoli florets and sundried tomatoes and blanch for 2 minutes.  Rinse with cold water and drain.  Chop sundried tomatoes into quarters, depending on the size.

After browning chicken, add rice and chicken broth to the skillet.  Nestle chicken into the rice with the browned side facing up.  Cover and cook over medium-low heat until liquid is absorbed, rice is cooked, and chicken is cooked through (thickest part of chicken registers 160 degrees), about 8-10 minutes.

Transfer chicken to a clean surface and slice into thin pieces.  Add the broccoli, sundried tomatoes, and cheddar into the rice mixture and mix until cheese is melted.  Season with salt and pepper to taste.  Divide rice mixture among plates and top with the sliced chicken.  Serve immediately.

October 04, 2012

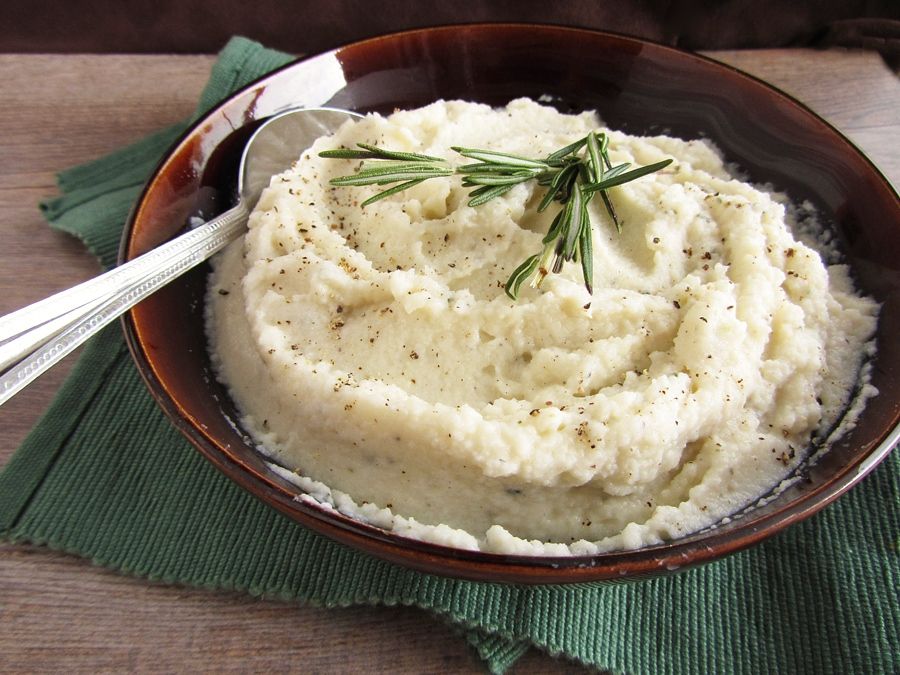
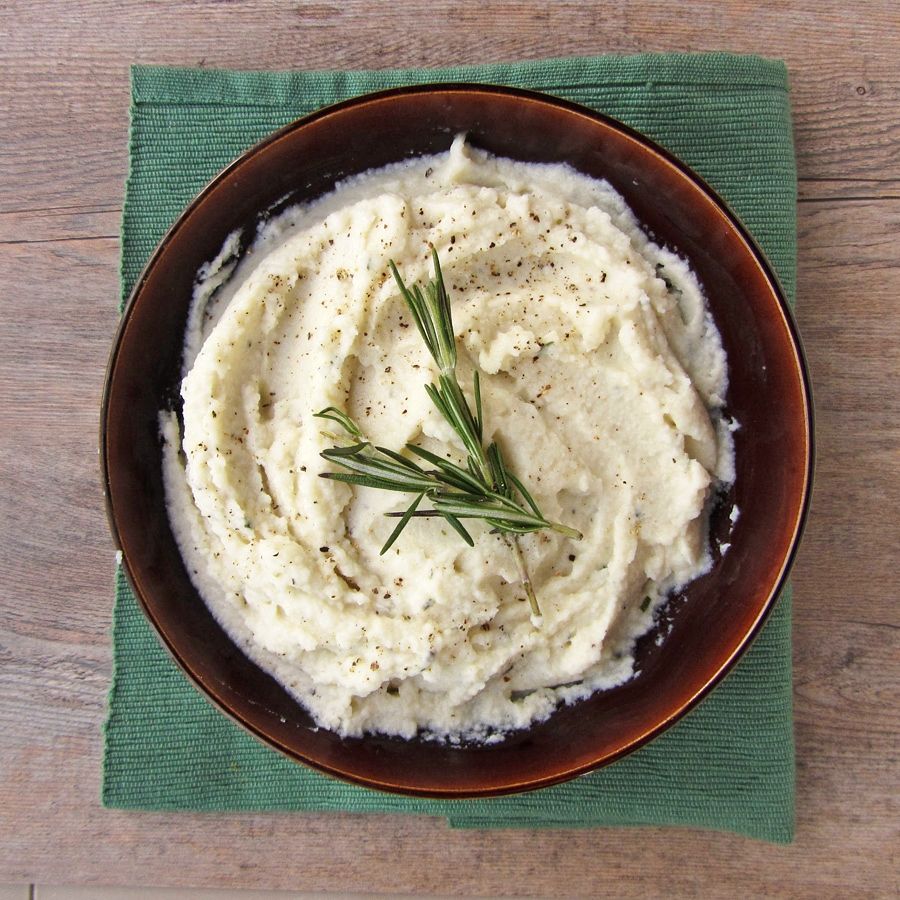
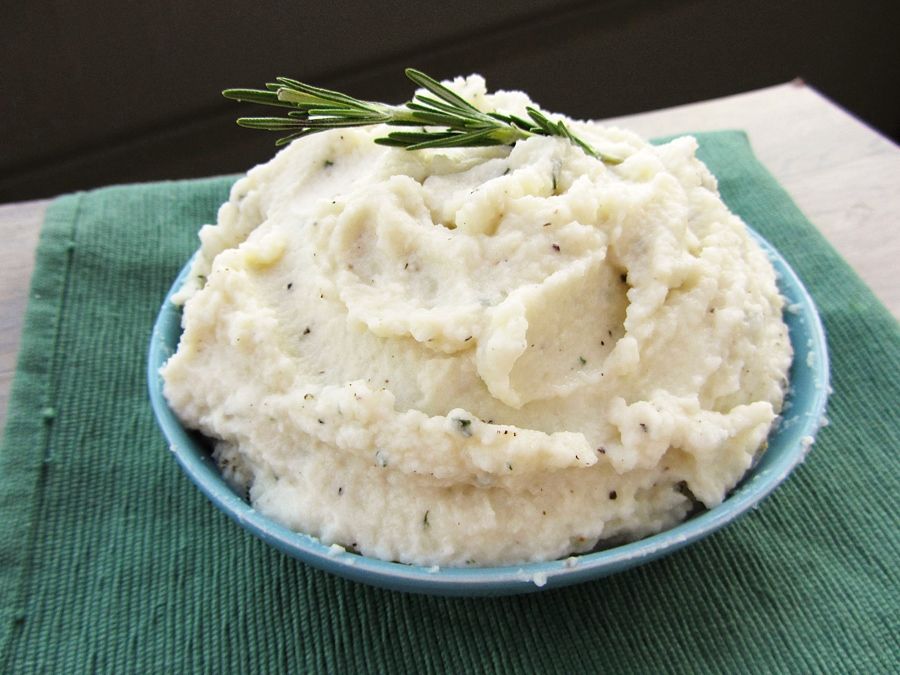
Puréed Cauliflower with Goat Cheese

Puréed Cauliflower with Goat Cheese

It’s no secret that I love goat cheese – of the 12 types of cheese I have listed in my Ingredient Index, goat cheese is the most used in my recipes!  So when I was asked if I wanted to participate in a virtual potluck to celebrate the release of Tasia’s Table, a cookbook by the award-winning cheesemaker at Belle Chevre, I immediately said yes!

Tasia’s Table isn’t just about goat cheese, though it is an ingredient in many of the recipes, but is a celebration of Tasia's two main culinary influences: Southern and Greek.  To celebrate the book’s release, each participating blogger chose a recipe from the book to share in a virtual potluck today.  I had a ridiculously hard time choosing a recipe to make – goat cheese gratin, goat cheese and caramelized onion tarts, wild mushroom and goat cheese pasta, or even goat cheese cheesecake! - and I wish I could have shared five or ten recipes, but I finally narrowed it down to this puréed cauliflower with goat cheese. 

Puréed Cauliflower with Goat Cheese

And I'm so glad I chose it!  

I had recently tried mashed cauliflower for the first time and was surprised at how much I loved it.  Even more than mashed potatoes!  And I love mashed potatoes!  Adding goat cheese to the cauliflower was a brilliant idea – it adds a wonderful but not overpowering flavour while keeping the mixture smooth and creamy.  Throw in some garlic and rosemary and you’ve got a pretty tasty dish! 

I ate my first batch way too quickly and am thinking of making it again for Canadian Thanksgiving this weekend, it's really easy to make and I think it would be a great side dish to complement the meal!

Puréed Cauliflower with Goat Cheese

Be sure to check out all the talented bloggers participating in the potluck to see what they made - many of them are also offering giveaways for a chance to win the cookbook for yourself! 

Eggton  

Tasia's Table

Puréed Cauliflower with Goat Cheese

Slightly adapted from Tasia’s Table Cookbook

Serves 4-6

Ingredients:

1 head cauliflower, chopped into florets
1 teaspoon minced garlic
2 teaspoons butter, softened
1/2 to 1 teaspoon herb of choice – I used rosemary, but thyme or chives would work well too
1/2 to 1 teaspoon sea salt
1/2 to 1 teaspoon pepper
1/3 to 1/2 cup goat cheese

Directions:

Add cauliflower to a large flat-bottomed skillet or saucepan with enough water around the cauliflower so that it is halfway covered.  Bring to a boil, reduce heat to simmer, cover tightly and let steam until cauliflower is tender, about 10-12 minutes.

Once cauliflower is cooked, remove from heat.  Using a slotted spoon, transfer about half the cauliflower to the large bowl of a food processor, being careful not to add water with the cauliflower.  Add the garlic and process quickly in short bursts of five or ten seconds.  Scrape down the sides of the bowl and add the rest of the cauliflower.  Process until cauliflower looks like mashed potatoes, then transfer to a bowl and mix in the butter, herbs, salt, pepper, and goat cheese.  Add the smaller amount listed of each ingredient to start, then taste and add more if desired (it's a lot easier to add ingredients then to take them away!).  Serve warm.

I like to add a bit (1-2tsp) of dijon mustard for some extra zing!


Note: I was not asked to review the cookbook, but I really liked it and wanted to share a few of my thoughts!

October 02, 2012

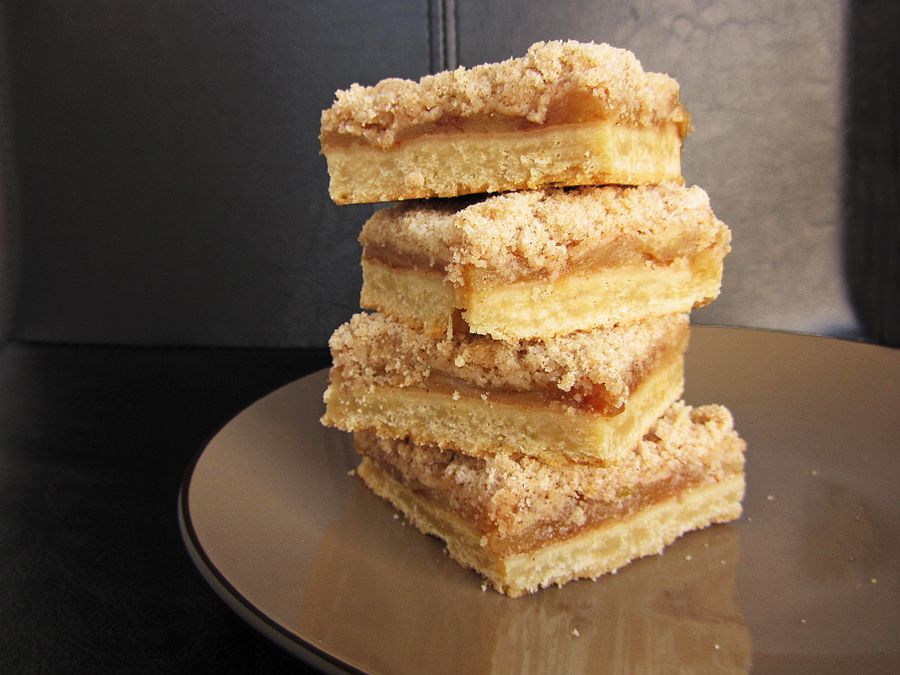
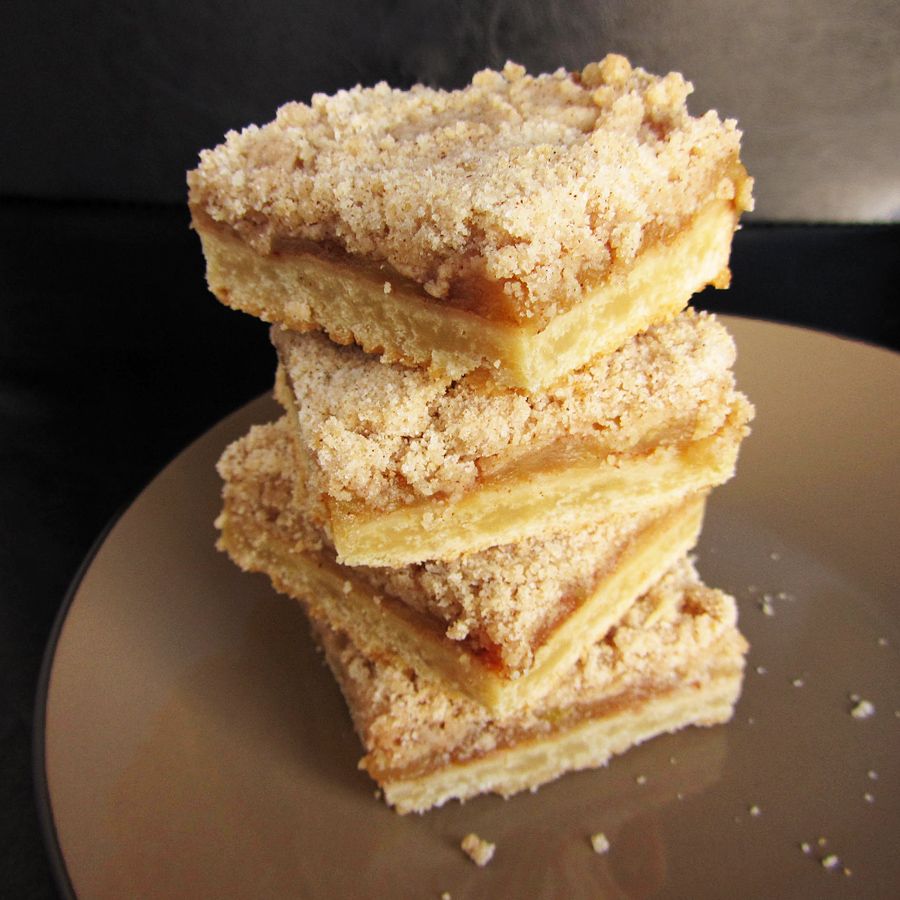
Apple Pie Bars

Apple Pie Bars

The weather has definitely been getting cooler around here, and while I love fall weather, I don’t love how much the weather fluctuates in a day!  In the summer I can leave in the morning in a t-shirt and know I’ll be okay all day, and in the winter I put on my winter coat and know I’ll need it all day, but in the fall I never know how to dress.  If I wear a jacket and boots in the morning then by the afternoon it’s sunny and warm and I look ridiculous because everyone else is out in t-shirts, but if I stay out until the evening, I’m freezing cold and almost wish I had a winter coat on!

This past Friday, Ryan and I waited in line to meet Dan Aykroyd, who was promoting his brand of vodka at an LCBO in London.  We didn’t realize that we would be waiting outside in line for THREE HOURS, and I only had a thin jacket on from the afternoon, so I was convinced I was going to freeze to death.  We did eventually get to meet him (and get a Ghostbusters blu-ray signed), which was pretty cool, and were entertained by the Ecto-1 in the parking lot while we waited,  but being outside that long made me realize that winter is not far away!

Apple Pie Bars

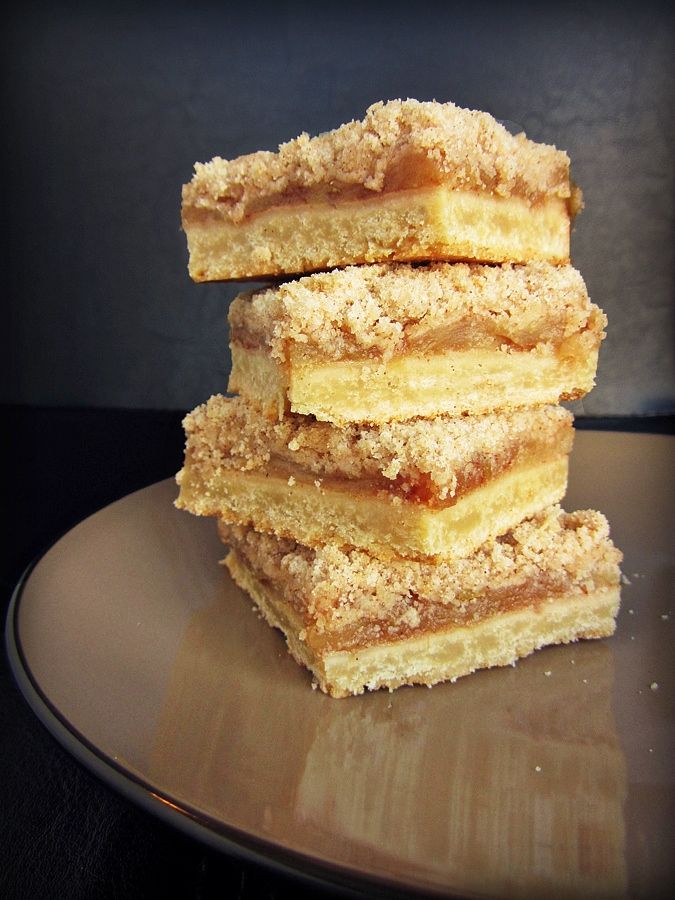
And while I’m not quite craving winter soups and stews yet, I am craving other fall favourites, especially anything with apples or pumpkin in it!  I already made a great apple and pear pie a couple of weeks ago, but I had to make these apple pie bars too because they’re one of my favourite desserts!  They’re just like apple pie in bar form – a buttery crust is topped with sautéed spiced apples and a crumble topping – so good!    

Yes, the list of ingredients looks long and I admit they take more time to put together than the average bar, but I’d say they’re about the same amount of work as making apple pie, and the end result can feed more people and tastes just as good! 

Apple Pie Bars

Apple Pie Bars

Adapted from Cookie Baker Lynn, originally from the book Great Cookies

Makes 20-24 bars

Ingredients:

For the Apples:
6-7 Granny smith or golden delicious apples, peeled, cored, and sliced into 1/4-inch thick slices
1/3 cup brown sugar
2 tablespoons fresh lemon juice
1 teaspoon cinnamon
1/4 teaspoon nutmeg

For the Crust:
2-1/4 cups all-purpose flour
1/2 teaspoon baking powder
1/4 teaspoon salt
1 cup unsalted butter
1/2 cup brown sugar
1/2 teaspoon vanilla extract
1 large egg

For the Streusel Topping:
3/4 cup all-purpose flour
1/4 cup granulated sugar
1/4 cup brown sugar
1 teaspoon cinnamon
Pinch of salt
1/4 cup unsalted butter, cold and cubed

Directions:

First, prepare the apples.  Combine apples, brown sugar, lemon juice, cinnamon, and nutmeg in a large saucepan over medium heat.  Cover the pan for 2 to 3 minutes, and uncover when the apples have released their juices.  Cook, stirring occasionally, until apples are golden brown and soft and there is no liquid left in the pan, about 15 minutes.  Set aside to cool.

Preheat oven to 375°F.  Line a 13x9-inch baking pan with aluminum foil, leaving an overhang up the sides so you can easily remove the bars later.  Lightly spray the foil with non-stick cooking spray.

Prepare the crust: In a large bowl, whisk together the flour, baking powder, and salt.  In a separate bowl, cream the butter and sugar on medium speed for about 2 minutes.  Add the egg to the butter mixture and mix to blend.  Add the dry ingredients in two additions, mixing on low speed (or by hand) until just combined after each addition.  The dough will be wet; drop it by clumps evenly across the prepared baking pan, then use your hands to press it down to evenly cover the pan in one smooth layer.  Prick the dough all over with a fork, then baked in preheated oven for 15-18 minutes, until crust is golden brown and begins to release from the sides of the pan.

Meanwhile, prepare the streusel topping:  In a large bowl, whisk together the flour, sugars, cinnamon, and salt.  Add the butter and mix with an electric mixer or use a pastry cutter to combine until the mixture is crumbly.

When the crust is done, remove from oven and reduce oven temperature to 350°F.  Spread the cooked apples over the hot crust, and sprinkle the streusel topping evenly over the apples, pressing gently to help it stick.  Return pan to oven and bake for 20-25 minutes, until topping is lightly browned and crisp.  Let rest in pan for at least 2-3 hours before removing and slicing – I leave mine in the fridge overnight so they’re very easy to cut the next day. 

Store bars in refrigerator, but bring to room temperature before serving (I prefer them this way).


I linked this recipe to Sweets for Saturday

Ingredient Index

Related Posts Plugin for WordPress, Blogger...